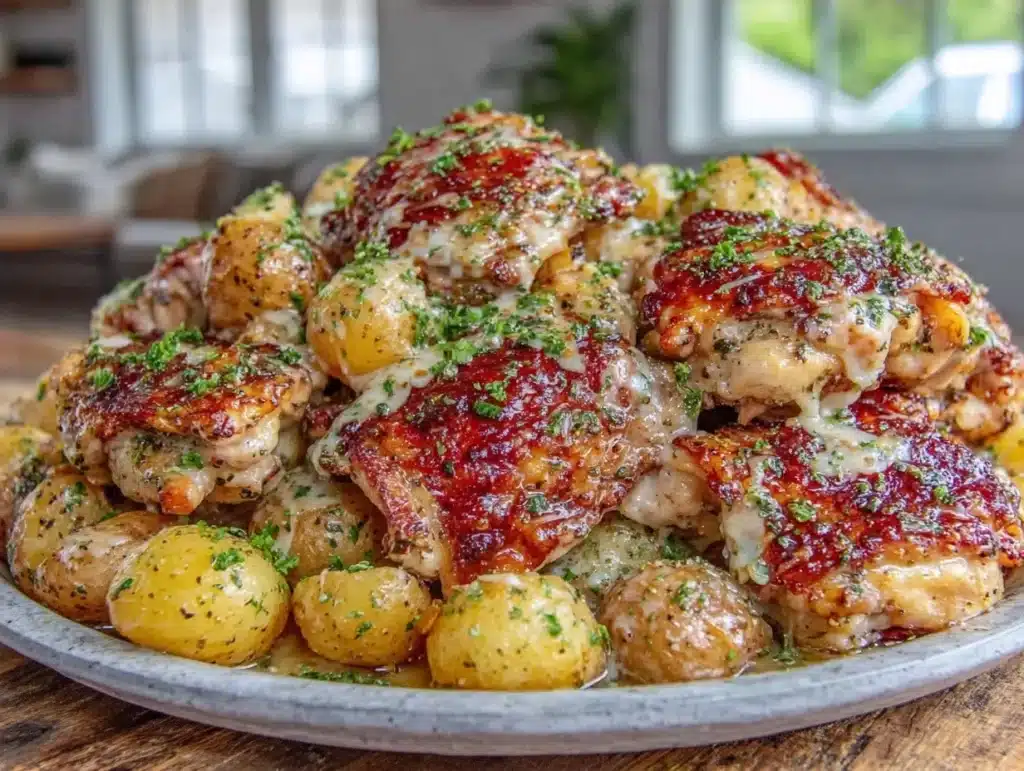
There is a specific kind of magic that happens when you hear that sharp hiss of chicken hitting hot oil. It’s not just noise; it’s the sound of dinner saving the day. I remember standing over my stove last Tuesday, exhausted from a workweek that felt like it lasted a month. My brain was foggy, and the idea of cooking felt like a chore. Then I threw those breaded cutlets into the pan. The smell of garlic and melting cheese hit me instantly. It was comfort, but with a kick. That’s when I added the lemon. Seriously, just a squeeze of fresh juice right before serving. It cut through the richness and woke up every single flavor on the plate. You know that feeling when you take the first bite and your shoulders drop three inches? That’s this recipe.
I’ve made this one-skillet crispy garlic parmesan chicken countless times. Some nights it’s for my family, other times it’s a quick solo meal. It started as a way to use up chicken breasts that were drying out in the fridge. I wanted something crispy without deep frying, and garlicky without being overpowering. The secret isn’t just the breading. It’s the finish. A bright, acidic squeeze transforms a heavy meal into something vibrant. This isn’t just another bland chicken dinner. It’s bold, it’s fast, and it’s honestly the kind of meal that makes you forget you’re eating weeknight food. Let’s face it, we all need a win in the kitchen sometimes. This is it.
Why You’ll Love This Recipe
This recipe isn’t just about feeding people. It’s about giving you a moment of joy in a chaotic schedule. I’ve tested this version over a dozen times, tweaking the breading and the sauce until it was perfect. The result is a dish that feels restaurant-quality but comes together in your own kitchen with zero stress. Here is why this one-skillet crispy garlic parmesan chicken has become my go-to:
- Quick & Easy: From pan to plate in under 30 minutes. It’s perfect for those nights when you’re hungry but have no energy to chop vegetables or wash a mountain of dishes.
- Simple Ingredients: You likely have everything in your kitchen right now. Chicken, flour, eggs, parmesan, garlic, and lemon. No fancy grocery trips needed.
- Perfect for Busy Weeknights: It’s a one-skillet wonder. Less cleanup means more time relaxing. It’s the ultimate low-effort, high-reward meal.
- Crowd-Pleaser: Kids love the crispy texture, and adults love the savory garlic kick. It’s a safe bet for picky eaters and foodies alike.
- Unbelievably Delicious: The combination of crunchy coating, tender meat, and tangy lemon finish is next-level comfort food. It’s soul-soothing but bright.
What makes this different from other breaded chicken recipes? It’s the balance. Many recipes go heavy on the salt and fat, leaving you feeling sluggish. I add a squeeze of citrus at the very end. That acidity cuts the heaviness of the parmesan and highlights the garlic. It’s a technique I learned from watching Italian chefs finish their dishes. It’s not just good; it’s the kind of meal that makes you close your eyes after the first bite. It’s comfort food reimagined—healthier, faster, but with the same satisfaction. Plus, if you want to pair it with a rich side, check out my rich red wine reduction sauce for a date night upgrade.
What Ingredients You Will Need
This recipe relies on simple, wholesome ingredients to deliver bold flavor. The magic is in the ratio of breading to coating. You want enough crunch to hold up to the sauce, but not so much that it overwhelms the tender chicken inside. Here is what you need to get started:
- Chicken Breasts: Boneless, skinless. Pound them to an even thickness so they cook evenly. I prefer smaller cutlets for faster cooking.
- All-Purpose Flour: For the initial dredge. It helps the egg wash stick. Use a light hand here.
- Eggs: Large eggs, beaten. They act as the glue for the breadcrumbs.
- Panko Breadcrumbs: These are essential. They create that shatteringly crisp exterior. Regular breadcrumbs are too dense.
- Parmesan Cheese: Grated finely. Look for a pre-grated bag if you’re in a rush, but freshly grated is better. I recommend Parmigiano-Reggiano for the best flavor.
- Garlic: Fresh cloves, minced. Powdered garlic doesn’t give the same fresh punch. You want that aromatic bite.
- Butter and Olive Oil: A mix of both. Butter adds flavor, olive oil raises the smoke point so the chicken doesn’t burn.
- Lemon: Fresh lemons are non-negotiable. The juice is what wakes up the dish. Use two lemons for enough brightness.
- Salt and Black Pepper: To season the chicken and the breading. Don’t skip this step.
- Parsley: Fresh, chopped. For garnish and a pop of color. It adds a fresh, herbal note.
If you need a gluten-free option, you can swap the flour and panko for a gluten-free blend. Just make sure the blend contains xanthan gum for better binding. For a lighter version, you can bake this in the oven with a light spray of oil, though the skillet method gives superior crispiness. I always keep a bag of panko in my pantry because it lasts forever and elevates any simple protein.
Equipment Needed
You don’t need a fancy kitchen to make this. A large, heavy-bottomed skillet is your best friend here. Cast iron is ideal because it holds heat well, keeping the chicken crispy. If you don’t have cast iron, a stainless steel or non-stick skillet works too. Just make sure it’s large enough to hold the chicken in a single layer. You’ll also need three shallow bowls for your breading station. A meat mallet or rolling pin is useful for pounding the chicken thin. A microplane or fine grater is great for the parmesan. Finally, a citrus juicer or just your hands for squeezing the lemons. Keep it simple. You don’t need special gadgets, just good tools. I use a well-seasoned cast iron pan that I’ve had for years. It’s budget-friendly and durable. Just remember to clean it gently to maintain the seasoning.
Preparation Method
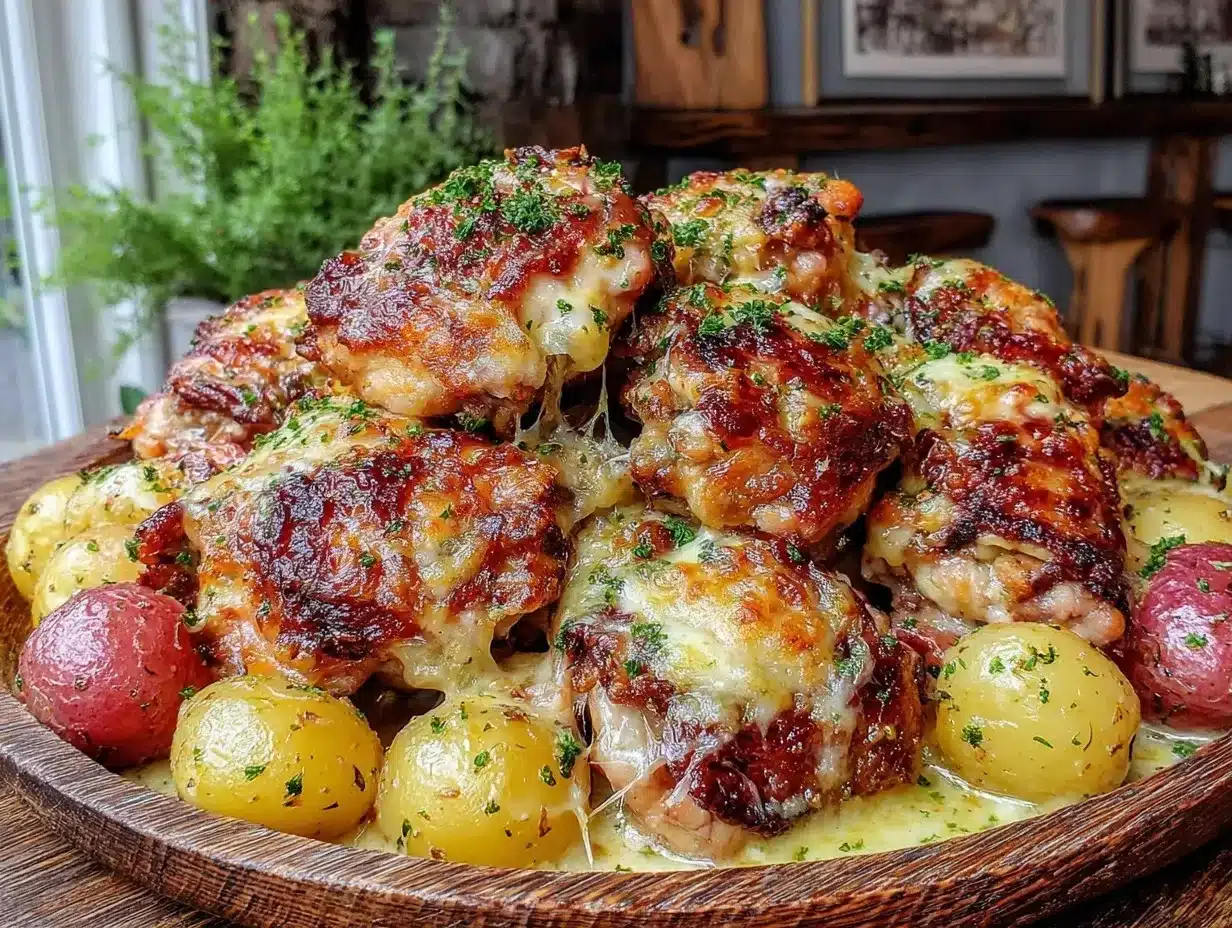
Let’s get cooking. This process is straightforward, but precision matters for that perfect crunch.
- Prepare the Chicken (5 minutes): Place the chicken breasts on a cutting board. Cover them with plastic wrap. Use a meat mallet to pound them to about ½-inch thickness. This ensures even cooking. Season both sides generously with salt and pepper. If the chicken is too thick, it will dry out before the breading browns.
- Set Up the Breading Station (5 minutes): Get three shallow bowls ready. In the first, place the flour. In the second, beat the eggs with a fork. In the third, mix the panko breadcrumbs with the grated parmesan cheese and a pinch of salt. This mixture is your flavor bomb.
- Bread the Chicken (5 minutes): Dredge each chicken piece in the flour, shaking off any excess. Dip it into the egg wash, letting the excess drip off. Finally, press it into the panko-parmesan mixture. Make sure it’s fully coated. Press down gently so the crumbs stick. Place the breaded chicken on a wire rack or plate.
- Heat the Pan (3 minutes): Heat a large skillet over medium-high heat. Add the olive oil and butter. Wait until the butter stops foaming. This means it’s hot enough to sear the chicken. Do not crowd the pan. Cook in batches if necessary.
- Cook the Chicken (10-12 minutes): Place the chicken in the pan. Cook for 5-6 minutes on the first side until golden brown and crispy. Flip carefully. Cook for another 4-5 minutes on the other side. The internal temperature should reach 165°F (74°C). If the breading is browning too fast, lower the heat slightly.
- Add Garlic and Finish (2 minutes): Once the chicken is cooked, remove it from the pan and set it aside on a warm plate. In the same pan, add the minced garlic. Sauté for just 30 seconds. Do not burn it! Burnt garlic is bitter. Pour in a splash of chicken broth or water to deglaze the pan, scraping up the browned bits. This creates a quick pan sauce.
- The Squeeze (1 minute): Remove the pan from heat. Squeeze the juice of one lemon into the garlic sauce. Stir it in. Return the chicken to the pan briefly to coat it in the sauce, or just drizzle it over the top. Garnish with fresh parsley. Serve immediately while it’s hot and crispy.
The key here is not to overcook the chicken. Use a meat thermometer if you have one. It’s the only way to guarantee juiciness. Also, watch that garlic closely. It burns in seconds. If you see it turning brown, remove the pan from heat immediately.
Cooking Tips & Techniques
I’ve made my fair share of mistakes with breaded chicken. My first attempt was soggy because I didn’t let the excess egg drip off. Lesson learned. Here are some tips to ensure success:
- Don’t Skip the Pounding: Uneven chicken means uneven cooking. Pound it until it’s consistent.
- Use Panko, Not Regular Breadcrumbs: Panko has larger flakes that create air pockets. This equals crunch. Regular breadcrumbs absorb more oil and get dense.
- Control the Heat: Medium-high is the sweet spot. Too hot, and the outside burns before the inside cooks. Too low, and the chicken steams in its own juices.
- Let It Rest: Let the chicken rest for 2-3 minutes after cooking. This allows the juices to redistribute. Cutting into it immediately will cause the juices to run out, leaving the meat dry.
- Fresh Garlic Only: Jarred garlic is too wet and lacks flavor. Fresh cloves give you that sharp, aromatic punch that defines this dish.
Another tip is to keep your breading station organized. If you cross-contaminate the flour with egg, your breading will clump. Keep the stations separate. Also, if you are cooking in batches, keep the cooked chicken in a warm oven (200°F) while you finish the rest. This keeps everything hot and ready to serve together.
Variations & Adaptations
One of the best things about this recipe is how adaptable it is. Here are a few ways to tweak it:
- Spicy Kick: Add red pepper flakes to the panko mixture. Or swap the parmesan for a spicy pecorino cheese. This adds a nice heat that pairs well with the lemon.
- Herb Infused: Mix dried oregano or Italian seasoning into the flour. This adds an earthy depth that complements the garlic.
- Gluten-Free: Use almond flour for the first dredge and gluten-free panko for the coating. It works surprisingly well and maintains the crunch.
- Veggie Side: Serve this with roasted asparagus or a simple green salad. I also love pairing it with tomato cucumber and onion salad for a fresh, no-cook side that balances the richness.
- Dairy-Free: Swap the butter for olive oil and use nutritional yeast instead of parmesan. It gives a similar savory, nutty flavor.
I often make a half-recipe with regular breadcrumbs and half with panko to test the difference. The panko always wins. But if you are out of panko, regular breadcrumbs mixed with a little melted butter work in a pinch. It’s not the same, but it’s still tasty. The lemon juice is the constant that makes it work, regardless of the breading.
Serving & Storage Suggestions
This chicken is best served immediately. The crispiness fades if it sits in sauce for too long. I like to serve it over a bed of creamy cheeseburger alfredo pasta for a hearty meal, or with steamed broccoli. A glass of crisp white wine, like a Sauvignon Blanc, pairs perfectly with the lemon and garlic. For storage, keep leftovers in an airtight container in the fridge for up to 3 days. To reheat, use an air fryer or oven at 350°F for 5-7 minutes. This restores the crispiness. Microwaving will make the breading soggy, so avoid it. The flavors actually meld nicely the next day, making it great for lunch bowls. Just add a fresh squeeze of lemon before eating to wake it up again.
Nutritional Information & Benefits
This recipe is a good source of protein, which is essential for muscle repair and satiety. Chicken breast is lean and low in fat. The parmesan adds calcium and probiotics. However, it is also calorie-dense due to the breading and butter. A typical serving is around 350-400 calories, depending on portion size. It is not low-carb, but it can be made gluten-free. For those watching sodium, use low-sodium parmesan and go easy on the added salt. Personally, I love this dish because it feels indulgent but keeps me fueled. The lemon provides vitamin C, which is good for immunity. It’s a balanced meal that satisfies cravings without leaving you feeling heavy, thanks to the bright finish.
Conclusion
This one-skillet crispy garlic parmesan chicken is more than just dinner. It’s a reminder that simple ingredients can create something extraordinary. The crunch, the garlic, the lemon—it’s a symphony of flavors that comes together in minutes. I hope you try this recipe and find your own moments of kitchen magic. Customize it with your favorite herbs or spices. Make it spicy, make it herby, but don’t skip the lemon. It’s the key. I’d love to hear how you make it your own. Leave a comment below with your variations or tips. Share this recipe with a friend who needs a easy weeknight win. Happy cooking!
Frequently Asked Questions
Can I use chicken thighs instead of breasts?
Yes, you can use boneless, skinless chicken thighs. They are juicier and have more flavor. Just adjust the cooking time slightly, as thighs may take a minute or two longer to cook through. They also hold up well to the breading.
Why is my chicken breading falling off?
This usually happens if the chicken isn’t patted dry before dredging, or if you don’t press the breadcrumbs firmly enough. Make sure the chicken is dry, the flour layer is thin, and you press the panko mixture into the meat to create a strong bond.
Can I bake this instead of frying?
Absolutely. Preheat your oven to 400°F (200°C). Place the breaded chicken on a wire rack over a baking sheet. Spray lightly with olive oil spray. Bake for 15-20 minutes, flipping halfway, until crispy and cooked through. It’s a healthier option with slightly less crunch.
What if I don’t have panko breadcrumbs?
You can use regular dried breadcrumbs. They will result in a denser, less crunchy coating. For best results, mix the breadcrumbs with a little melted butter before coating the chicken. This helps them crisp up in the pan.
How do I store leftover lemon garlic sauce?
The sauce is best made fresh. If you have extra, store it in an airtight container in the fridge for up to 2 days. Reheat gently on the stove. The lemon flavor may mellow out, so add a fresh squeeze before serving.
Pin This Recipe!
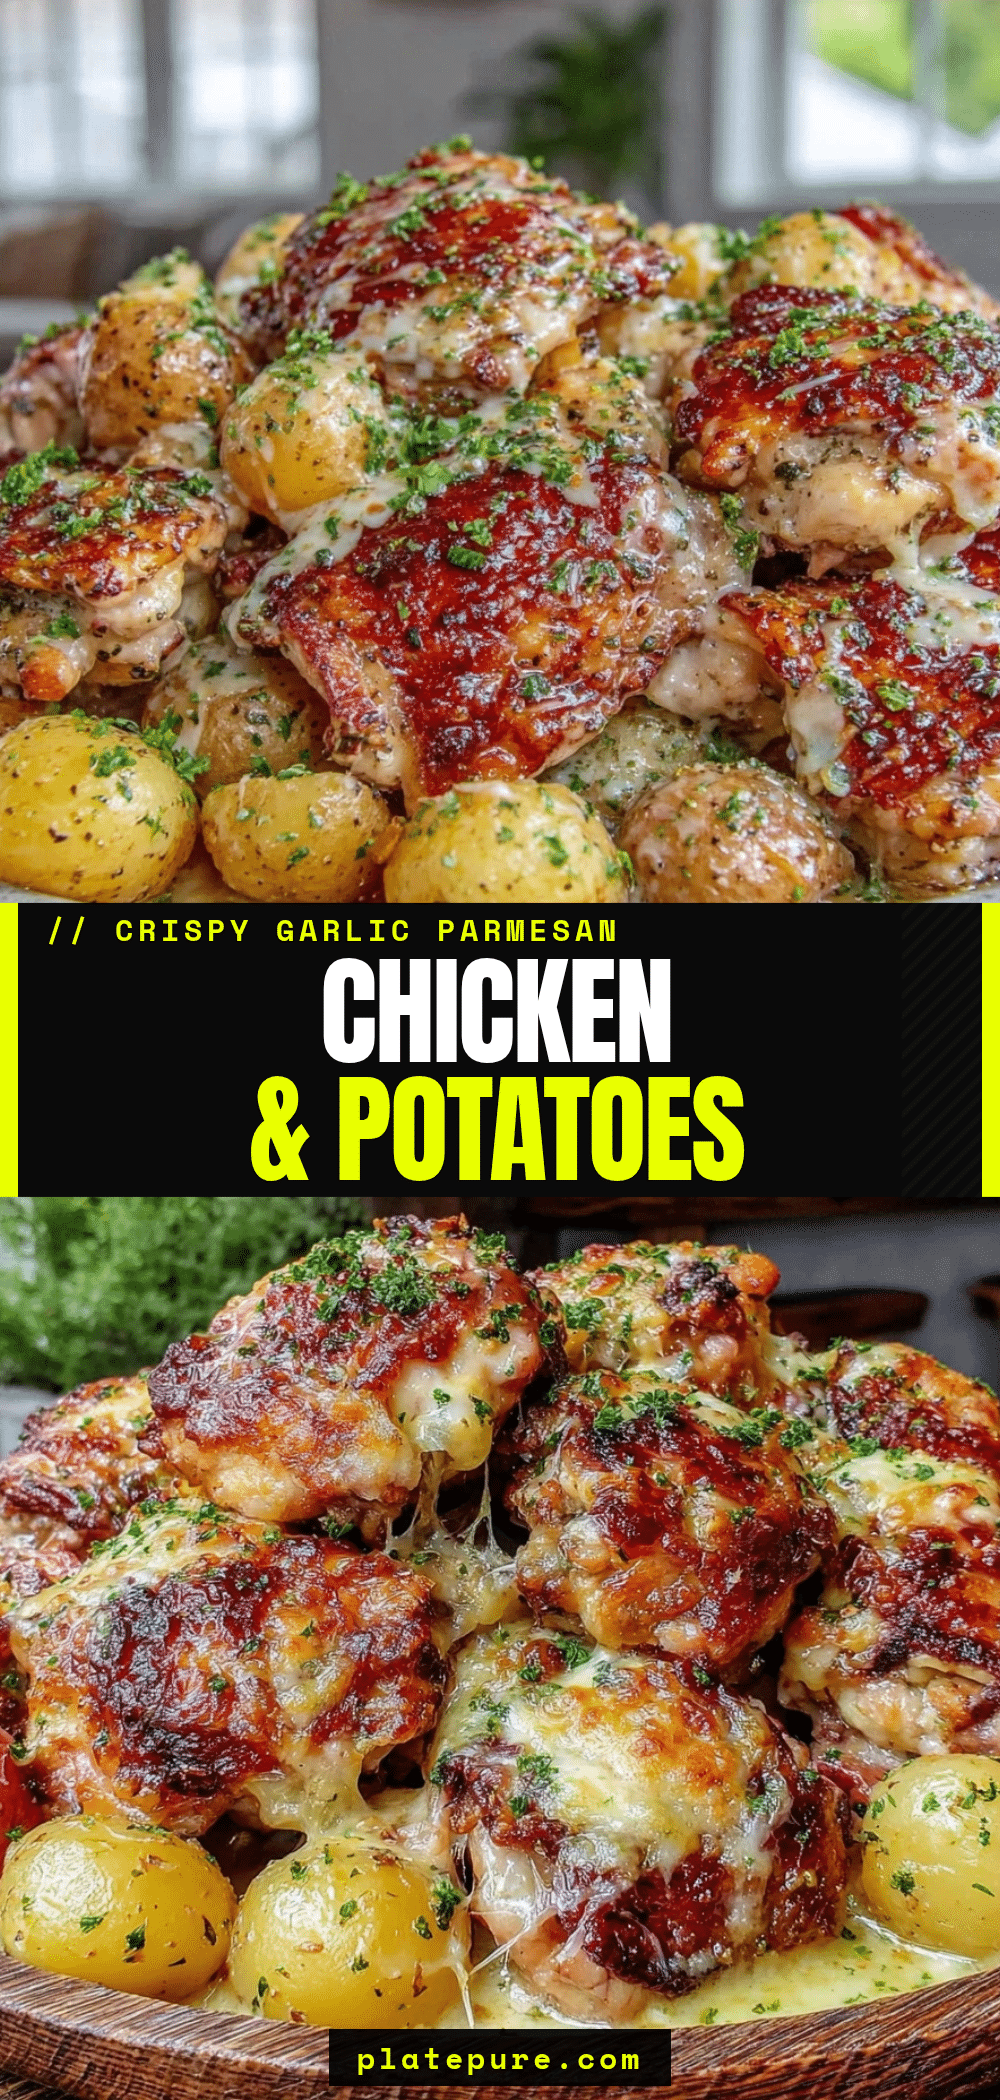

One-Skillet Crispy Garlic Parmesan Chicken: The Squeeze That Wakes It Up
- Total Time: 30 minutes
- Yield: 4 servings 1x
Description
A quick, one-skillet dinner featuring crispy breaded chicken cutlets with a savory garlic parmesan coating, finished with a bright lemon squeeze for a vibrant, restaurant-quality weeknight meal.
Ingredients
- 4 boneless, skinless chicken breasts
- 1 cup all-purpose flour
- 2 large eggs, beaten
- 1.5 cups panko breadcrumbs
- 0.5 cup finely grated Parmesan cheese (Parmigiano-Reggiano recommended)
- 4 cloves garlic, minced
- 2 tablespoons butter
- 2 tablespoons olive oil
- 2 lemons, juiced
- Salt and black pepper, to taste
- Fresh parsley, chopped, for garnish
Instructions
- Place chicken breasts between plastic wrap and pound to an even ½-inch thickness. Season both sides generously with salt and pepper.
- Set up a breading station with three shallow bowls: one with flour, one with beaten eggs, and one with panko mixed with Parmesan and a pinch of salt.
- Dredge each chicken piece in flour, shaking off excess. Dip into egg wash, letting excess drip off, then press firmly into the panko-Parmesan mixture to coat completely.
- Heat a large heavy-bottomed skillet (cast iron preferred) over medium-high heat. Add olive oil and butter, waiting until the butter stops foaming.
- Cook chicken in the pan for 5-6 minutes on the first side until golden brown and crispy. Flip and cook for another 4-5 minutes until internal temperature reaches 165°F (74°C). Remove chicken to a warm plate.
- In the same pan, add minced garlic and sauté for 30 seconds until fragrant but not browned. Deglaze with a splash of chicken broth or water, scraping up browned bits.
- Remove pan from heat and squeeze the juice of one lemon into the garlic sauce. Stir to combine.
- Return chicken to the pan to coat in sauce or drizzle sauce over the top. Garnish with fresh parsley and serve immediately.
Notes
[‘Do not overcrowd the pan; cook in batches if necessary.’, ‘Watch the garlic closely as it burns quickly.’, ‘Let chicken rest for 2-3 minutes after cooking to redistribute juices.’, ‘For gluten-free, swap flour and panko for a gluten-free blend with xanthan gum or almond flour.’, ‘To reheat leftovers, use an air fryer or oven at 350°F to restore crispiness; avoid microwaving.’]
- Prep Time: 15 minutes
- Cook Time: 15 minutes
- Category: Main Course
- Cuisine: Italian
Nutrition
- Serving Size: 1 chicken cutlet wit
- Calories: 375
- Sugar: 1
- Sodium: 450
- Fat: 18
- Saturated Fat: 7
- Carbohydrates: 22
- Fiber: 1
- Protein: 28
Keywords: chicken recipe, one skillet dinner, crispy chicken, garlic parmesan, weeknight meals, easy chicken, lemon chicken, gluten-free option


