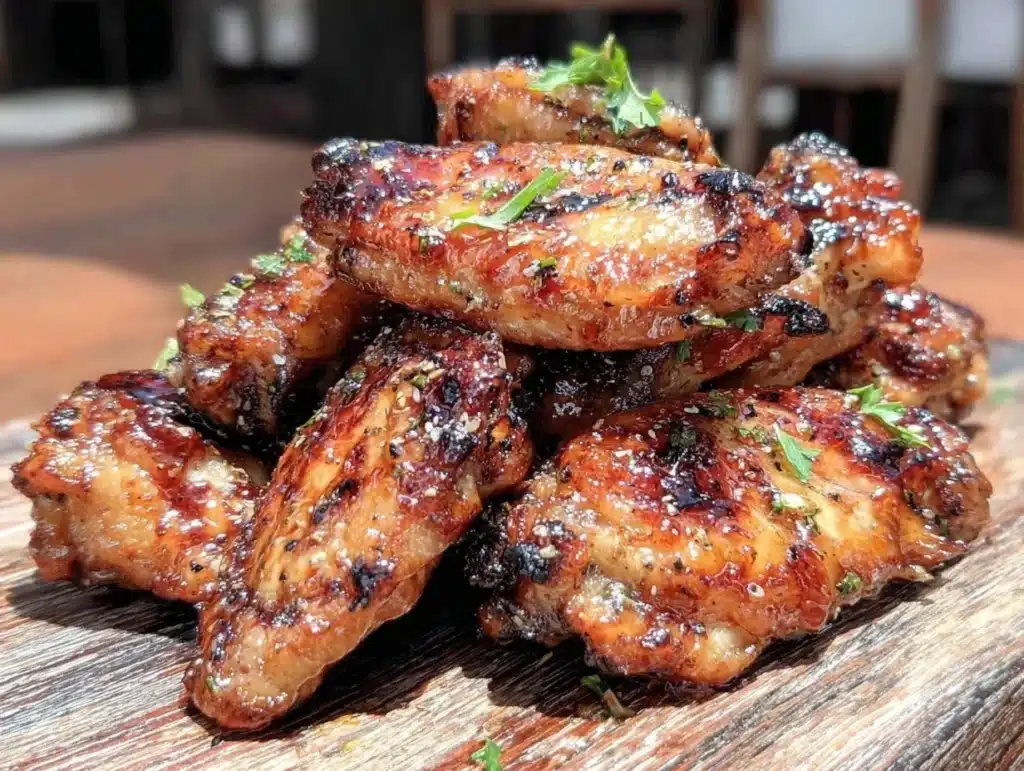
Let’s face it, most oven-baked wings are a lie. You pull them out, they look golden, you take one bite, and suddenly you’re chewing through soggy, rubbery skin while wondering why you didn’t just order takeout. I’ve been there. It’s frustrating, honestly. But then I found the trick that changed everything for me, and now these crispy oven baked chicken wings are the star of every game day, movie night, and random Tuesday craving.
The secret isn’t just the heat; it’s the texture. I remember the first time I made these properly, I was hosting a last-minute gathering for friends who were coming over an hour early. I panicked. I didn’t have time to deep fry, but I refused to serve sad, soft wings. I tossed them in a little baking powder, let them air dry in the fridge overnight, and roasted them high and fast. When I pulled the tray out, the sound was unmistakable—a sharp crackle when I tapped the wing against the baking sheet. My friends stopped talking. They just stared. That was the moment I knew I had to share this method.
What makes this recipe worth your time is the balance of convenience and quality. You get that restaurant-style crunch without the mess of a deep fryer or the danger of splattering oil all over your stovetop. It’s perfect for busy families who need dinner on the table fast, or for anyone trying to cut back on oil without sacrificing flavor. And let’s be real, the best part is the finish. We’re not doing plain salt and pepper here. We’re finishing these with a zesty heat that wakes up your palate. Think bright citrus, a kick of chili, and a vinegar tang that cuts through the richness. It’s the kind of snack that makes you close your eyes after the first bite because the flavor is just that good.
I’ve tested this method over a dozen times, tweaking the temperatures and the drying times, to make sure it works every single time. Whether you are a seasoned home cook or just starting out in the kitchen, this recipe is foolproof. It’s reliable, it’s bold, and it delivers every time. So, grab your baking sheets, let’s get those wings crispy, and let’s talk about the heat that finishes the dish.
Why You’ll Love This Recipe
There are a million ways to cook chicken wings, but few ways to do it right. This recipe stands out because it solves the biggest problem with oven baking: sogginess. By using a simple, science-backed technique involving baking powder and air drying, we create a surface that crisps up beautifully in the dry heat of the oven. It’s not magic; it’s just smart cooking. And once that crunch is achieved, the flavor profile takes it to the next level with a bright, zesty finish that keeps you coming back for more.
Here is why these wings are going to become your new favorite:
- Quick & Easy: Prep takes about 10 minutes, and you can have dinner on the table in under 45 minutes. It’s perfect for busy weeknights or when you need a quick snack.
- Simple Ingredients: You don’t need a trip to a specialty store. You likely already have chicken wings, baking powder, salt, and some basic spices in your kitchen.
- Perfect for Game Day: Whether it’s the Super Bowl, the playoffs, or just a casual Friday night watch party, these are the ultimate finger food.
- Crowd-Pleaser: Kids love the crunch, and adults love the complex flavor. They are always a hit, even with picky eaters.
- Unbelievably Delicious: The texture is next-level. It’s crispy on the outside, juicy on the inside, and finished with a punch of heat that lingers in the best way.
- Healthier Option: Compared to deep-fried wings, baking uses significantly less oil. You get all the satisfaction with fewer calories and less guilt.
What makes this recipe different from the rest is the finishing sauce. Most people stop at the baking phase, but that’s where the magic happens. We finish these wings with a bright, zesty heat that adds a layer of complexity. It’s not just spicy; it’s flavorful. The acidity from the vinegar and the brightness from the citrus cut through the fat of the chicken, making each bite feel light yet satisfying. It’s comfort food reimagined—crispy, bold, and vibrant. It’s the kind of dish that makes you feel like a pro chef without the stress.
I also love that you can customize the heat level. If you want mild, you can skip the extra chili flakes. If you want to burn your tongue off, you can add more hot sauce. It’s adaptable to your taste. And honestly, the smell while they are baking? It fills the house with this incredible savory aroma that has everyone rushing to the kitchen. It’s that kind of recipe that turns a simple meal into something memorable. Plus, if you’re looking for other chicken dishes, you might enjoy my one-skillet crispy garlic parmesan chicken for a heartier option, or these juicy huli huli chicken wings for a sweet and tangy twist.
What Ingredients You Will Need
This recipe relies on simple, high-quality ingredients to deliver bold flavor and satisfying texture. The key is not using fancy items, but using them correctly. You want fresh wings, good quality oil, and spices that are fresh enough to have their potency. Here is what you need to gather before you start cooking.
For the Wings:
- Chicken Wings: 2 pounds of whole chicken wings. I recommend buying fresh wings rather than frozen, as they crisp up better. If you must use frozen, make sure they are completely thawed and patted dry. Split them at the joint if they are whole, so you have drumettes and flat tips.
- Baking Powder: 1 tablespoon. This is the secret weapon. It raises the pH of the skin, allowing it to brown and crisp faster. Make sure it is aluminum-free baking powder, as the aluminum taste can linger.
- Salt: 1 teaspoon of kosher salt. Kosher salt has larger flakes than table salt, so it adheres better and seasons more evenly. Use Morton Kosher Salt for best results.
- Garlic Powder: 1 teaspoon. Adds a savory depth without the risk of burning fresh garlic.
- Onion Powder: 1 teaspoon. Complements the garlic and adds a subtle sweetness.
- Paprika: 1 teaspoon. Smoked paprika adds a nice smoky note, but regular paprika works fine too.
- Black Pepper: ½ teaspoon. Freshly cracked pepper adds a bit of heat and texture.
For the Zesty Heat Finish:
- Unsalted Butter: 3 tablespoons. Melted. This helps the sauce adhere to the crispy skin and adds richness.
- Hot Sauce: 2 tablespoons. I recommend Frank’s RedHot or a similar cayenne-based sauce for that classic wing flavor. You can use sriracha for a garlic kick.
- Soy Sauce: 1 tablespoon. Adds umami and saltiness, balancing the heat.
- Lemon Juice: 1 tablespoon. Freshly squeezed. This is crucial for the brightness. Bottled juice won’t give you the same fresh punch.
- Honey: 1 teaspoon. Just a touch to balance the acidity and heat. Don’t overdo it, or it becomes too sweet.
- Red Pepper Flakes: ½ teaspoon (optional). For extra heat.
- Fresh Parsley: 1 tablespoon, chopped. For garnish and a fresh herbal note.
Substitutions and Tips:
If you are dairy-free, you can swap the butter for olive oil. It won’t be as rich, but it still works well. For a gluten-free option, ensure your hot sauce and soy sauce are certified gluten-free, or use coconut aminos instead of soy sauce. The baking powder is non-negotiable for crispiness, so don’t skip it or substitute it with baking soda, which can leave a metallic taste.
Equipment Needed
You don’t need a fancy kitchen to make great wings. Here is what you’ll need:
- Rimmed Baking Sheet: A standard half-sheet pan is perfect. Make sure it has a rim to catch any drips.
- Wire Rack: This is optional but highly recommended. Placing the wings on a wire rack allows air to circulate underneath, ensuring even cooking and crispiness on all sides. If you don’t have one, you can place them directly on the pan, but you may need to flip them halfway through.
- Paper Towels: Essential for drying the wings thoroughly before seasoning.
- Small Bowl: For mixing the dry spices.
- Medium Saucepan or Microwave-Safe Bowl: For melting the butter for the sauce.
- Tongs: For tossing the wings in the sauce.
I prefer a wire rack because it eliminates the need to flip the wings, which saves time and keeps the breading intact. However, if you are on a budget, a simple baking sheet works fine. Just make sure to line it with parchment paper for easy cleanup. Avoid using non-stick spray on the rack, as it can cause the skin to stick; a light brush of oil is better.
Preparation Method
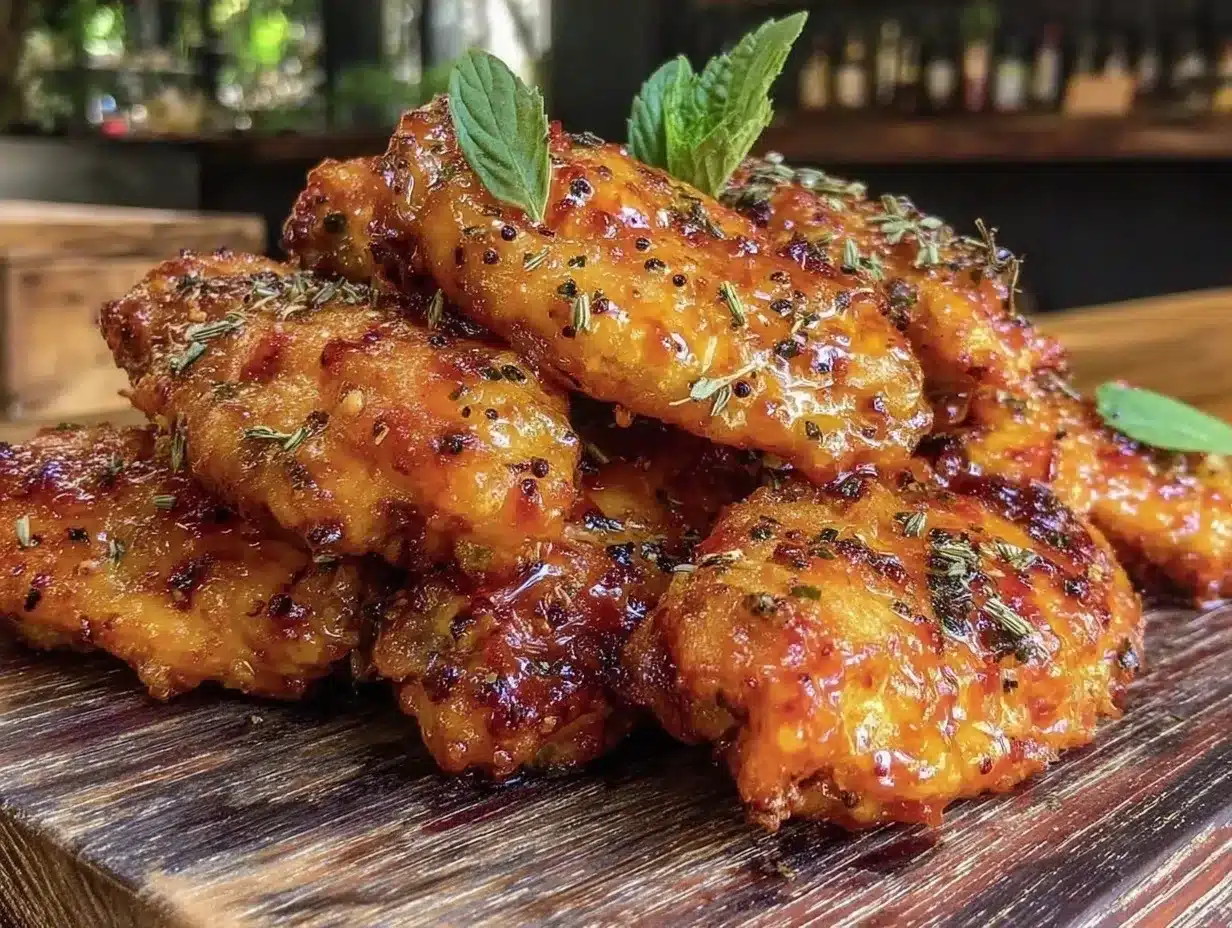
Getting those wings crispy requires patience and precision. Follow these steps carefully for the best results.
Step 1: Prep the Wings (10 Minutes)
Start by taking your chicken wings out of the package. If they are whole wings, separate them at the joint into drumettes and flat tips. Discard the wing tips, or save them for making homemade chicken stock later. Place the wings in a large bowl.
Step 2: Dry the Wings (Crucial Step)
This is the most important step. Use paper towels to pat the wings completely dry. You want to remove as much surface moisture as possible. Wet skin equals steam, and steam equals soggy wings. Be thorough. If you can, leave the dried wings on a plate in the refrigerator, uncovered, for at least 1 hour or up to 24 hours. This air-drying process further dehydrates the skin, leading to extra crispiness. I usually do this the night before if I’m planning a weekend cookout.
Step 3: Season the Wings (5 Minutes)
Preheat your oven to 425°F (220°C). Line your baking sheet with foil and place a wire rack on top. In a small bowl, mix together the baking powder, salt, garlic powder, onion powder, paprika, and black pepper. Sprinkle this mixture evenly over the wings. Use your hands to toss the wings until they are fully coated. Make sure every nook and cranny is covered.
Step 4: Arrange and Bake (40-45 Minutes)
Place the wings on the wire rack in a single layer. Do not overcrowd the pan. If the wings are touching, they will steam instead of bake. You may need to use two baking sheets. Place the tray in the preheated oven. Bake for 40 to 45 minutes. Halfway through, at the 20-minute mark, flip the wings if you are not using a rack. You want them to turn a deep golden brown and crisp up. They are done when the skin is crispy and the internal temperature reaches 165°F (74°C).
Step 5: Make the Sauce (5 Minutes)
While the wings are baking, prepare the zesty heat finish. In a small saucepan over low heat, melt the butter. Once melted, whisk in the hot sauce, soy sauce, lemon juice, honey, and red pepper flakes. Simmer for 1-2 minutes to let the flavors meld. Remove from heat.
Step 6: Toss and Serve (5 Minutes)
Transfer the hot, crispy wings to a large bowl. Pour the sauce over them. Toss gently but thoroughly to coat every wing. Sprinkle with fresh chopped parsley. Serve immediately while they are still hot and crunchy.
Cooking Tips & Techniques
Cooking wings is easier than it looks, but there are a few pitfalls to avoid. First, never skip the drying step. I learned this the hard way when I rushed one batch and ended up with steamed chicken. It was a disaster. Always pat them dry. Second, make sure your oven is fully preheated. Putting wings in a cold oven will result in greasy, unevenly cooked skin.
Another tip is to use the broiler for the last 2-3 minutes if you want extra crispiness. Watch them closely, as they can burn quickly. Also, don’t be afraid of high heat. 425°F is the sweet spot. Lower temperatures won’t render the fat enough, leaving the skin chewy.
When tossing the wings in the sauce, do it right before serving. If you let them sit in the sauce for too long, the moisture will soften the crispiness. The goal is to have that crunch in every bite. Also, taste your sauce before tossing. Adjust the salt, acid, or heat to your preference. Everyone’s palate is different, so make it yours.
I also recommend using a meat thermometer to check for doneness. Overcooked wings are dry and tough, while undercooked wings are unsafe. 165°F is the safe minimum, but some people prefer them cooked to 175°F for more collagen breakdown and tenderness.
Variations & Adaptations
While the zesty heat finish is my favorite, these wings are a blank canvas. Here are a few ways to change them up:
- Classic Buffalo: Skip the honey and lemon. Just use butter and Frank’s RedHot sauce. Add a dash of vinegar for tang.
- Garlic Parmesan: Toss the baked wings in melted butter, garlic powder, and grated Parmesan cheese. Finish with parsley. This pairs well with creamy rigatoni with Italian sausage for a full meal.
- BBQ Glaze: Use your favorite BBQ sauce instead of the hot sauce mixture. Brush it on during the last 5 minutes of baking for a sticky, sweet glaze.
- Soy Ginger: Mix soy sauce, grated ginger, sesame oil, and a little chili oil. Toss the wings in this mixture after baking.
- Vegan Option: You can use cauliflower florets instead of chicken. Toss them in the same seasoning blend and bake until crispy. The technique remains the same.
For a gluten-free version, ensure your hot sauce and soy sauce are gluten-free. You can also use cornstarch instead of baking powder for a lighter crunch, though baking powder is still superior for texture. If you are watching your sodium, reduce the salt in the dry rub and use low-sodium soy sauce.
Serving & Storage Suggestions
These wings are best served immediately while hot. They pair wonderfully with celery sticks and carrot sticks, along with a cool blue cheese or ranch dipping sauce. The contrast of the hot, spicy wings with the cold, creamy dip is classic for a reason. You can also serve them with a simple side salad or some roasted garlic parmesan zucchini to add some veggies to the meal.
If you have leftovers (unlikely, but possible), store them in an airtight container in the refrigerator for up to 3 days. To reheat, place them in a 400°F oven for 10-15 minutes. Avoid the microwave, as it will make the skin rubbery. You can also freeze the baked wings (without sauce) for up to 3 months. Reheat from frozen in the oven until heated through, then toss in the sauce.
The flavors develop over time, so the wings taste even better the next day as the spices settle into the skin. However, the crunch will diminish slightly after the first day. For the best experience, eat them fresh.
Nutritional Information & Benefits
Chicken wings are a good source of protein, which is essential for muscle repair and satiety. By baking instead of frying, you significantly reduce the fat content. One serving (about 4-5 wings) contains approximately 250-300 calories, depending on the size of the wings and the amount of sauce used. The skin provides some healthy fats, and the chicken is a complete protein.
For those on low-carb or keto diets, this recipe is perfect. Just ensure your hot sauce and soy sauce are sugar-free or low-sugar. The baking powder trick doesn’t add any carbs, making it a guilt-free indulgence.
I also appreciate that this recipe allows for control over ingredients. Store-bought wings often come with preservatives and excessive sodium. By making them at home, you know exactly what is going into your food. It’s a small change that makes a big difference in your overall health. Plus, the bright, acidic finish aids digestion, making it a lighter option than heavy, creamy dishes.
Conclusion
These crispy oven baked chicken wings are a game-changer. They are easy to make, incredibly flavorful, and satisfy that craving for something crunchy and spicy. The zesty heat finish adds a layer of complexity that elevates them above standard buffalo wings. I love making these because they bring people together. Whether it’s a family dinner or a party with friends, these wings are always the first thing to disappear.
I encourage you to try this recipe and customize it to your liking. Add more heat, less heat, or try a different flavor profile. The base technique is solid, so you can’t go wrong. And if you need more chicken inspiration, check out my crispy chicken chow mein for a quick weeknight win.
Please leave a comment below and let me know how they turned out for you. Did you add extra heat? Did your kids love them? I’d love to hear your stories. Share this recipe with your friends and family, and enjoy the crunch. Happy cooking!
FAQs
Why are my oven-baked wings not crispy?
The most common reason is insufficient drying. Make sure to pat the wings completely dry with paper towels and, if possible, air dry them in the fridge for a few hours before baking. Also, ensure your oven is fully preheated and not overcrowded.
Can I use baking soda instead of baking powder?
It is not recommended. Baking soda is much more alkaline and can leave a soapy or metallic taste. Baking powder is the correct ingredient for crisping chicken skin.
How do I store leftover wings?
Store them in an airtight container in the refrigerator for up to 3 days. Reheat in the oven at 400°F for 10-15 minutes to restore crispiness. Do not microwave.
Can I freeze these wings?
Yes, you can freeze the baked wings (without sauce) for up to 3 months. Thaw in the refrigerator overnight and reheat in the oven before tossing in the sauce.
What is the best hot sauce for these wings?
Frank’s RedHot is the classic choice for a traditional buffalo flavor. For a garlic kick, try sriracha. For a smoky flavor, try chipotle sauce. Choose based on your personal preference.
Pin This Recipe!
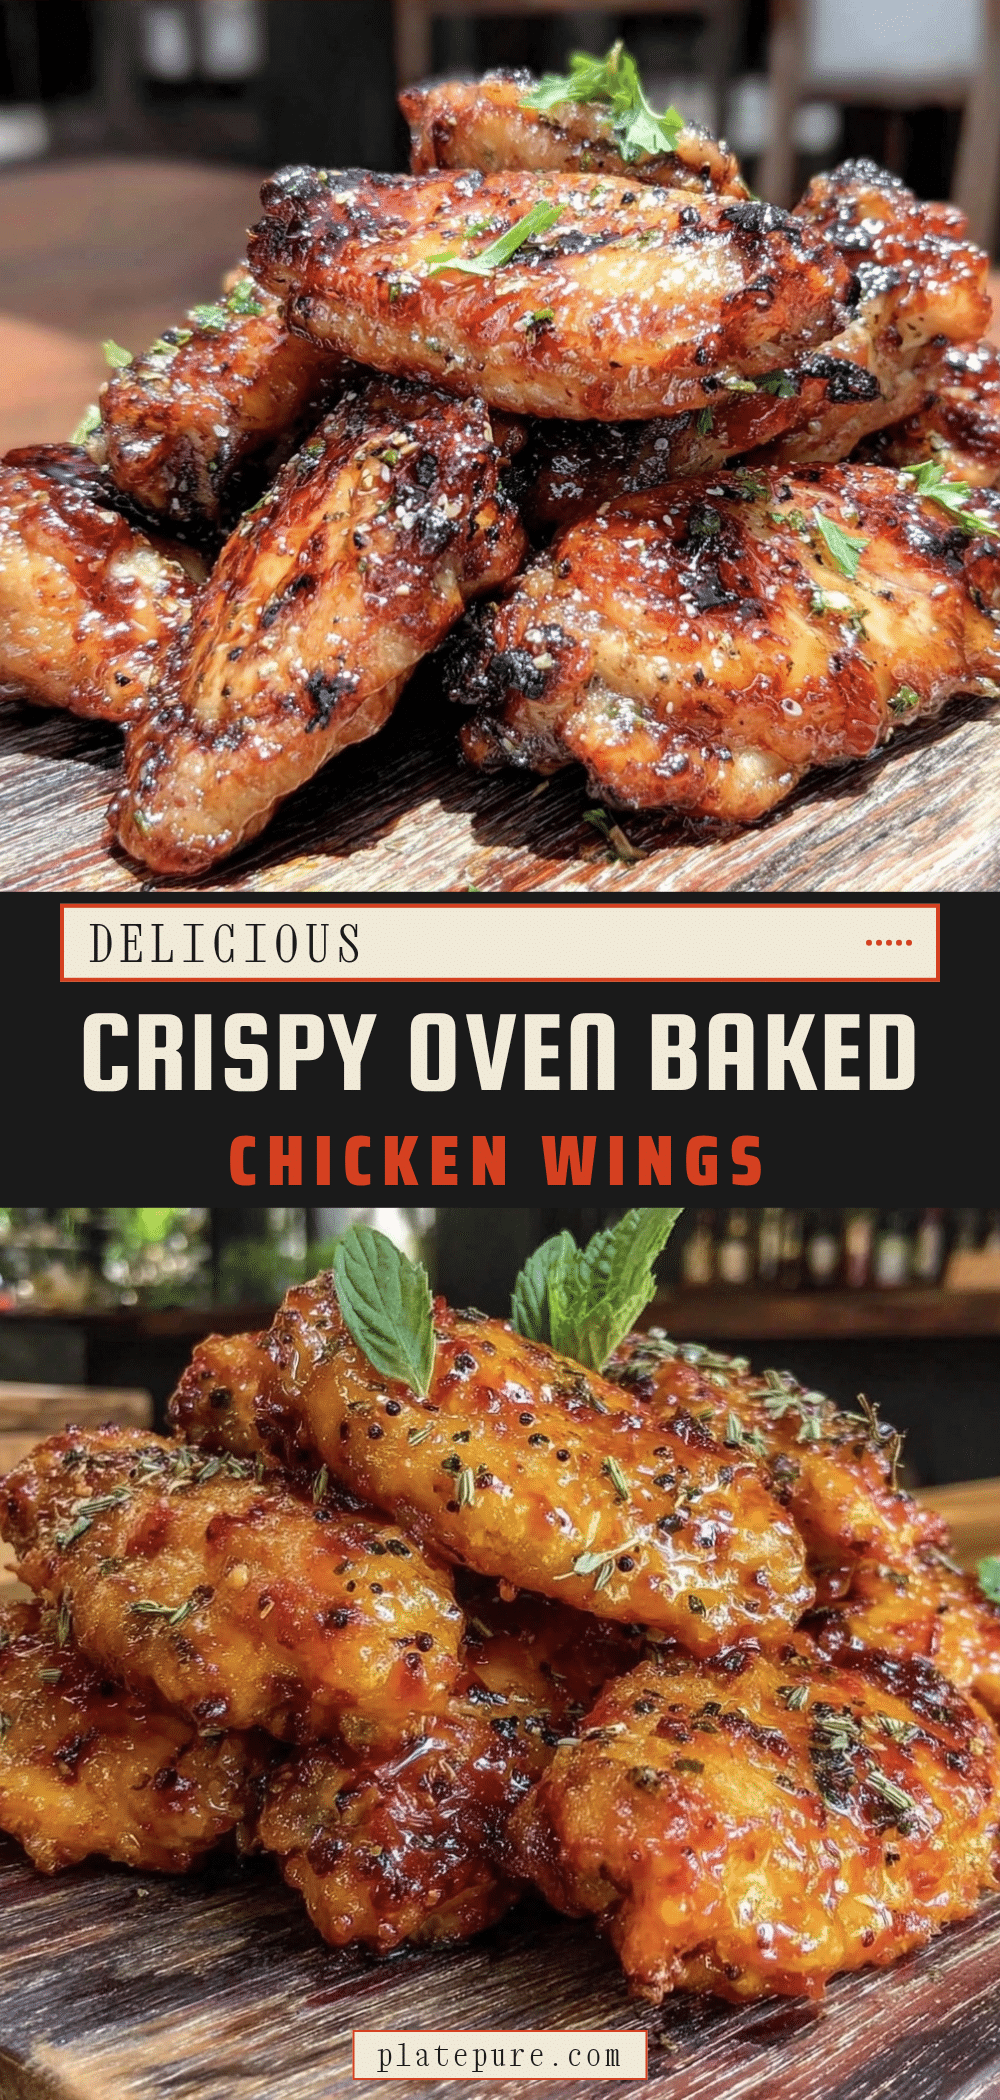

Crispy Oven Baked Chicken Wings: 20-Min Easy Zesty Heat
- Total Time: 55 minutes
- Yield: 4 servings 1x
Description
Achieve restaurant-style crispy chicken wings in the oven using a baking powder and air-drying technique, finished with a bright, zesty heat sauce.
Ingredients
- 2 pounds whole chicken wings, separated at joints
- 1 tablespoon aluminum-free baking powder
- 1 teaspoon kosher salt
- 1 teaspoon garlic powder
- 1 teaspoon onion powder
- 1 teaspoon paprika
- 1/2 teaspoon black pepper
- 3 tablespoons unsalted butter, melted
- 2 tablespoons hot sauce (e.g., Frank’s RedHot)
- 1 tablespoon soy sauce
- 1 tablespoon fresh lemon juice
- 1 teaspoon honey
- 1/2 teaspoon red pepper flakes (optional)
- 1 tablespoon fresh parsley, chopped
Instructions
- Preheat oven to 425°F (220°C). Line a rimmed baking sheet with foil and place a wire rack on top.
- Pat chicken wings completely dry with paper towels to remove surface moisture.
- For extra crispiness, place dried wings on a plate in the refrigerator, uncovered, for at least 1 hour or up to 24 hours.
- In a small bowl, mix baking powder, salt, garlic powder, onion powder, paprika, and black pepper.
- Toss wings in the spice mixture until evenly coated.
- Arrange wings in a single layer on the wire rack, ensuring they are not touching.
- Bake for 40-45 minutes, flipping halfway through if not using a rack, until skin is crispy and internal temperature reaches 165°F.
- While wings bake, melt butter in a small saucepan over low heat.
- Whisk in hot sauce, soy sauce, lemon juice, honey, and red pepper flakes. Simmer for 1-2 minutes.
- Transfer hot wings to a large bowl, pour sauce over, and toss to coat.
- Garnish with fresh parsley and serve immediately.
Notes
Ensure wings are completely dry before seasoning to prevent steaming. Do not substitute baking powder with baking soda as it can leave a metallic taste. For best results, air dry wings in the fridge overnight. Reheat leftovers in the oven at 400°F to maintain crispiness; avoid microwaving.
- Prep Time: 10 minutes
- Cook Time: 45 minutes
- Category: Appetizer
- Cuisine: American
Nutrition
- Serving Size: 4-5 wings per servin
- Calories: 275
- Sugar: 3
- Sodium: 650
- Fat: 18
- Saturated Fat: 7
- Carbohydrates: 4
- Protein: 22
Keywords: crispy chicken wings, oven baked wings, zesty heat wings, game day food, easy appetizer, keto friendly, gluten free option


