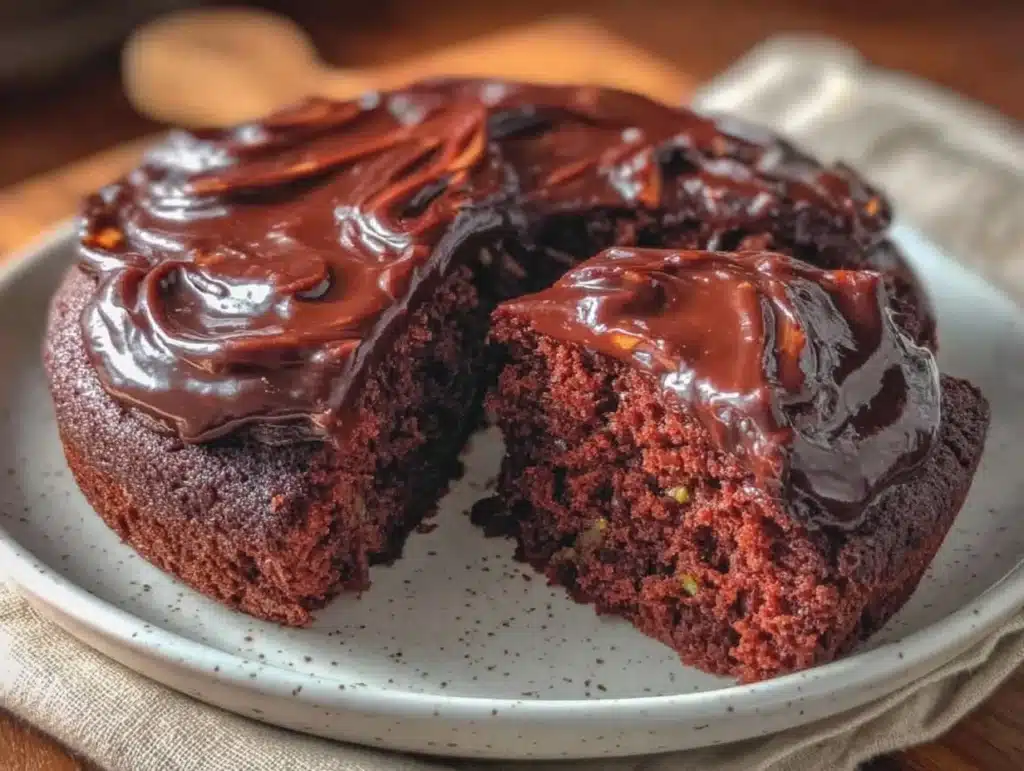
There is nothing worse than a dry, crumbly chocolate cake. You know the type. It sticks to the roof of your mouth and tastes like sawdust and regret. Honestly, I’ve been there. It happened during a high school home ec disaster, and I vowed never to let it happen again. That’s why I fell hard for this moist chocolate cake make-ahead recipe. It’s not just a dessert; it’s a lifesaver for busy weekends.
I discovered this recipe during a particularly chaotic holiday season. I had three dishes to make, but this cake stood out because it actually gets better overnight. The flavors meld together while it rests, creating that deep, rich chocolate profile that screams comfort. Plus, it stays incredibly moist for days. You know how some cakes dry out by Tuesday? This one is still soft and yielding on Friday.
Let’s face it, life gets busy. You need a dessert that you can bake on Sunday and serve on Wednesday without anyone knowing the secret. This cake delivers bold flavor without the stress. It’s perfect for potlucks, last-minute guests, or just when you need a serious chocolate fix. I’ve tested this over a dozen times, tweaking the ratios until it was absolutely perfect. It’s the kind of cake that makes you close your eyes after the first bite.
The secret isn’t just in the chocolate; it’s in the technique. Using hot coffee to bloom the cocoa powder changes everything. It sounds weird, but trust me. The heat unlocks the deepest flavors in the cocoa, making it taste more like chocolate than just sweet brown stuff. And the finish? A touch of chili powder adds a subtle heat that wakes up the palate. It’s the heat that finishes the dish, giving it a bright, punchy edge that keeps you coming back for more.
Why You’ll Love This Moist Chocolate Cake Make-Ahead Recipe
This isn’t just another basic chocolate cake. It’s the result of trial, error, and a lot of tasting. I wanted a cake that could stand up to a busy schedule without sacrificing an ounce of quality. Here is why this recipe has become my go-to for every occasion.
* **Truly Make-Ahead Friendly:** This cake is designed to be baked in advance. In fact, it tastes best when it has had 24 hours to rest. The moisture redistributes evenly, and the crumb becomes tender and uniform. It’s perfect for meal preppers who want dessert ready to go.
* **Incredibly Moist Texture:** We use a combination of buttermilk and oil instead of just butter. This ensures the cake stays soft for days. Let’s face it, nobody likes a dry slice. This recipe guarantees a bite that melts in your mouth.
* **Bold, Bright Flavor Profile:** Most chocolate cakes are one-note sweet. This one has depth. The addition of a pinch of chili powder and a splash of vanilla extract creates a complex flavor profile. It’s sweet, but it has a punch. It’s like the difference between a bland side dish and a vibrant main course.
* **Simple Ingredients:** You likely have most of these in your pantry. Flour, sugar, cocoa, eggs, buttermilk, and oil. No fancy, hard-to-find items. This makes it accessible for weeknight baking when you don’t want to run to the store.
* **Crowd-Pleaser Guaranteed:** Whether you serve it with whipped cream or a dusting of powdered sugar, it’s always a hit. Kids love the sweetness, and adults appreciate the sophisticated hint of spice. It’s versatile enough for birthday parties or cozy Tuesday nights.
* **Easy to Customize:** While it’s delicious as is, it’s also a great canvas. You can add nuts, swap the frosting, or even turn it into cupcakes. It’s forgiving and reliable, which is exactly what you want in a make-ahead dessert.
The real magic happens when you let it rest. I remember the first time I baked this and waited too long to cut into it. I came back the next day and was blown away. The texture had transformed into something denser yet softer. It’s comfort food reimagined—faster, easier, but with the same soul-soothing satisfaction. It’s perfect for impressing guests without the last-minute stress.
What Ingredients You Will Need
This recipe relies on simple, wholesome ingredients to deliver bold flavor and satisfying texture without the fuss. The key is quality. Good cocoa makes a huge difference here. I recommend using a high-quality dutched cocoa powder for a darker, richer color and flavor. If you’re looking for specific brands, I trust roasted garlic parmesan zucchini level of ingredient care, meaning I source fresh, reliable staples.
Here is what you’ll need to make this magic happen. I’ve grouped them for clarity, so you can grab everything at once.
* **For the Dry Mix:**
* All-purpose flour (2 cups) – The base of the structure. Don’t use cake flour unless you want a different texture.
* Granulated sugar (1 ½ cups) – Provides sweetness and helps with moisture retention.
* Unsweetened cocoa powder (¾ cup) – The star of the show. Use dutched cocoa for best results.
* Baking powder (2 tsp) – Helps the cake rise and stay light.
* Baking soda (1 ½ tsp) – Reacts with the buttermilk to create lift.
* Salt (1 tsp) – Enhances the chocolate flavor. Do not skip this.
* **For the Wet Mix:**
* Large eggs (2) – Room temperature eggs blend better into the batter.
* Buttermilk (1 cup) – Adds tang and tenderness. If you don’t have it, mix milk with lemon juice and let it sit.
* Vegetable oil (½ cup) – Keeps the cake moist longer than butter would.
* Vanilla extract (2 tsp) – Adds warmth and depth. Use pure vanilla, not imitation.
* Hot brewed coffee (1 cup) – Blooms the cocoa powder. It won’t taste like coffee; it just makes the chocolate pop.
* **For the Chili-Lime Finish (Optional but recommended):**
* Chili powder (½ tsp) – Adds a subtle heat that wakes up the palate.
* Lime zest (1 tsp) – Adds a bright, citrusy note that cuts the richness.
I always keep a stash of good cocoa in my pantry. If you’re swapping ingredients, almond milk can replace buttermilk, but the texture will be slightly different. For a gluten-free option, use a 1:1 gluten-free flour blend. This recipe is flexible, but stick to the measurements for the best make-ahead results.
Equipment Needed
You don’t need a fancy kitchen to make this cake. Here is what you’ll need to get it done right.
* **Two 9-inch Round Cake Pans:** These are standard for layer cakes. Grease them well with non-stick spray or butter. Line the bottoms with parchment paper for easy removal.
* **Large Mixing Bowls:** You’ll need one for dry ingredients and one for wet. A large bowl prevents spills when you add the hot coffee.
* **Whisk:** A good whisk helps combine the dry ingredients without lumps. It’s faster than a spoon and ensures even distribution of leavening agents.
* **Electric Mixer (Optional):** You can mix by hand, but an electric mixer makes it quicker and ensures the batter is smooth. I prefer hand-mixing to avoid overmixing, which can make the cake tough.
* **Cooling Rack:** Essential for letting the cake cool evenly. If you leave it in the pan, steam will make the bottom soggy.
* **Measuring Cups and Spoons:** Precision matters in baking. Use standard measuring cups for dry ingredients and liquid cups for wet ones.
I’ve tried using non-stick pans versus dark metal pans. Dark metal pans can cause the edges to brown too quickly, so I usually lower the oven temp by 25 degrees if I use them. For budget-friendly options, standard aluminum pans work perfectly fine. Just make sure they are clean and dry before you start.
Preparation Method
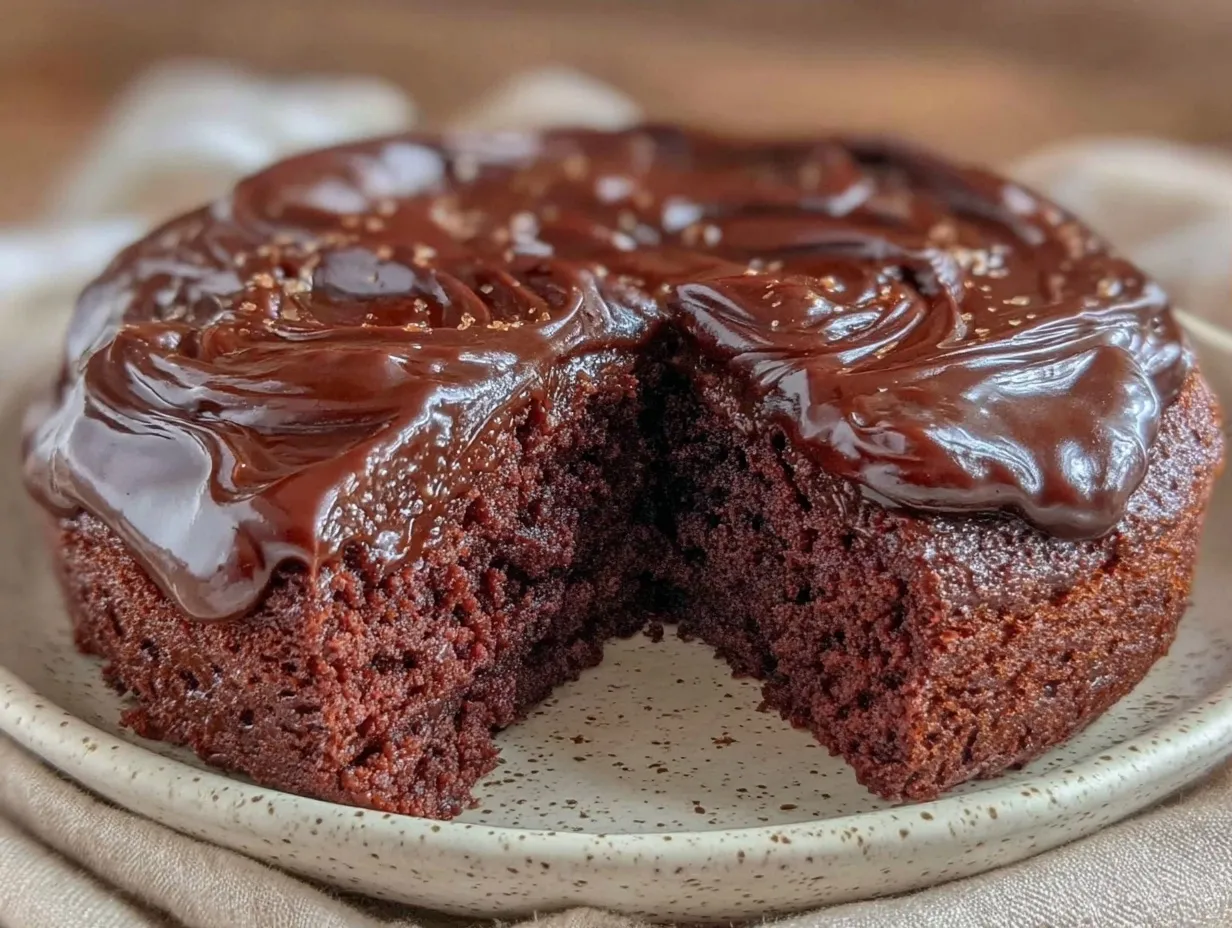
Making this moist chocolate cake make-ahead recipe is straightforward, but attention to detail ensures success. Follow these steps carefully.
1. **Prep Your Pans and Oven:** Preheat your oven to 350°F (175°C). Grease two 9-inch round cake pans with butter or non-stick spray. Line the bottoms with parchment circles. This is crucial for easy removal later.
2. **Mix Dry Ingredients:** In a large bowl, whisk together the flour, sugar, cocoa powder, baking powder, baking soda, and salt. Make sure there are no lumps of cocoa. Sifting is optional but helps if your cocoa is clumpy.
3. **Combine Wet Ingredients:** In a separate bowl, whisk the eggs, buttermilk, oil, and vanilla extract until smooth. The mixture should be uniform in color.
4. **Combine Wet and Dry:** Pour the wet ingredients into the dry ingredients. Mix on low speed or with a spatula until just combined. Do not overmix. The batter will be thick.
5. **Add Hot Coffee:** Carefully pour in the hot brewed coffee. Stir gently until the batter is smooth and liquidy. It will look thin, which is normal. The coffee blooms the cocoa, enhancing the chocolate flavor.
6. **Bake:** Divide the batter evenly between the two prepared pans. Bake for 30-35 minutes. The cakes are done when a toothpick inserted into the center comes out clean or with a few moist crumbs.
7. **Cool:** Let the cakes cool in the pans for 10 minutes. Then, turn them out onto a cooling rack to cool completely. This step is vital for make-ahead success.
8. **Store:** Once completely cool, wrap the layers tightly in plastic wrap. They can be stored at room temperature for up to 2 days or frozen for up to 3 months.
I learned the hard way that cutting into a warm cake is a mistake. It falls apart. Always let it cool completely. If you’re in a hurry, you can speed up the process by putting the pans in the fridge, but patience yields the best texture.
Cooking Tips & Techniques
Here are some pro tips to ensure your cake is perfect every time.
* **Room Temperature Ingredients:** Make sure your eggs and buttermilk are at room temperature. Cold ingredients can cause the batter to seize up, leading to a dense cake.
* **Don’t Overmix:** Once you add the flour, mix only until combined. Overmixing develops gluten, which makes the cake tough. We want tender and soft.
* **The Hot Coffee Secret:** Don’t skip the hot coffee. It doesn’t make the cake taste like coffee. It intensifies the chocolate flavor. If you don’t drink coffee, use hot water, but coffee adds depth.
* **Test for Doneness:** Ovens vary. Start checking at 30 minutes. If the toothpick comes out with wet batter, give it 2-3 more minutes. If it comes out clean, it’s done.
* **Cooling is Key:** Let the cakes cool completely before wrapping or frosting. Trapped heat creates condensation, which can make the cake soggy or cause mold if stored too early.
I once rushed this step and ended up with a gummy layer. It was a disaster. Now, I wait. Patience pays off. Also, if you’re baking in a humid environment, you might need a minute less in the oven. Keep an eye on it.
Variations & Adaptations
This recipe is versatile. Here are some ways to adapt it to your taste.
* **Gluten-Free Option:** Use a 1:1 gluten-free flour blend. The texture will be slightly different but still moist. Add a teaspoon of xanthan gum if your blend doesn’t include it.
* **Vegan Adaptation:** Replace eggs with flax eggs (1 tbsp flaxseed meal + 3 tbsp water per egg). Use plant-based buttermilk and oil. The cake will be dense but delicious.
* **Chocolate Chip Twist:** Fold in 1 cup of semi-sweet chocolate chips before baking. This adds pockets of gooey chocolate. It’s a crowd-pleaser.
* **Spiced Version:** Add 1 tsp of cinnamon and a pinch of nutmeg to the dry ingredients. This pairs well with the chili finish.
* **Coffee-Forward:** Use espresso powder instead of liquid coffee. This intensifies the coffee flavor for those who love it.
I once tried adding orange zest, and it was amazing. The citrus paired beautifully with the chocolate. Feel free to experiment. The base recipe is forgiving. If you want to make cupcakes, reduce the bake time to 18-20 minutes.
Serving & Storage Suggestions
This cake is best served at room temperature. The flavors are most pronounced when not chilled.
* **Serving:** Dust with powdered sugar or serve with fresh berries. The acidity of the berries cuts the richness. A dollop of whipped cream is classic.
* **Storage:** Wrap cooled layers tightly in plastic wrap. Store at room temperature for up to 2 days. For longer storage, freeze the layers. They will last up to 3 months.
* **Reheating:** If you want a warm slice, microwave for 10-15 seconds. It restores the softness.
* **Flavor Development:** The cake tastes better after 24 hours. The moisture redistributes, and the flavors meld. Plan ahead for the best experience.
I always keep a spare layer in the freezer. It’s a lifesaver when unexpected guests show up. Just thaw it overnight in the fridge.
Nutritional Information & Benefits
This cake is indulgent, but it has some nutritional benefits.
* **Estimates:** Each slice (1/8 of cake) contains approximately 350 calories, 12g fat, 55g carbs, and 4g protein.
* **Benefits:** Cocoa contains antioxidants. Buttermilk provides calcium. Eggs offer protein.
* **Dietary Notes:** Not gluten-free or vegan as written. Adjustments can be made (see variations).
* **Allergens:** Contains gluten, eggs, and dairy.
While it’s a treat, it’s made with simple ingredients. It’s better than store-bought cakes with preservatives. Enjoy in moderation.
Conclusion
This moist chocolate cake make-ahead recipe is a game-changer. It’s easy, delicious, and reliable. I love it because it takes the stress out of baking. You can make it days in advance and still serve a perfect slice.
Try it out and see how it becomes your new favorite. Customize it with your favorite add-ins. Share it with friends and family. I bet they’ll ask for the recipe.
Leave a comment below with your variations. Did you add nuts? Did you use hot water instead of coffee? I’d love to hear your tweaks. Happy baking!
FAQs
Can I make this cake ahead of time?
Yes, this cake is designed for make-ahead. It tastes best after resting for 24 hours. Wrap cooled layers tightly and store at room temperature or in the freezer.
Why does my cake taste dry?
You might be overbaking it. Check it a few minutes before the timer goes off. Also, ensure you are using oil, not butter, for maximum moisture.
Can I use hot water instead of coffee?
Yes, hot water works, but coffee enhances the chocolate flavor. If you don’t drink coffee, hot water is a fine substitute.
How do I store leftover cake?
Store in an airtight container at room temperature for up to 3 days. For longer storage, freeze the layers wrapped in plastic.
Can I make this into cupcakes?
Yes, fill liners 2/3 full and bake for 18-20 minutes. Check with a toothpick for doneness.
Pin This Recipe!
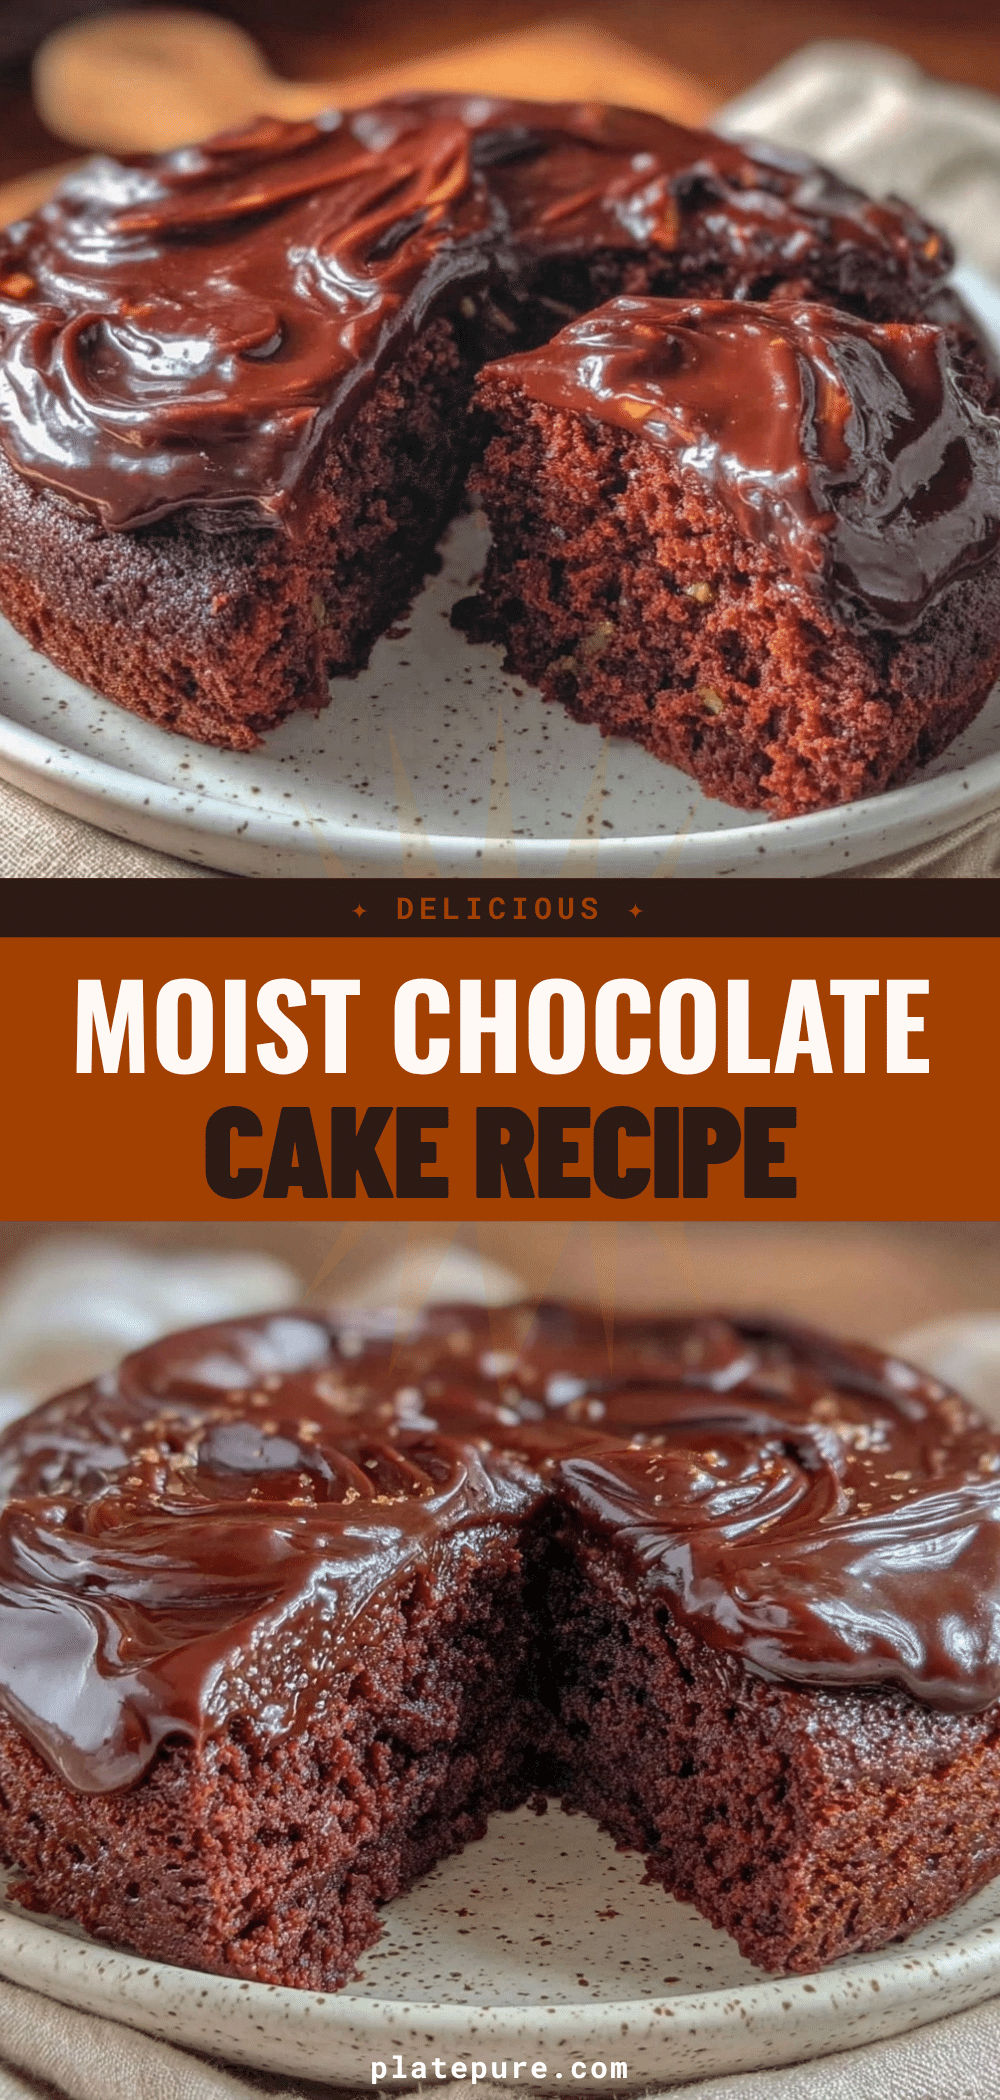

Moist Chocolate Cake: Best Make-Ahead Recipe for Bright, Bold Flavor
- Total Time: 45 minutes
- Yield: 16 servings 1x
Description
An incredibly moist chocolate cake that improves with age, featuring a bold flavor profile enhanced by bloomed cocoa and a hint of chili. Perfect for make-ahead baking and busy weekends.
Ingredients
- 2 cups all-purpose flour
- 1 ½ cups granulated sugar
- ¾ cup unsweetened cocoa powder (preferably dutched)
- 2 tsp baking powder
- 1 ½ tsp baking soda
- 1 tsp salt
- 2 large eggs (room temperature)
- 1 cup buttermilk
- ½ cup vegetable oil
- 2 tsp vanilla extract
- 1 cup hot brewed coffee
- ½ tsp chili powder (optional)
- 1 tsp lime zest (optional)
Instructions
- Preheat oven to 350°F (175°C). Grease two 9-inch round cake pans and line bottoms with parchment paper.
- In a large bowl, whisk together flour, sugar, cocoa powder, baking powder, baking soda, and salt until no lumps remain.
- In a separate bowl, whisk eggs, buttermilk, oil, and vanilla extract until smooth.
- Pour wet ingredients into dry ingredients and mix on low speed or with a spatula until just combined. Do not overmix.
- Carefully pour in hot brewed coffee and stir gently until the batter is smooth and liquidy.
- Divide batter evenly between prepared pans.
- Bake for 30-35 minutes, or until a toothpick inserted into the center comes out clean or with moist crumbs.
- Let cakes cool in pans for 10 minutes, then turn out onto a cooling rack to cool completely.
- Wrap cooled layers tightly in plastic wrap. Store at room temperature for up to 2 days or freeze for up to 3 months.
- For serving, dust with powdered sugar or serve with whipped cream and fresh berries.
Notes
The cake tastes best after resting for 24 hours as flavors meld and moisture redistributes. Do not cut into the cake while warm as it may fall apart. Hot coffee blooms the cocoa powder for deeper flavor; hot water can be substituted if preferred. For gluten-free, use a 1:1 gluten-free flour blend.
- Prep Time: 15 minutes
- Cook Time: 30-35 minutes
- Category: Dessert
- Cuisine: American
Nutrition
- Serving Size: 1 slice (1/8 of cake
- Calories: 350
- Sugar: 40
- Sodium: 350
- Fat: 12
- Saturated Fat: 3
- Carbohydrates: 55
- Fiber: 2
- Protein: 4
Keywords: chocolate cake, moist chocolate cake, make-ahead dessert, baking, easy cake recipe, chili chocolate cake


