Let’s be honest for a second. You know that moment when you take a bite of a sandwich, and the bread just… falls apart? It’s soggy. It’s dense. It tastes like it was bought from a plastic bag three days ago. I’ve been there. I’ve eaten my share of sad, flat sub rolls that offered zero resistance and even less joy.
My breakthrough with classic hoagie rolls happened on a rainy Tuesday in November. I was trying to recreate the magic of a specific deli in Philadelphia, the kind with the wooden counters and the smell of roasted meat hanging in the air. I wanted that specific chew. That slight snap of the crust followed by a cloud-like interior. After six failed attempts (yes, six), I finally cracked the code.
It wasn’t about fancy flour or expensive yeast. It was about hydration and steam. Now, I make these hoagie rolls perfect for sub sandwiches almost every weekend. They are the backbone of my best meals. Whether I’m making a roast beef dip or a loaded Italian sub, these rolls hold up. They don’t disintegrate. They provide structure without stealing the spotlight.
If you’ve ever felt intimidated by yeast breads, let me assure you: this is the one to start with. It’s forgiving. It’s forgiving, I say! The dough is sticky at first, but it comes together beautifully. Plus, there is nothing quite like the smell of baking bread filling your kitchen. It’s comfort in its purest form. And honestly, once you taste the difference between homemade and store-bought, you’ll never go back.
Why You’ll Love This Recipe
There is a specific satisfaction in pulling a golden-brown hoagie roll from the oven. It’s not just about the taste; it’s about the texture. Here is why this recipe has become a staple in my kitchen, and why I know it will become one in yours too.
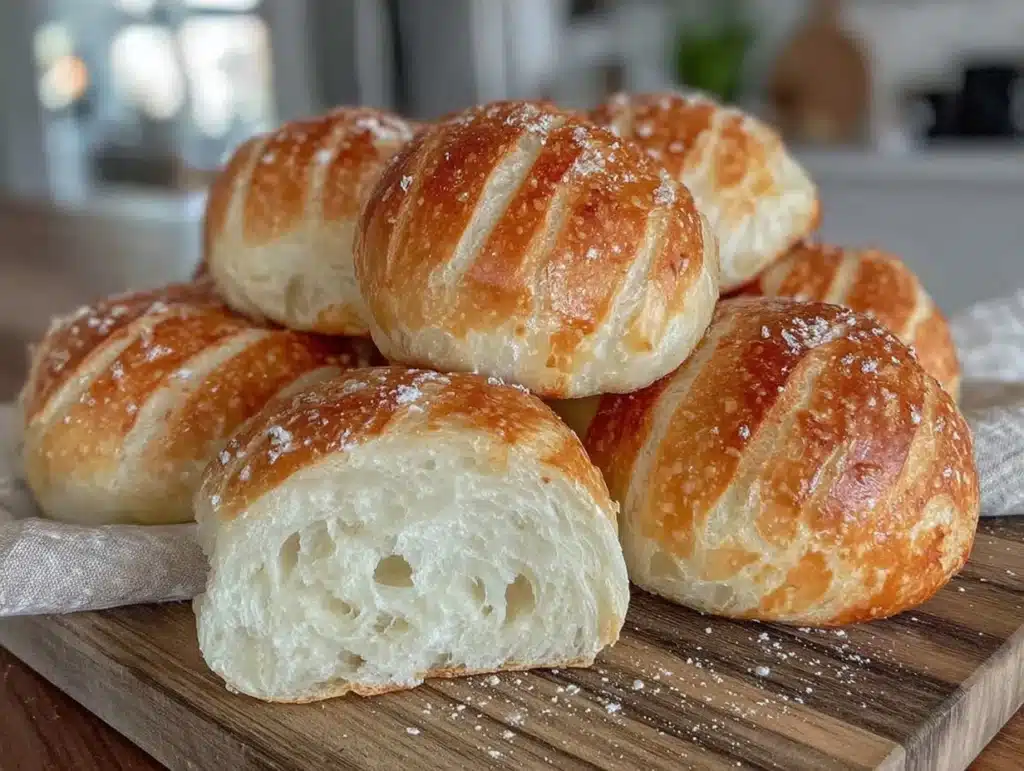
- Perfect Texture Balance: These rolls have a thin, crisp crust that gives way to a soft, airy crumb. It’s the ideal structure for holding heavy fillings like meatballs, tuna salad, or roasted vegetables without getting soggy.
- Simple, Pantry Ingredients: You don’t need specialty flours or obscure additives. Just flour, water, yeast, salt, sugar, and a little oil. If you have these in your kitchen, you’re already halfway done. It’s accessible baking at its finest.
- Super Versatile: These aren’t just for subs. I use them for burgers, sliders, and even toasted sandwiches with butter. They are the chameleon of bread. Try pairing them with a spicy Asian cucumber salad for a refreshing contrast to the warm bread.
- Make-Ahead Friendly: You can let the dough rise slowly in the fridge overnight. This develops a deeper, more complex flavor that you just can’t get from a quick rise. It’s perfect for busy mornings when you want fresh bread without the early wake-up call.
- Freezes Like a Dream: One of the best things about homemade bread is that it freezes beautifully. I often bake a double batch and freeze half. They thaw up soft and fresh, ready to be toasted or sliced for a quick lunch.
- Customizable Size: You control the size. Want giant, towering subs? Or small, bite-sized sliders? The recipe scales easily. I usually make six large rolls, but I’ve split the dough to make twelve smaller ones for parties.
What makes this recipe different from others online is the focus on hydration. Most hoagie roll recipes are too dry, resulting in a dense loaf. By keeping the dough slightly stickier and using steam during baking, we get that professional bakery texture. It’s the acid that cuts through the richness of the fillings, balancing the meal perfectly. It’s not just bread; it’s the foundation of a great sandwich.
What Ingredients You Will Need
This recipe relies on the quality of simple ingredients. Since there are so few of them, each one plays a critical role in the final flavor and texture. You don’t need fancy equipment, but you do need to measure accurately, especially the flour.
- All-Purpose Flour (500g / 4 cups): This is your base. I recommend using a bread flour if you want extra chew, but all-purpose works perfectly for a softer roll. I prefer King Arthur All-Purpose for its consistent protein content. Make sure to spoon and level your flour; packing it down will lead to dry rolls.
- Warm Water (300ml / 1 1/4 cups): The water activates the yeast. It should be between 105°F and 110°F (40°C-43°C). If it’s too hot, you’ll kill the yeast. If it’s too cold, the dough won’t rise properly. Lukewarm is the sweet spot.
- Active Dry Yeast (7g / 1 packet): Standard yeast works fine. You can also use instant yeast, but if you do, you might need to adjust the liquid slightly. I always check the expiration date on my yeast packets because old yeast is the number one reason for failed bread.
- Sugar (2 tablespoons): This feeds the yeast and helps with browning. You can use white granulated sugar, but brown sugar adds a nice depth of flavor. For a slightly healthier option, honey works well too.
- Salt (2 teaspoons): Salt controls the yeast activity and enhances flavor. Don’t skip this! Without salt, the bread will taste flat and the yeast will work too fast.
- Olive Oil or Vegetable Oil (2 tablespoons): Oil tenderizes the crumb and adds moisture. Olive oil adds a fruity note, while vegetable oil is neutral. I usually use olive oil for better flavor.
- Optional Egg Wash: For a shiny, golden crust, brush the rolls with a beaten egg before baking. This is purely for aesthetics, but it looks professional.
For substitutions, you can use whole wheat flour for up to 30% of the total flour if you want more fiber. However, too much whole wheat will make the rolls dense. If you are dairy-free, this recipe is naturally dairy-free since it uses oil instead of butter. For a gluten-free option, you would need a specialized 1-to-1 gluten-free flour blend, but the texture will be different.
Equipment Needed
You don’t need a lot of fancy gear to make these rolls, but having the right tools makes the process smoother.
- Mixing Bowl: A large bowl, at least 5-quart capacity, is ideal. Glass or ceramic bowls are great because they don’t retain heat like metal might.
- Digital Scale: I strongly recommend using a scale instead of cups for accuracy. Baking is chemistry, and weight is more precise than volume. If you must use cups, use the spoon-and-level method.
- Dough Scraper: This is a game-changer for sticky dough. It helps you fold the dough and clean the bowl without making a mess. It’s also budget-friendly.
- Baking Sheets: Standard half-sheet pans work perfectly. Line them with parchment paper for easy cleanup and to prevent sticking.
- Oven Thermometer: Ovens can be inaccurate. An inexpensive thermometer ensures your oven is actually at the temperature you set, which is crucial for proper rising and baking.
- Clean Kitchen Towel or Plastic Wrap: You’ll need this to cover the dough during rising. A damp towel works well to prevent a skin from forming on the dough.
If you don’t have a dough scraper, a rubber spatula can work, but it’s harder to work with sticky dough. A wooden spoon is also fine for mixing, but your hands will be needed for kneading.
Preparation Method
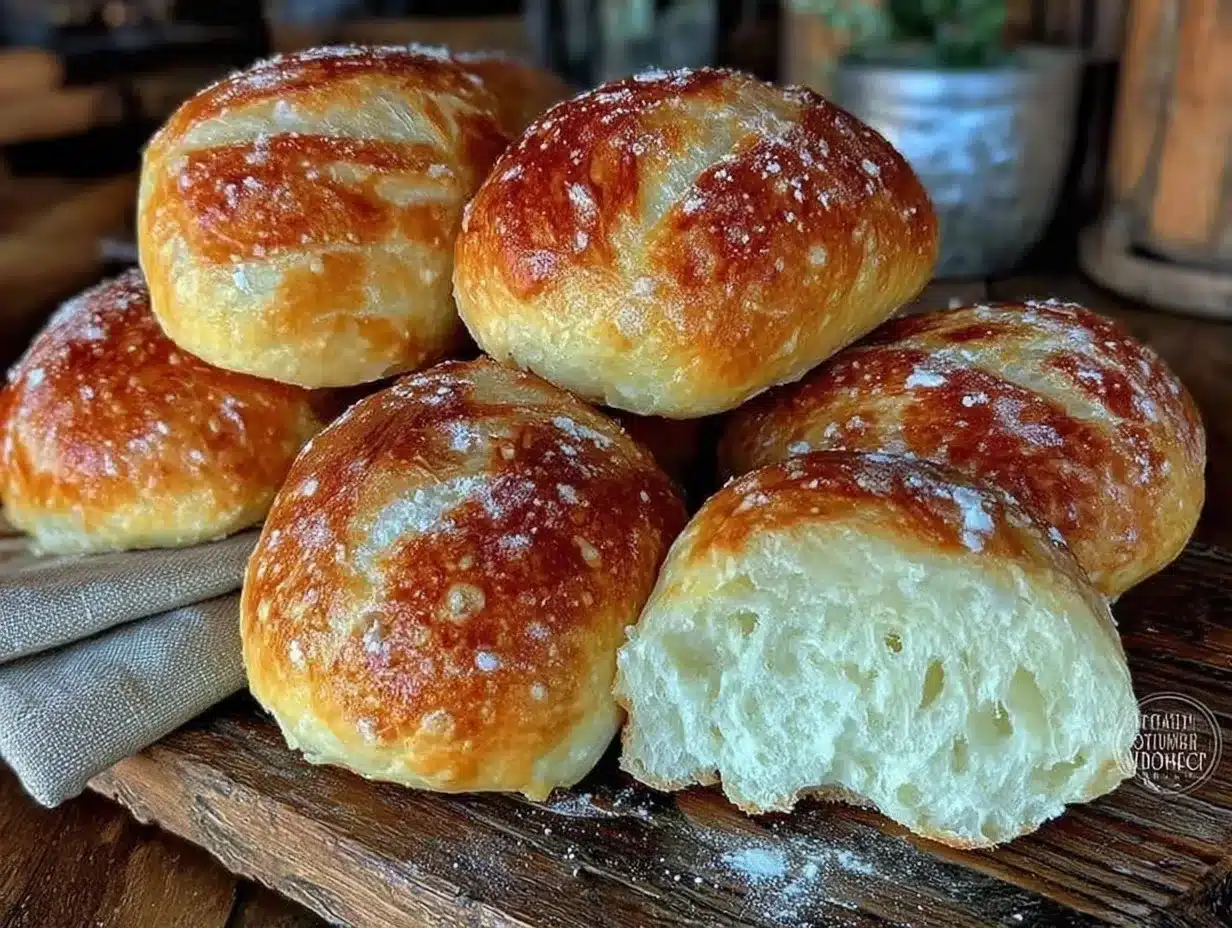
Making these classic hoagie rolls is a process of patience and technique. Here is how to do it right.
- Activate the Yeast: In a small bowl, combine the warm water and sugar. Sprinkle the yeast over the top and stir gently. Let it sit for 5-10 minutes until it becomes foamy. If it doesn’t foam, your yeast is dead. Start over.
- Mix the Dough: In a large bowl, combine the flour and salt. Make a well in the center and pour in the yeast mixture and olive oil. Mix with a wooden spoon or your hands until a shaggy dough forms. This takes about 2-3 minutes.
- Knead the Dough: Turn the dough out onto a lightly floured surface. Knead for 8-10 minutes. Push the dough away with the heel of your hand, fold it over, and turn it. Repeat. The dough should become smooth and elastic. If it’s too sticky, add flour a tablespoon at a time. If it’s too dry, add water a teaspoon at a time. The “windowpane test” is a good indicator: stretch a small piece of dough; if it thins out without tearing, it’s ready.
- First Rise: Place the dough in a lightly oiled bowl. Cover with plastic wrap or a damp towel. Let it rise in a warm, draft-free place for 1-1.5 hours, or until doubled in size. A warm oven with the light on (but not heated) is a perfect spot.
- Shape the Rolls: Gently punch down the dough to release air. Divide it into 6 equal pieces. Shape each piece into an oval or cylinder. Pinch the seams tight to ensure they hold their shape. Place them on the baking sheets, leaving 2 inches of space between each roll.
- Second Rise: Cover the shaped rolls and let them rise again for 30-45 minutes. They should look puffy and jiggly. Preheat your oven to 400°F (200°C) during the last 15 minutes of rising.
- Bake: If using an egg wash, brush the rolls gently. Bake for 15-18 minutes until golden brown. Rotate the pans halfway through for even browning. The internal temperature should reach 190°F (88°C).
- Cool: Remove from the oven and brush with melted butter (optional) for a softer crust. Let them cool on a wire rack for at least 20 minutes before slicing. This is the hardest part, but slicing warm bread can make it gummy.
How do I know when the rolls are done?
Aside from the golden color, tap the bottom of a roll. It should sound hollow. If it sounds dense or dull, it needs more time. Also, using a thermometer is the most reliable method.
Cooking Tips & Techniques
Here are some pro tips to ensure your hoagie rolls perfect for sub sandwiches turn out perfectly every time.
- Watch the Water Temperature: This is critical. Use a kitchen thermometer. If the water is too hot, you kill the yeast. If it’s too cold, the dough won’t rise. Aim for 105°F-110°F.
- Don’t Over-Flour: It’s tempting to add lots of flour to stop sticking, but this leads to dry, dense rolls. Use a dough scraper and wet your hands instead. The dough should be tacky, not sticky.
- Create Steam: For a crispier crust, place a pan of hot water on the bottom rack of your oven while the rolls bake. The steam helps the crust set before it browns, creating a better texture.
- Shape Tightly: When shaping the rolls, ensure the seams are pinched tightly. If they aren’t, the rolls will spread out and lose their shape during the second rise.
- Be Patient with the Rise: Don’t rush the first rise. Let the dough double in size. If it doesn’t, the texture will be dense. Temperature matters; a warmer spot speeds up the rise.
- Try the crispy avocado toast technique: If you have leftover rolls, slice them and toast them with a squeeze of lemon for a bright, zesty breakfast.
I once rushed the second rise and ended up with dense rolls. Lesson learned: patience is key. Let the dough rise until it’s visibly puffy and jiggly when you shake the pan.
Variations & Adaptations
While the classic version is delicious, here are some ways to customize these rolls.
- Garlic Herb Rolls: Add 1 teaspoon of garlic powder and 1 teaspoon of dried Italian herbs to the dry ingredients. This adds a savory punch that pairs well with tomato-based sauces.
- Whole Wheat Rolls: Substitute 30% of the all-purpose flour with whole wheat flour. This adds nuttiness and fiber. Note that the rolls will be denser.
- Seeded Rolls: Brush the rolls with water before the second rise and sprinkle with sesame seeds, poppy seeds, or everything bagel seasoning. This adds crunch and visual appeal.
- Cheese Rolls: Add 1/2 cup of shredded cheddar or parmesan cheese to the dough. This makes them richer and more flavorful, perfect for grilled cheese sandwiches.
- Gluten-Free Option: Use a 1-to-1 gluten-free flour blend. You may need to add xanthan gum if it’s not included in the blend. The dough will be stickier and require less kneading.
My personal favorite variation is the garlic herb roll. I make these for my family, and they always disappear fast. They are great served warm with marinara sauce for dipping.
Serving & Storage Suggestions
These rolls are best served fresh, but they store well if you follow these tips.
- Serving: Slice the rolls horizontally and toast them lightly in a toaster oven or skillet with butter. This prevents the bread from getting soggy when you add wet ingredients like tomato or vinaigrette. Serve with a one-skillet cowboy stir-fry for a complete meal.
- Storage: Store leftover rolls in an airtight container or plastic bag at room temperature for up to 3 days. For longer storage, freeze them. Wrap them tightly in plastic wrap and then in a freezer bag. They will last for up to 3 months.
- Reheating: To reheat, wrap the rolls in foil and warm them in a 350°F oven for 10 minutes. Or, slice them and toast them directly. Avoid the microwave, as it can make the bread chewy.
- Flavor Development: The flavor of these rolls actually improves after a day. They become slightly chewier and more flavorful. This is why I often make them the night before a big sandwich party.
I love serving these with a sticky chicken bowl sauce for dipping. The bread soaks up the sauce beautifully.
Nutritional Information & Benefits
Here is the estimated nutritional information per roll (without toppings):
- Calories: 180 kcal
- Carbohydrates: 35g
- Protein: 5g
- Fat: 2g
- Fiber: 1g
- Sugar: 2g
These rolls are a good source of energy due to their carbohydrate content. They are naturally dairy-free and vegan (if you skip the butter wash). They are not low-carb, so if you are following a keto diet, you might want to try a crispy rosemary dijon chicken with a side of cauliflower rice instead.
From a wellness perspective, homemade bread allows you to control the sugar and salt content. Store-bought rolls often contain preservatives and high amounts of sodium. By making these at home, you know exactly what you are eating.
Conclusion
Making classic hoagie rolls at home is a rewarding experience. It transforms your sandwich game from ordinary to extraordinary. The chewy texture, the crisp crust, and the soft interior make these rolls worth the effort.
I encourage you to try this recipe. Don’t be afraid of yeast bread. It’s forgiving and fun. Customize it with your favorite herbs or seeds. Make a batch this weekend and see the difference it makes.
If you try this recipe, please leave a comment below. I love hearing about your adaptations and successes. Share your photos on social media and tag me. I can’t wait to see your creations.
Happy baking! And remember, the acid that cuts through the richness of your sandwich is often the fresh veggies and vinaigrette you add. Balance is key.
Frequently Asked Questions
Why did my rolls not rise?
This is usually due to dead yeast or water that was too hot or too cold. Check your yeast expiration date and ensure the water is between 105°F and 110°F. Also, make sure you are rising the dough in a warm, draft-free spot.
Can I use bread flour instead of all-purpose flour?
Yes, bread flour will result in a chewier, more elastic roll. However, you may need to add a little more water as bread flour absorbs more liquid. Start with the same amount and adjust as needed.
How do I store leftover rolls?
Store them in an airtight container or plastic bag at room temperature for up to 3 days. For longer storage, freeze them wrapped tightly in plastic and foil. They will last for up to 3 months.
Can I make the dough ahead of time?
Yes! After the first rise, punch down the dough, shape it, and let it do its second rise in the refrigerator overnight. In the morning, let it come to room temperature and bake as directed. This develops a deeper flavor.
Why are my rolls dense?
Dense rolls are often caused by over-flouring the dough or not kneading it enough. Ensure the dough is tacky, not sticky, and knead until it passes the windowpane test. Also, avoid rushing the rising process.
Pin This Recipe!
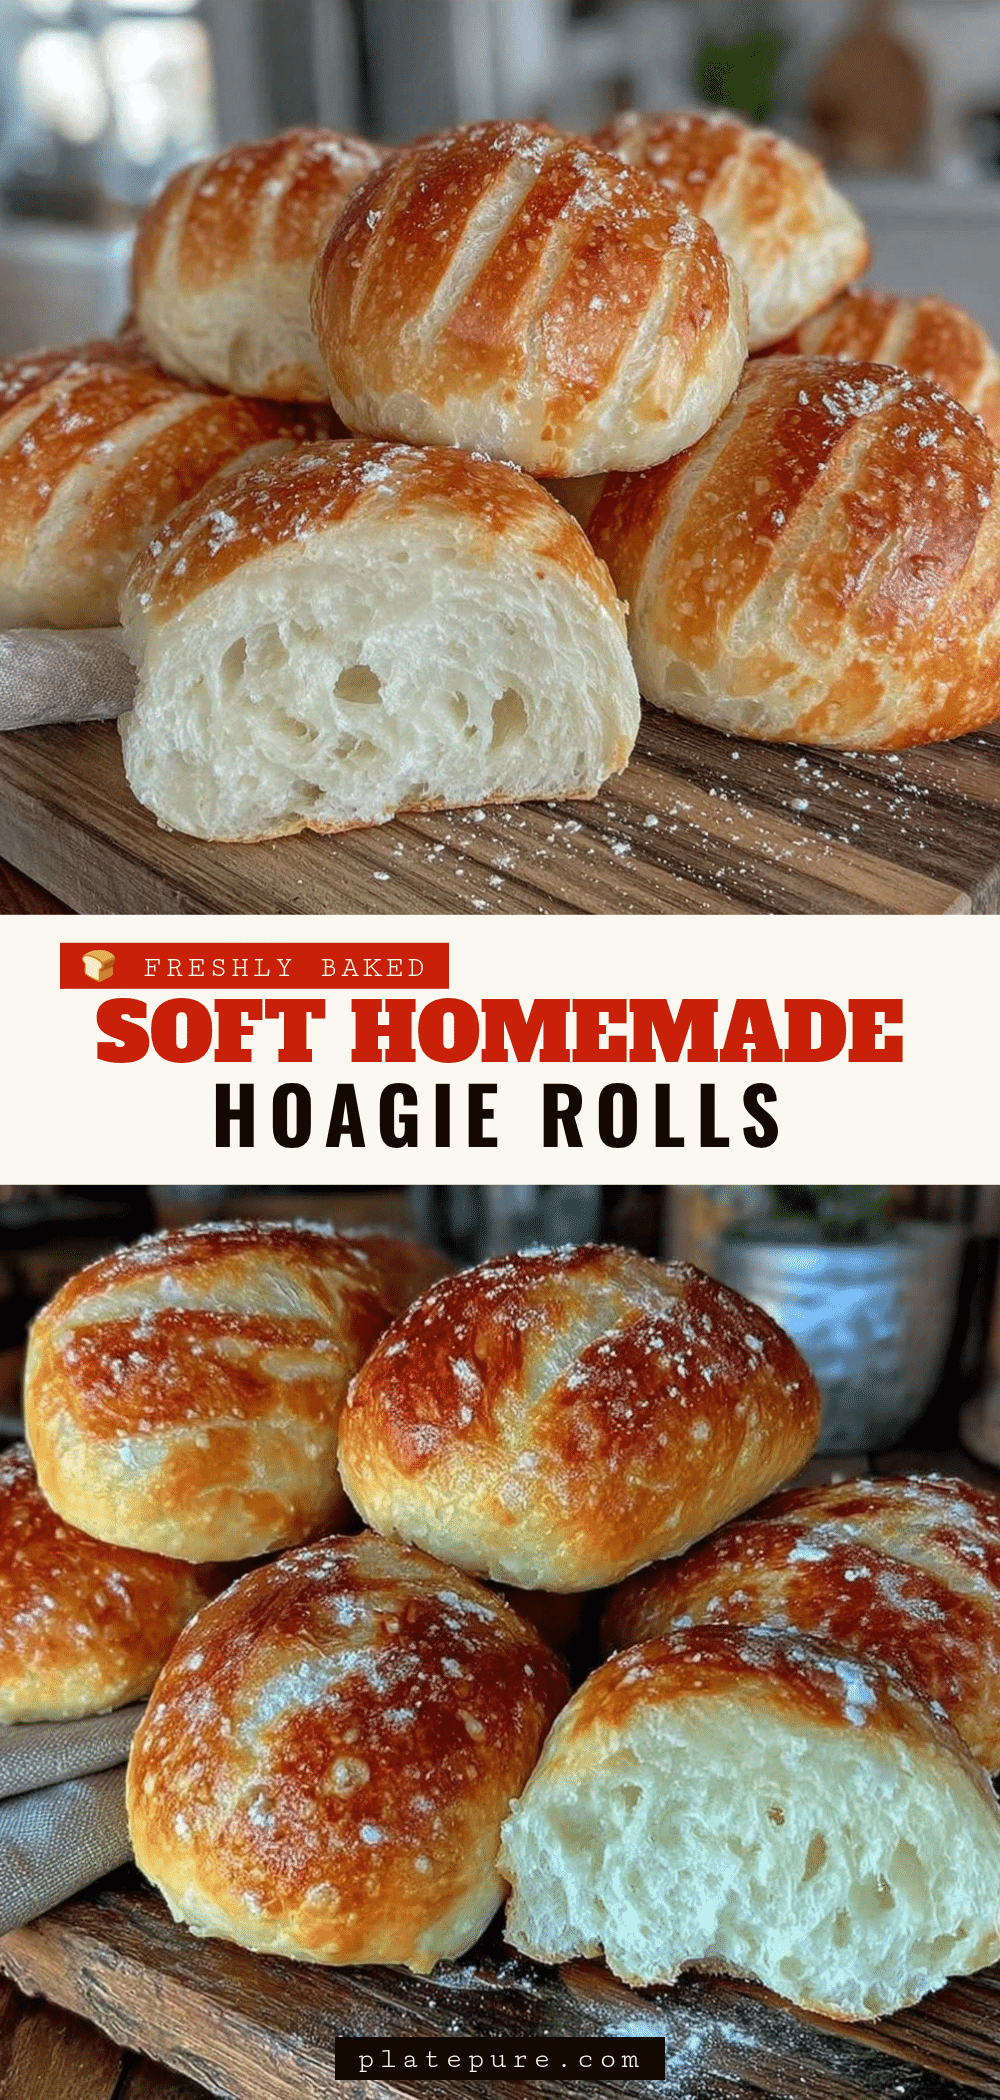

Classic Hoagie Rolls: Easy Homemade Soft Rolls
- Total Time: 48 minutes
- Yield: 6 servings 1x
Description
Homemade hoagie rolls with a thin, crisp crust and soft, airy interior. These versatile yeast breads are perfect for subs, burgers, and sandwiches, offering a professional bakery texture using simple pantry ingredients.
Ingredients
- 500g (4 cups) All-Purpose Flour
- 300ml (1 1/4 cups) Warm Water (105°F-110°F)
- 7g (1 packet) Active Dry Yeast
- 2 tablespoons Sugar
- 2 teaspoons Salt
- 2 tablespoons Olive Oil or Vegetable Oil
- 1 Egg (beaten, for optional egg wash)
Instructions
- Activate the yeast: In a small bowl, combine warm water and sugar. Sprinkle yeast over the top and stir gently. Let sit for 5-10 minutes until foamy.
- Mix the dough: In a large bowl, combine flour and salt. Make a well and pour in the yeast mixture and olive oil. Mix with a wooden spoon or hands until a shaggy dough forms (2-3 minutes).
- Knead the dough: Turn dough onto a lightly floured surface. Knead for 8-10 minutes until smooth and elastic. Perform the windowpane test to check readiness.
- First rise: Place dough in a lightly oiled bowl. Cover with plastic wrap or a damp towel. Let rise in a warm, draft-free place for 1-1.5 hours until doubled in size.
- Shape the rolls: Punch down the dough to release air. Divide into 6 equal pieces. Shape each into an oval or cylinder, pinching seams tight. Place on baking sheets with 2 inches of space between rolls.
- Second rise: Cover shaped rolls and let rise again for 30-45 minutes until puffy and jiggly. Preheat oven to 400°F (200°C) during the last 15 minutes.
- Bake: Brush rolls with egg wash if desired. Bake for 15-18 minutes until golden brown and internal temperature reaches 190°F (88°C). Rotate pans halfway through.
- Cool: Remove from oven. Brush with melted butter if desired. Cool on a wire rack for at least 20 minutes before slicing.
Notes
For a crispier crust, place a pan of hot water on the bottom rack of the oven during baking to create steam. Ensure water temperature is between 105°F and 110°F to activate yeast without killing it. Do not over-flour the dough; it should be tacky, not sticky. Rolls can be frozen for up to 3 months.
- Prep Time: 30 minutes
- Cook Time: 18 minutes
- Category: Side Dish
- Cuisine: American
Nutrition
- Serving Size: 1 roll
- Calories: 180
- Sugar: 2
- Fat: 2
- Carbohydrates: 35
- Fiber: 1
- Protein: 5
Keywords: hoagie rolls, homemade bread, sub rolls, yeast bread, sandwich rolls, soft rolls, classic hoagie rolls