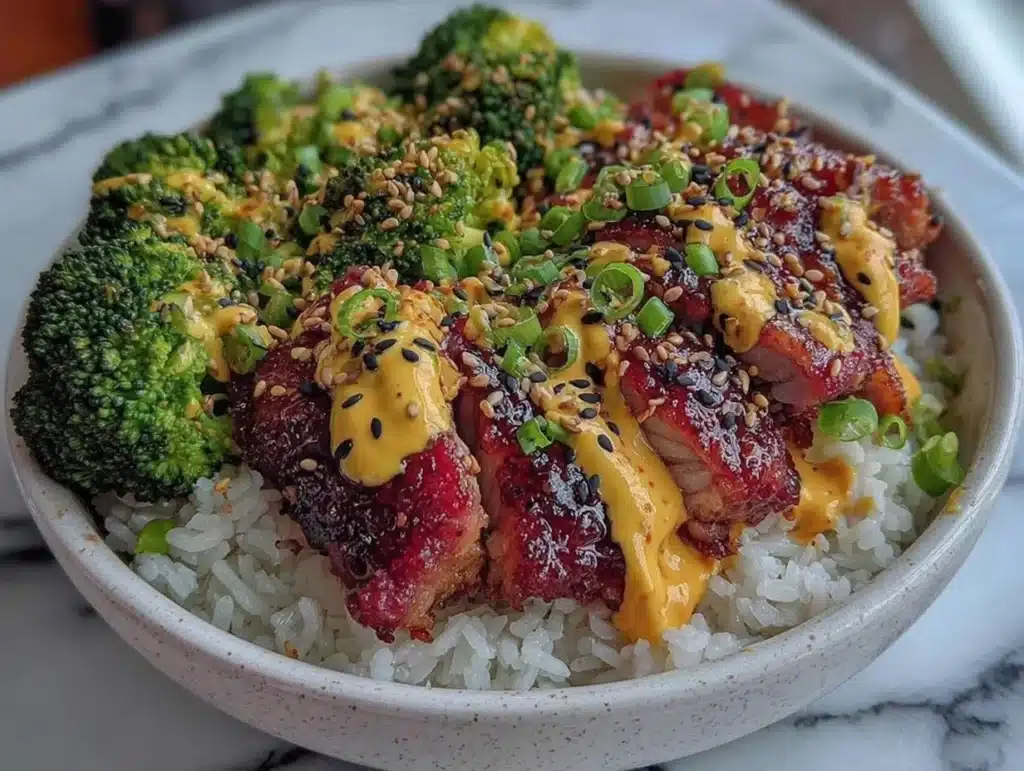
Let’s be honest for a second. The word “meal prep” usually makes me want to hide under the covers. I picture endless hours standing over a stove, chopping mountains of vegetables, and packing Tupperware until my kitchen looks like a disaster zone. But then I found this sticky chicken bowl recipe, and honestly? It changed everything.
I first stumbled on this idea when I was trying to stop ordering takeout every Tuesday because I was just too tired to cook. I needed something fast, flavorful, and sturdy enough to survive in the fridge for four days. This sticky chicken bowl is that answer. It’s not just about convenience, though. It’s about that first bite where the sauce hits your tongue and you realize you don’t miss the delivery guy at all.
The secret isn’t in some complicated technique. It’s in the sauce. You know how some bowls feel flat or boring? This one is all about that bright, tangy punch that wakes up your palate. I’ve tested this over a dozen times, tweaking the sweetness and the heat, and I’ve finally nailed the balance. It’s sticky, yes, but it’s also zesty. It’s the kind of meal that makes you look forward to eating lunch instead of dreading it.
If you’re busy, picky, or just love good food without the fuss, this recipe is for you. It comes together in under thirty minutes on the stove, and the leftovers taste even better the next day. It’s my go-to for busy weeknights, and I think once you try it, it’ll become yours too. Let’s get cooking.
Why You’ll Love This Recipe
After years of making bland chicken dinners and sad salads, I learned that flavor is everything. This sticky chicken bowl isn’t just another chicken recipe. It’s the kind of dish that makes you close your eyes after the first bite because the texture is just right. Here is why this specific recipe stands out from the rest:
- Quick & Easy: You can have this on the table in 25 minutes. I know, it sounds too good to be true. But with simple cuts and a one-pan sauce method, it’s actually real. Perfect for those nights when you’re exhausted.
- Simple Ingredients: You probably have most of these in your pantry right now. Soy sauce, rice vinegar, garlic, ginger, and a touch of sweetness. No fancy grocery trips needed. It’s pantry-friendly and stress-free.
- Perfect for Meal Prep: This is the holy grail. The chicken stays moist, the rice doesn’t get soggy, and the sauce actually thickens and clings better after a day in the fridge. It’s designed to last.
- Crowd-Pleaser: My kids, who usually pick out the vegetables, ask for seconds. The sweet and tangy flavor profile is universally loved. It’s great for potlucks, busy families, or anyone who wants a healthy but indulgent meal.
- Unbelievably Delicious: The texture combo of tender chicken, fluffy rice, and crisp veggies is next-level comfort food. It’s not heavy, but it’s satisfying.
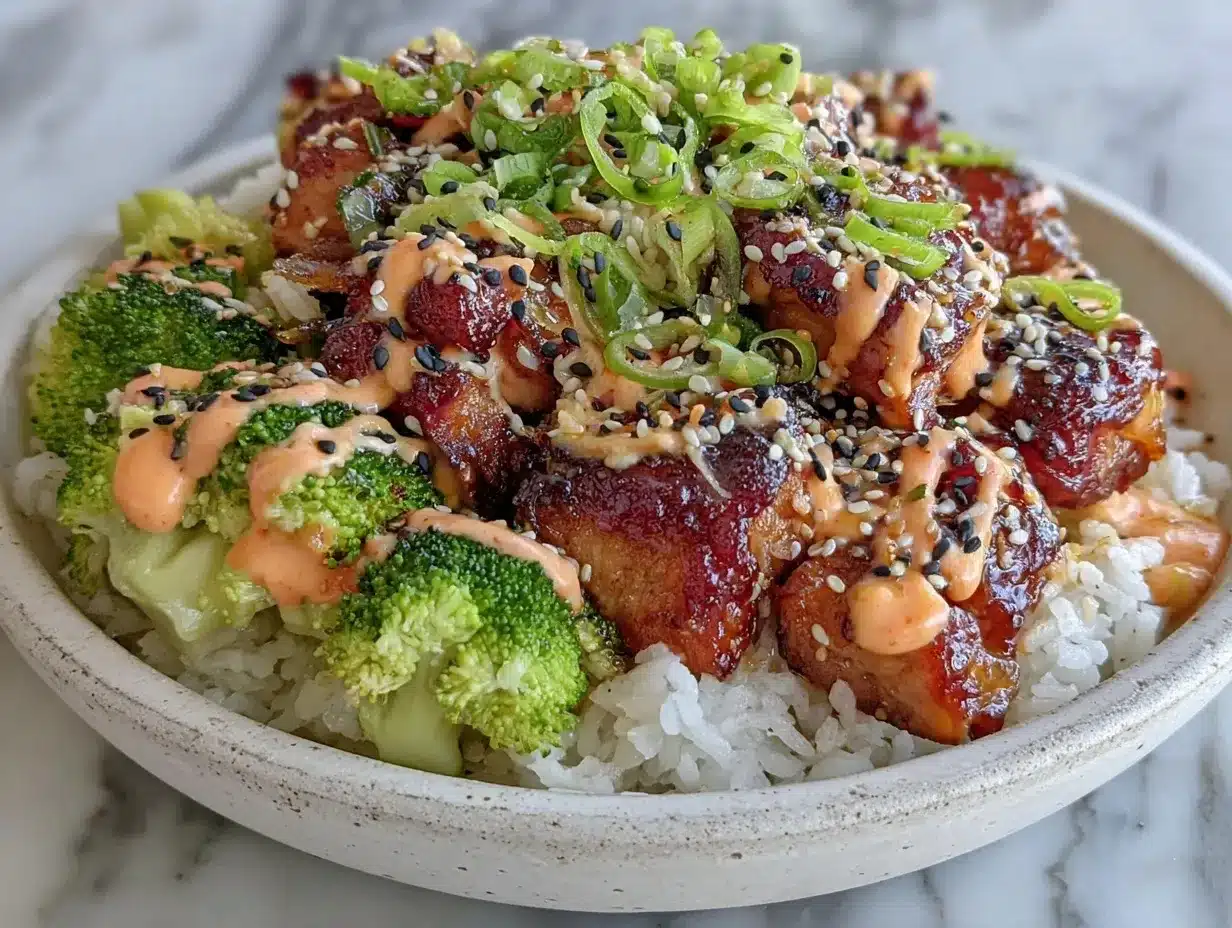
What makes this different? It’s the finishing sauce. Most sticky chicken recipes are just sweet and salty. This one has a bright, citrusy jolt at the end that cuts through the richness. It’s like juicy huli huli chicken but faster and bowl-friendly. The sauce does all the work, coating every piece of chicken and vegetable in glossy goodness without being cloying. It’s comfort food reimagined—healthier, faster, but with the same soul-soothing satisfaction.
What Ingredients You Will Need
This recipe uses simple, wholesome ingredients to deliver bold flavor and satisfying texture without the fuss. You don’t need a specialty store for this. Just grab what you have and follow the guide. Here is exactly what you need to make this sticky chicken bowl shine.
For the Chicken
- Chicken Breast: 1.5 lbs, cut into 1-inch cubes. I prefer boneless, skinless breasts because they cook fast and absorb flavor well. Look for plump, fresh pieces, not the dry ones from the back of the fridge.
- Cornstarch: 2 tablespoons. This is the secret weapon. It creates that crispy exterior that holds the sticky sauce perfectly. Don’t skip it.
- Vegetable Oil: 1 tablespoon. For frying the chicken. You can use avocado oil if you prefer, but vegetable oil has a high smoke point.
- Salt and Pepper: To taste. Just a pinch to season the meat before cooking.
For the Sticky Sauce
- Soy Sauce: 1/4 cup. Use low-sodium if you can, so you can control the saltiness. Kikkoman is my go-to brand for consistency.
- Rice Vinegar: 2 tablespoons. This adds the brightness I mentioned. It cuts the sweetness and keeps the flavor from being heavy.
- Honey: 3 tablespoons. Liquid gold. It provides the sticky texture and natural sweetness. You can swap this for maple syrup if you want a vegan option.
- Garlic: 3 cloves, minced. Fresh garlic is non-negotiable here. Jarred stuff just doesn’t have the punch.
- Fresh Ginger: 1 teaspoon, grated. Grate it yourself. It adds a warm, spicy note that pairs perfectly with the ginger.
- Sesame Oil: 1 teaspoon. Adds that nutty aroma. A little goes a long way.
- Red Pepper Flakes: 1/2 teaspoon. Optional, but highly recommended if you like a little kick.
For the Bowl Assembly
- Cooked Rice: 2 cups. Jasmine or short-grain white rice works best because it’s sticky and holds the sauce well. Brown rice is fine too, just add a few extra minutes to cook time.
- Green Onions: 2 stalks, sliced. For garnish and a fresh onion bite.
- Sesame Seeds: 1 tablespoon. Toasted sesame seeds add a nice crunch and visual appeal.
- Cilantro: A handful, chopped. Fresh herb brightness to finish the dish.
I usually keep these staples on hand. If you don’t have fresh ginger, you can use 1/2 teaspoon of ground ginger, but the fresh stuff really makes a difference. Also, if you’re watching your sodium, the low-sodium soy sauce is a must. It keeps the sauce balanced without being overpowering.
Equipment Needed
You don’t need a fancy kitchen to make this. Here is what you’ll need to keep things smooth.
- Large Skillet or Wok: This is your main stage. A non-stick skillet works great for easy cleanup. If you have a wok, even better, because the high sides help toss everything together.
- Small Saucepan: For mixing and heating the sauce. I like to mix it in the pan before pouring it over the chicken so the cornstarch doesn’t clump.
- Mixing Bowls: One medium bowl for tossing the chicken in cornstarch, and one small bowl for the sauce.
- Sharp Knife and Cutting Board: For prepping the chicken and vegetables. A sharp knife is safer and makes the chicken pieces more uniform, which helps them cook evenly.
- Tongs: Essential for flipping the chicken and tossing the final bowl. Spoons can break the chicken pieces.
If you don’t have a non-stick pan, just use a little more oil and be careful not to let the chicken burn. I’ve ruined a few batches by using the wrong pan! Also, having your ingredients prepped before you start cooking is key. This recipe moves fast, so mise en place is your friend.
Preparation Method
Ready to get your hands dirty? Let’s walk through the steps. It’s simple, but there are a few tricks to make it perfect.
- Prep the Chicken (5 minutes): Pat the chicken cubes dry with paper towels. This is crucial for getting a good sear. Toss them in a bowl with the cornstarch, salt, and pepper. Make sure every piece is lightly coated. The cornstarch creates that crispy shell.
- Make the Sauce (2 minutes): In a small saucepan, whisk together the soy sauce, rice vinegar, honey, minced garlic, grated ginger, sesame oil, and red pepper flakes. Heat it over medium-low heat for about 2 minutes, just until the honey is dissolved and the mixture is warm. Don’t boil it yet. Set it aside.
- Cook the Chicken (8 minutes): Heat the vegetable oil in your large skillet over medium-high heat. Once the oil is shimmering, add the chicken in a single layer. Don’t crowd the pan! If you have a small skillet, do this in two batches. Let the chicken cook undisturbed for 3-4 minutes until golden brown and crispy. Flip and cook for another 2-3 minutes until cooked through.
- Simmer the Sauce (3 minutes): Pour the sauce mixture into the skillet with the chicken. Let it bubble and simmer for 2-3 minutes. The sauce will thicken rapidly as the cornstarch from the chicken releases into the liquid. Toss the chicken to coat it completely. The sauce should be glossy and sticky, clinging to the meat.
- Assemble the Bowls (2 minutes): Divide the cooked rice among four bowls. Top with the sticky chicken and sauce. Garnish generously with sliced green onions, toasted sesame seeds, and fresh cilantro.
Pro tip: If the sauce gets too thick, add a splash of water. If it’s too thin, let it simmer a bit longer. You want that perfect cling. Serve immediately while the chicken is still warm and the rice is fluffy.
Cooking Tips & Techniques
I’ve made a few mistakes along the way, so you don’t have to. Here is how to nail this recipe every time.
Don’t Skip the Drying: Wet chicken steams instead of frying. Always pat it dry. This ensures you get that crispy texture that contrasts with the soft sauce.
Watch the Heat: Medium-high heat is best for the chicken. If it’s too low, the chicken will release water and get soggy. If it’s too high, the cornstarch will burn before the chicken is cooked. Test a piece first.
Thicken the Sauce Right: The sauce thickens quickly. Keep an eye on it. Once it coats the back of a spoon, it’s done. Overcooking the sauce can make it gummy.
Toast Your Seeds: Toasting sesame seeds in a dry pan for 2 minutes before garnishing adds a nutty depth that raw seeds just don’t have. It’s a small step that makes a big difference.
Multitask Smartly: While the chicken cooks, start your rice. It takes about 15-20 minutes, so you can have it ready by the time the chicken is done. This keeps your meal prep efficient.
Variations & Adaptations
This recipe is a canvas. Here are some ways to make it your own.
- Spicy Kick: Add a tablespoon of Sriracha or chili garlic sauce to the mixture for extra heat.
- Veggie Power: Toss in some broccoli florets or snap peas during the last minute of cooking the chicken. They add crunch and nutrition.
- Gluten-Free: Use tamari instead of soy sauce. The rest of the ingredients are naturally gluten-free.
- Protein Swap: You can use shrimp or tofu instead of chicken. Shrimp cooks even faster, so reduce the cooking time by half.
- Low-Carb: Swap the rice for cauliflower rice. It absorbs the sauce beautifully and keeps the meal light.
I’ve tried adding pineapple chunks for a tropical twist, which reminds me of air fryer pineapple. It adds a sweet acidity that pairs well with the savory sauce. Try it if you’re feeling adventurous.
Serving & Storage Suggestions
Serve this bowl hot, straight from the stove. The contrast of the warm chicken and rice with the cool, fresh cilantro and green onions is delightful. It pairs well with a simple cucumber salad or a cup of miso soup.
Storage: Store leftovers in an airtight container in the refrigerator for up to 4 days. The chicken stays moist, and the flavors meld together nicely.
Reheating: Reheat in the microwave for 1-2 minutes, adding a splash of water to loosen the sauce. You can also reheat it in a skillet over medium heat for a crispier finish.
Freezing: This recipe freezes well. Freeze the chicken and sauce separately from the rice for up to 3 months. Thaw in the fridge overnight before reheating.
The flavors actually develop over time. The rice absorbs the sauce, making each bite richer. It’s even better on day two or three.
Nutritional Information & Benefits
Each bowl contains approximately 450 calories, with 35g of protein, 40g of carbohydrates, and 12g of fat. It’s a balanced meal that keeps you full and energized.
Chicken breast is a lean protein source, great for muscle repair. Rice provides energy, and the vegetables add fiber and vitamins. The sauce is relatively low in sugar compared to takeout versions, thanks to the balance of vinegar and honey.
This meal is naturally gluten-free if you use tamari. It’s also dairy-free. It’s a wholesome, satisfying option for anyone looking to eat clean without sacrificing flavor. I love this recipe because it fits into my wellness routine without feeling like a diet.
Conclusion
This sticky chicken bowl is more than just a meal. It’s a solution to the daily dinner dilemma. It’s fast, flavorful, and forgiving. I hope you try it and find it to be your new favorite weeknight staple. Feel free to customize it with your favorite veggies or spices. The sky is the limit.
If you make this, I’d love to hear how it turns out. Leave a comment below and let me know what variations you tried. Share your photos on social media and tag me. Happy cooking, and remember, good food doesn’t have to be complicated.
Frequently Asked Questions
Can I use chicken thighs instead of breasts?
Yes! Chicken thighs are juicier and have more flavor. Just adjust the cooking time slightly, as thighs may take a minute or two longer to brown properly.
How do I make the sauce less sweet?
Reduce the honey to 2 tablespoons and increase the rice vinegar by 1 tablespoon. You can also add a splash of lime juice for extra tang.
Can I prep this ahead of time?
Absolutely. You can chop the chicken and mix the sauce the night before. Store them separately in the fridge. Cook in the morning or evening for a quick dinner.
What rice is best for this recipe?
Jasmine or short-grain white rice is best because it’s sticky and holds the sauce well. Brown rice works too but has a nuttier flavor and chewier texture.
Is this recipe spicy?
It’s mildly spicy due to the red pepper flakes. You can adjust the amount to your preference. Start with 1/2 teaspoon and add more if you like heat.
Pin This Recipe!
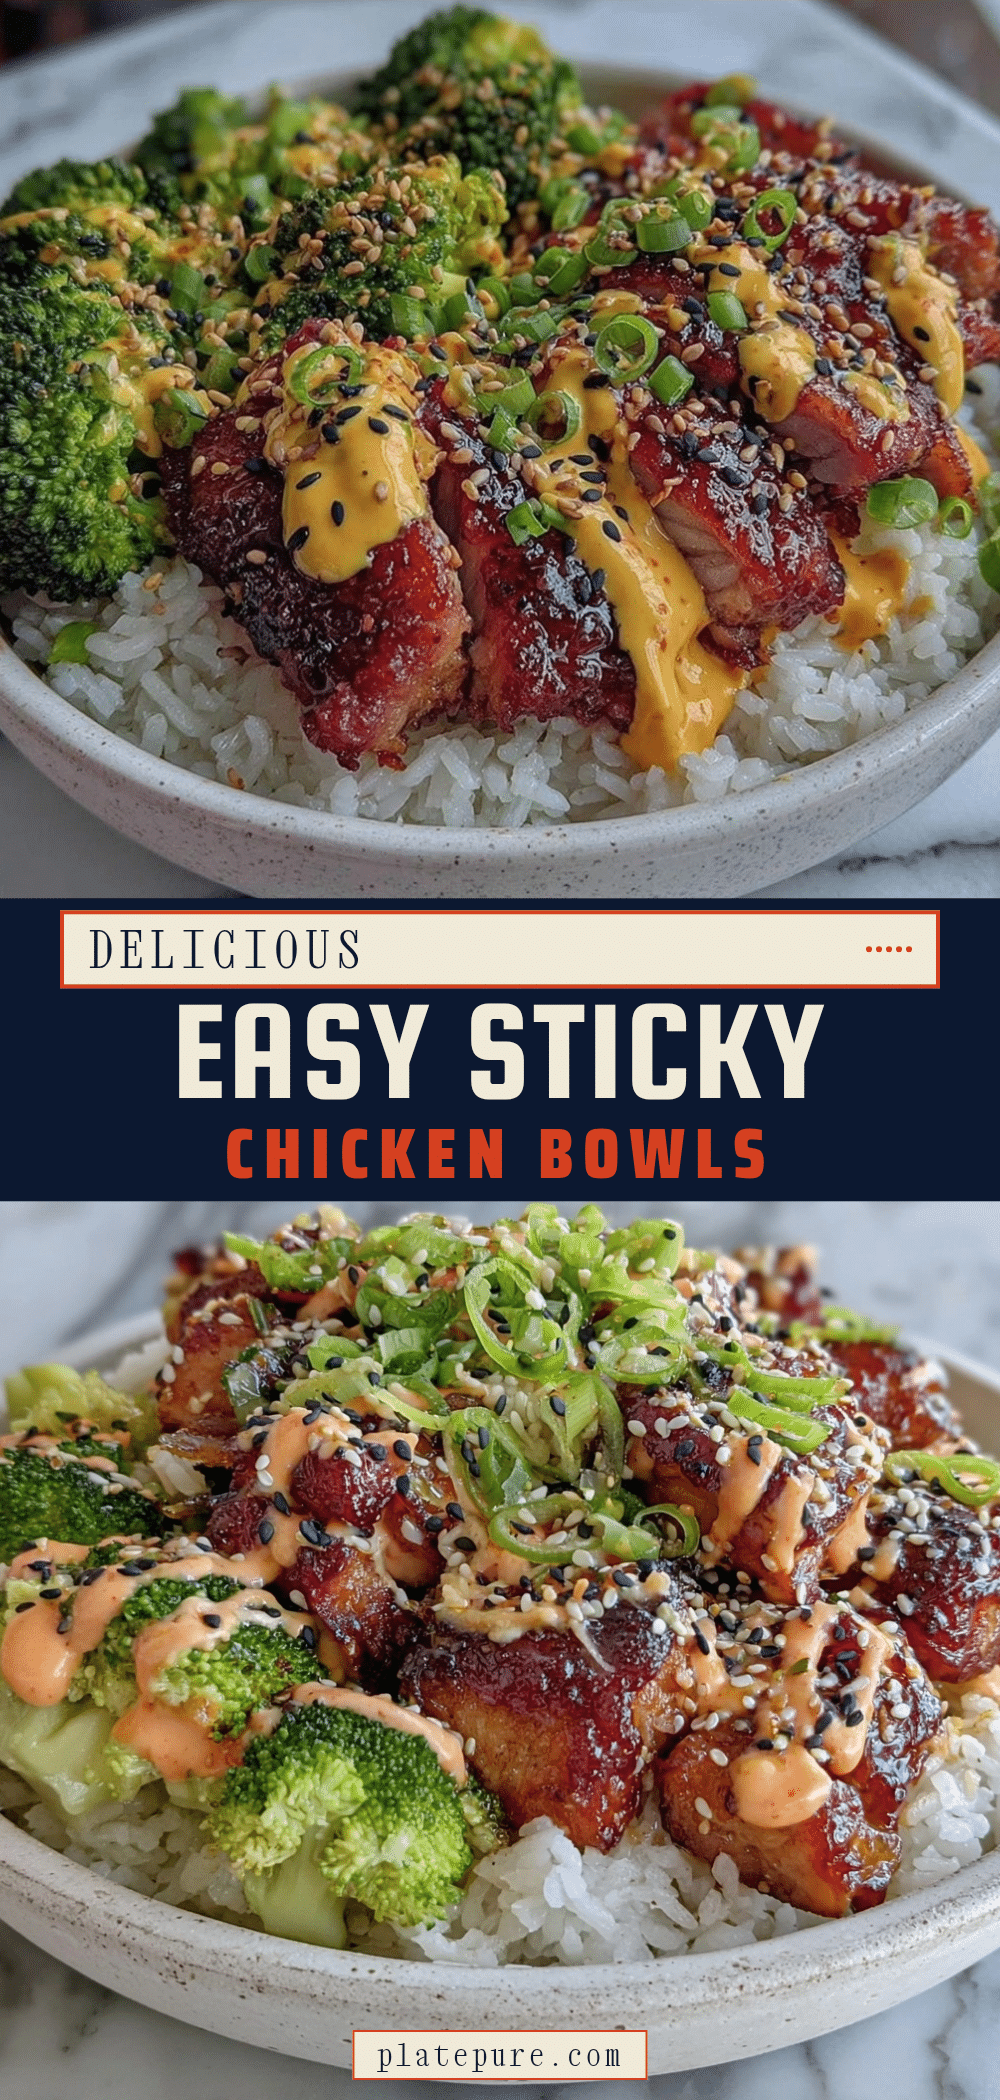

Sticky Chicken Bowl: 5-Step Meal Prep Sauce
- Total Time: 25 minutes
- Yield: 4 servings 1x
Description
A quick, flavorful, and sticky chicken bowl recipe that comes together in under 30 minutes. Perfect for meal prep, this dish features tender chicken coated in a bright, tangy, and sweet sauce served over fluffy rice.
Ingredients
- 1.5 lbs boneless, skinless chicken breast, cut into 1-inch cubes
- 2 tablespoons cornstarch
- 1 tablespoon vegetable oil (or avocado oil)
- Salt and pepper to taste
- 1/4 cup soy sauce (low-sodium recommended)
- 2 tablespoons rice vinegar
- 3 tablespoons honey
- 3 cloves garlic, minced
- 1 teaspoon fresh ginger, grated
- 1 teaspoon sesame oil
- 1/2 teaspoon red pepper flakes (optional)
- 2 cups cooked rice (Jasmine or short-grain)
- 2 stalks green onions, sliced
- 1 tablespoon toasted sesame seeds
- A handful of fresh cilantro, chopped
Instructions
- Pat chicken cubes dry with paper towels and toss in a bowl with cornstarch, salt, and pepper until lightly coated.
- In a small saucepan, whisk together soy sauce, rice vinegar, honey, garlic, ginger, sesame oil, and red pepper flakes. Heat over medium-low for 2 minutes until honey dissolves, then set aside.
- Heat vegetable oil in a large skillet over medium-high heat. Add chicken in a single layer (cook in batches if necessary) and cook undisturbed for 3-4 minutes until golden brown. Flip and cook for another 2-3 minutes until cooked through.
- Pour the prepared sauce into the skillet with the chicken. Simmer for 2-3 minutes, tossing to coat, until the sauce thickens and becomes glossy and sticky.
- Divide cooked rice among four bowls. Top with the sticky chicken and sauce. Garnish with green onions, sesame seeds, and cilantro. Serve immediately.
Notes
Pat chicken dry before coating in cornstarch to ensure crispiness. If the sauce gets too thick, add a splash of water. If too thin, simmer longer. Toast sesame seeds in a dry pan for better flavor. Leftovers keep well in the fridge for up to 4 days.
- Prep Time: 10 minutes
- Cook Time: 15 minutes
- Category: Main Course
- Cuisine: Asian Fusion
Nutrition
- Serving Size: 1 bowl
- Calories: 450
- Sugar: 18
- Sodium: 800
- Fat: 12
- Saturated Fat: 2
- Carbohydrates: 40
- Fiber: 2
- Protein: 35
Keywords: sticky chicken bowl, meal prep, quick dinner, healthy chicken recipe, asian inspired, one pan meal, gluten-free option


