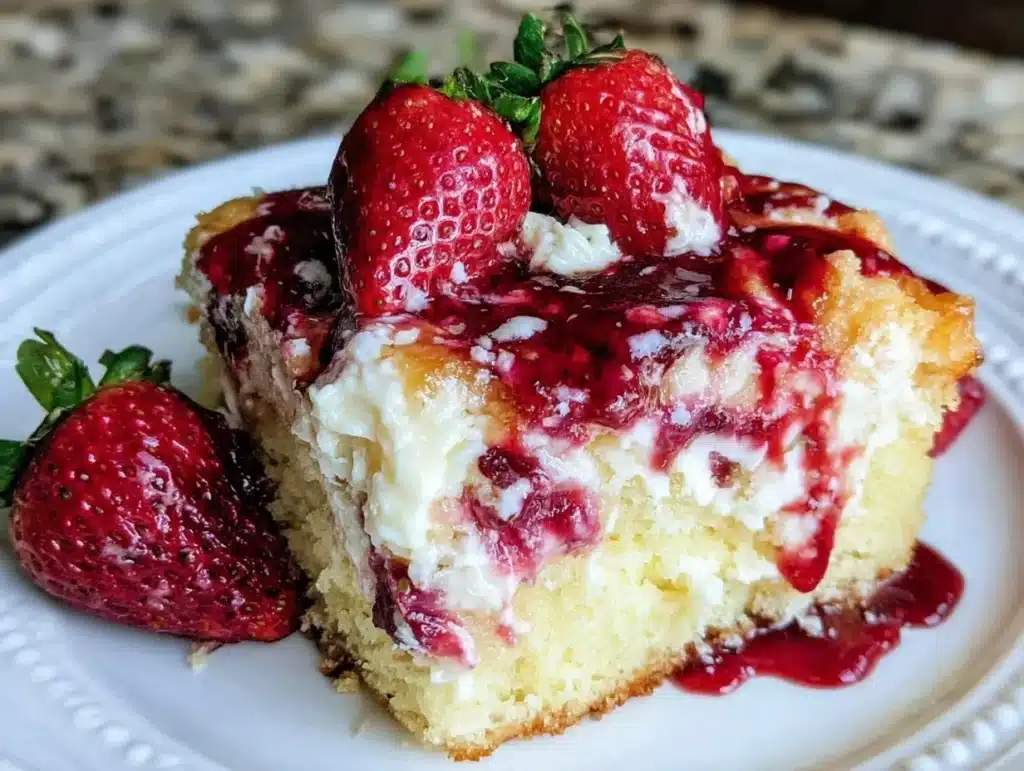
The smell of warm strawberry cake hitting the kitchen air is enough to stop traffic. Seriously. It’s sweet, it’s tangy, and it feels like a hug from your grandmother, but with a serious kick. I first made strawberry earthquake cake during a chaotic Sunday morning when I had no eggs and three overripe strawberries staring at me. I was desperate for something that didn’t taste like cardboard. Honestly, I wasn’t expecting a masterpiece. I just wanted breakfast that wouldn’t make me cry.
What I got was magic. The cake literally “quakes” or cracks as it bakes, creating those beautiful crevices that soak up the gooey strawberry center. It’s messy, it’s indulgent, and it is absolutely worth the cleanup. You know that feeling when you take the first bite and your eyes close because the flavor is just that good? That’s this cake. It’s not just a dessert; it’s a moment of pure joy in a world that moves too fast.
I’ve tested this recipe over a dozen times. Sometimes I use fresh berries, sometimes frozen. Sometimes I add a pinch of cardamom because I’m feeling fancy. But the core remains the same: simple ingredients, big flavor, and a texture that defies logic. If you are looking for a strawberry earthquake cake that actually delivers on its promise of being a crowd-pleaser, you are in the right place. This isn’t some complicated, multi-step pastry project. It’s real food for real people who want to taste something bright and bold without spending hours in the kitchen.
Why You’ll Love This Recipe
Let’s be real for a second. Most people think “earthquake cake” sounds weird. It sounds like a disaster waiting to happen in your oven. But trust me on this one. The name comes from the way the cake cracks and shifts as it bakes, creating a unique texture that you can’t get with any other method. It’s rustic, it’s unpretentious, and it tastes incredible. I’ve served this at brunches, potlucks, and even late-night snack sessions, and it always disappears faster than anything else on the table.
Here is why this specific version of strawberry earthquake cake is the one you need to try:
- Zero Fuss, Maximum Flavor: You don’t need to whip egg whites or temper chocolate. It’s a dump-and-mix style recipe. If you can stir, you can make this. It comes together in about 10 minutes before baking.
- Uses What You Have: You likely have cake mix, pudding mix, and strawberries in or near your kitchen right now. It’s not about buying expensive specialty ingredients; it’s about using what’s already there to create something special.
- The Texture is Next-Level: The combination of the soft, crumbly cake base and the gooey, fruit-filled cracks is addictive. It’s like eating a strawberry-filled cloud with a bit of crunch from the pecans.
- Built to Snap Your Taste Buds Back to Attention: This isn’t a bland, sweet-only dessert. The tang from the strawberries and the slight saltiness from the pecans create a balance that wakes up your palate. It’s bright, it’s zesty, and it’s unforgettable.
- Perfect for Any Occasion: Whether it’s a holiday gathering, a last-minute dinner party, or just a Tuesday night treat, this cake fits everywhere. It’s a crowd-pleaser because it appeals to everyone, from kids to grandparents.
What makes this recipe different from the rest is the balance. A lot of earthquake cakes are too sweet. They are just sugar bombs. But by focusing on the natural tartness of the strawberries and using a good quality pudding mix, you get a depth of flavor that feels sophisticated. It’s comfort food reimagined—healthier in the sense that it’s not overly processed, but with the same soul-soothing satisfaction. I remember making this for a friend who was going through a tough time. She said the cake tasted like “hope.” That’s the power of good, simple food.
What Ingredients You Will Need
This recipe relies on the magic of pantry staples to create a dish that feels gourmet but costs pennies. The beauty of strawberry earthquake cake is that it doesn’t require fancy, hard-to-find items. It’s about how you combine simple ingredients to get that perfect balance of sweet, tart, and crunchy.
- Yellow or White Cake Mix: One standard box (15.25 oz / 432g). I prefer yellow cake mix for its rich, buttery flavor, but white works if you want a lighter taste. Don’t skip the quality here; a cheap generic mix might leave a chemical aftertaste.
- Instant Vanilla Pudding Mix: One small box (3.4 oz / 96g). This is the secret weapon. It adds thickness, moisture, and a creamy vanilla depth that plain cake mix lacks. It helps bind the “quake” layers together.
- Strawberries: One cup, sliced. Fresh is best for that bright, juicy pop, but frozen works in a pinch. If using frozen, thaw them first and pat them dry so the cake doesn’t get soggy. The acidity of the strawberries cuts through the sweetness of the cake.
- Mini Semi-Sweet Chocolate Chips: One cup (170g). These add little pockets of rich chocolate that contrast with the fruity center. They melt slightly during baking, creating those gooey surprises.
- Chopped Pecans: One cup (110g). This adds the crucial crunch. Pecans have an earthy, slightly bitter note that balances the sugar. Toasting them first brings out their oils, but raw is fine if you’re in a hurry.
- Unsalted Butter: One stick (113g), melted. This binds the dry ingredients and adds richness. It also helps create that crispy, caramelized top layer.
- Eggs: Two large eggs, room temperature. These provide structure. Don’t use cold eggs; they can shock the batter and lead to uneven baking.
- Water or Milk: One cup (240ml). Milk adds creaminess, while water keeps it lighter. I usually use milk for a richer crumb.
For the best results, I recommend using a brand like Duncan Hines or Betty Crocker for the cake mix—they have consistent leavening agents that help the cake rise and crack properly. When it comes to strawberries, look for ones that are bright red and firm. Avoid mushy berries, as they will turn into jam rather than distinct pieces. If you are allergic to pecans, you can swap them for walnuts or even pumpkin seeds for a nut-free crunch. The key is to keep the texture varied.
Equipment Needed
You don’t need a fancy kitchen to make this cake. A few basic tools will get you to the finish line without any stress.
- 9×13 Inch Baking Dish: This is the standard size for earthquake cakes. Glass or ceramic dishes work well because they retain heat evenly, helping the cake bake through without burning the edges. Avoid dark metal pans if you can, as they can cause the bottom to burn before the center is set.
- Large Mixing Bowl: Something big enough to hold all the dry and wet ingredients without spilling. A bowl with a spout is helpful for pouring the batter.
- Whisk or Fork: To combine the wet ingredients. You don’t need an electric mixer for this recipe; hand mixing is actually better because it prevents overworking the batter, which can make the cake tough.
- Measuring Cups and Spoons: Precision matters, especially with the pudding mix. Too much can make it gummy, too little and it won’t bind.
- Knife and Cutting Board: For slicing the strawberries evenly. Uniform slices ensure that every bite has a bit of fruit.
- Cooling Rack: Essential for letting the cake cool properly. Placing it directly on a counter can trap steam and make the bottom soggy.
If you don’t have a 9×13 dish, you can use two 8-inch round pans, but you’ll need to adjust the baking time. It will likely be faster, so keep an eye on it. For budget-friendly options, a glass Pyrex dish is often cheaper than ceramic and just as effective. Just remember to grease it well with butter or non-stick spray to ensure easy removal.
Preparation Method
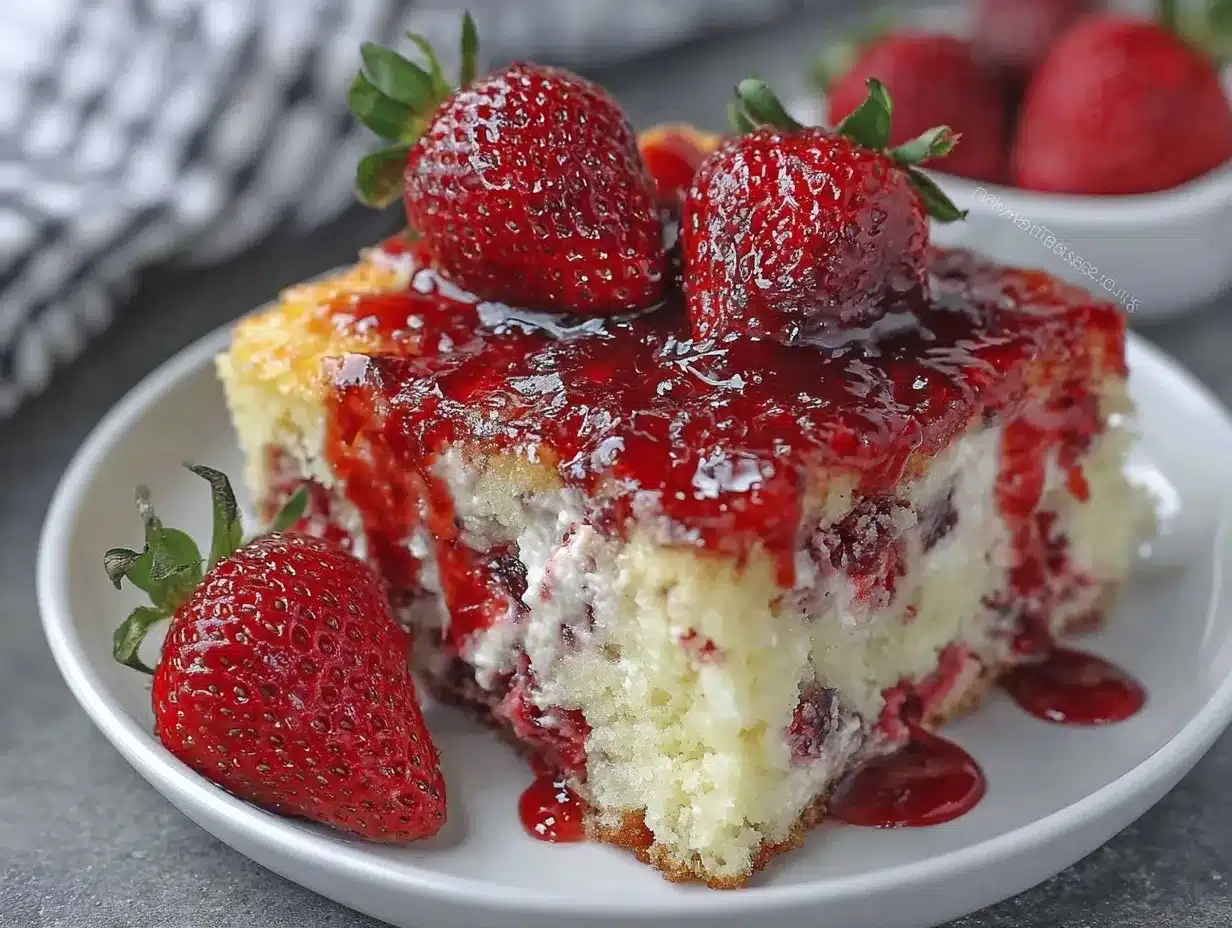
Making strawberry earthquake cake is straightforward, but there are a few tricks to get that perfect “quake” effect and gooey center. Here is exactly how to do it, step by step.
- Preheat and Prep (5 minutes): Start by preheating your oven to 350°F (175°C). This ensures the oven is at the right temperature the moment the cake goes in. Grease your 9×13 baking dish with butter or non-stick spray. This is non-negotiable; you don’t want your beautiful cake sticking to the pan. Set aside.
- Mix the Wet Ingredients (2 minutes): In a large mixing bowl, whisk together the eggs, melted butter, and milk (or water). You want this mixture to be smooth and well-combined. There shouldn’t be any streaks of unmixed egg. This step takes about two minutes. If you rush this, you might end up with raw egg pockets in your cake.
- Add the Dry Ingredients (3 minutes): Add the cake mix and instant pudding mix to the wet ingredients. Stir gently with a whisk or a large spoon until just combined. The batter will be thick and sticky. Do not overmix! Overmixing develops gluten, which makes the cake dense. You want it tender and fluffy. Stop mixing as soon as there are no more dry streaks.
- Layer the Base (1 minute): Pour half of the batter into the prepared baking dish. Spread it out evenly with a spatula. This will be the bottom layer of your cake. It doesn’t need to be perfect, just mostly even.
- Add the Filling (2 minutes): Sprinkle the sliced strawberries, chocolate chips, and chopped pecans evenly over the batter layer. Try to distribute them so you get a bit of everything in every bite. Don’t pack them down; just let them sit on top.
- Add the Top Layer (1 minute): Spoon the remaining batter over the fruit and nuts. Use a spatula to gently spread it out. You don’t need to cover the fruit completely; letting some peek through helps with the visual appeal and ensures even cooking. The batter will cover most of it, creating that signature cracked top.
- Bake (45-50 minutes): Place the dish in the center of the preheated oven. Bake for 45 to 50 minutes. The cake is done when the top is golden brown and a toothpick inserted into the center comes out clean or with just a few moist crumbs (not wet batter). The edges should be pulling slightly away from the pan. Watch it closely around the 40-minute mark, as ovens vary.
- Cool and Serve (30 minutes): Remove the cake from the oven and let it cool in the pan for at least 20-30 minutes. This is crucial. The cake is very fragile when hot. Cooling allows it to set and firm up, making it easier to cut. You can serve it warm or at room temperature. Warm is best for that gooey center.
Personal tip: If you notice the top browning too quickly, loosely tent a piece of aluminum foil over the cake for the last 10 minutes of baking. This prevents burning while the inside finishes cooking.
Cooking Tips & Techniques
Even simple recipes can go wrong if you miss a small detail. Here are some pro tips to ensure your strawberry earthquake cake is a hit.
Don’t Skip the Pudding Mix: I know it seems weird to add pudding mix to a cake, but it’s the key to the texture. It adds moisture and helps the cake rise properly. Without it, the cake can be dry and crumbly. It’s a game-changer.
Watch Your Oven Temperature: Ovens are rarely accurate. If your cake is burning on top but raw in the middle, your oven might be too hot. Use an oven thermometer to check. If it’s running hot, lower the temperature by 25°F and bake for a few minutes longer.
Strawberry Size Matters: Slice your strawberries uniformly. If you have huge berries, slice them in half or quarters. Small, uneven pieces can sink to the bottom or float to the top unevenly, leading to an inconsistent distribution of fruit.
The Toothpick Test: When testing for doneness, insert the toothpick into the center, avoiding the chocolate chips. Chocolate chips melt and can give a false “wet” reading. If the toothpick comes out with batter, keep baking. If it comes out clean, it’s done.
Cooling is Key: I know it’s tempting to cut into it right away, but patience pays off. The cake continues to cook slightly as it rests. Cutting it too soon can cause it to fall apart. Let it cool until it’s just warm to the touch.
Toast Your Nuts: For an extra layer of flavor, toast the pecans in a dry pan for 2-3 minutes before adding them to the cake. This brings out their natural oils and adds a deeper, nuttier taste. It’s a small step that makes a big difference.
Variations & Adaptations
One of the best things about this recipe is its flexibility. You can tweak it to suit your dietary needs or taste preferences without losing the magic.
Gluten-Free Option: Use a gluten-free yellow cake mix and ensure your pudding mix and chocolate chips are certified gluten-free. The texture might be slightly denser, but it will still taste delicious. Add an extra egg to help with binding.
Dairy-Free: Swap the butter for coconut oil or a dairy-free butter alternative. Use almond milk or oat milk instead of dairy milk. For the pudding mix, check the label, as some brands contain dairy derivatives. There are dairy-free pudding mixes available now.
Strawberry Swap: If strawberries are out of season, try raspberries, blueberries, or even sliced peaches. Raspberries add a tartness that pairs beautifully with the chocolate. Peaches create a more Southern-style cobbler vibe.
Nut-Free: Omit the pecans and add extra chocolate chips or white chocolate chips for crunch and flavor. You can also add a handful of toasted coconut flakes for a tropical twist.
My Personal Twist: Sometimes I add a tablespoon of lemon zest to the batter. The citrus brightens up the strawberry flavor and cuts through the richness of the chocolate. It’s a small addition that makes the cake taste more complex and less one-note.
Serving & Storage Suggestions
This cake is versatile when it comes to serving. It’s best served warm, straight from the oven or after sitting out for a bit. A scoop of vanilla ice cream on top is classic, but a dollop of whipped cream or a swipe of cream cheese frosting also works wonders. The contrast of hot cake and cold cream is heavenly.
Storage: Store leftovers in an airtight container at room temperature for up to 2 days. If your kitchen is hot, refrigerate it. The cake will firm up in the fridge, so let it come to room temperature or microwave a slice for 10-15 seconds before eating.
Freezing: You can freeze individual slices. Wrap them tightly in plastic wrap and then in foil. They will keep for up to 3 months. Thaw in the fridge overnight and reheat as desired.
Reheating: Microwave is your friend for leftovers. 10-15 seconds brings back that gooey texture. If you want a crispier top, you can reheat it in a 350°F oven for 5-10 minutes.
The flavors actually deepen after a day, so if you can wait, the second day might be even better than the first. The strawberries soften and the cake absorbs more of the pudding mix’s sweetness.
Nutritional Information & Benefits
While this is a treat, it’s not without its merits. Strawberries are packed with Vitamin C and antioxidants, which are great for your immune system. Pecans provide healthy fats and fiber, which help keep you full. The cake mix and pudding mix do add sugar and refined carbs, so enjoy in moderation.
A typical slice contains approximately 350-400 calories, depending on the size and specific brands used. It’s a high-carb, high-fat dessert, so pair it with a light afternoon tea or coffee to balance the meal. If you are watching your sugar intake, consider using a sugar-free pudding mix and reducing the amount of chocolate chips.
From a wellness perspective, I love this recipe because it satisfies a sweet tooth without requiring a trip to a bakery. It’s homemade, so you know exactly what’s in it. It’s a comfort food that feels good to eat, especially on a rainy day or when you need a pick-me-up.
Conclusion
Strawberry earthquake cake is more than just a dessert; it’s a reminder that simple ingredients can create something extraordinary. It’s easy, it’s delicious, and it’s sure to become a staple in your recipe rotation. Whether you are a seasoned baker or a beginner, this recipe is designed for you. It’s built to snap your taste buds back to attention with its bright, tangy, and sweet profile.
I encourage you to try it your way. Add your favorite nuts, swap the fruit, or experiment with different chocolate chips. The beauty of this recipe is in its adaptability. And if you make it, I’d love to hear how it turned out. Leave a comment below with your variations or just tell me what you thought. Sharing recipes is what makes this community so special.
So, preheat that oven and get ready to shake up your dessert game. Your taste buds will thank you. And if you need more bright, bold recipes to try, check out my roasted garlic parmesan zucchini for a savory contrast, or my crispy cabbage burger bake for a fun, low-carb twist on comfort food. Happy baking!
Frequently Asked Questions
Can I use fresh strawberries instead of frozen?
Yes, fresh strawberries are actually preferred for their texture and flavor. Just make sure to slice them evenly and pat them dry if they are very juicy to prevent the cake from becoming too wet.
Why did my cake not “quake” or crack?
The cracking effect comes from the batter rising and the fruit/nuts pushing against it. If your batter was too thin or you overmixed it, it might not crack as much. Ensure you follow the measurements exactly and don’t over-stir the batter.
Can I make this in a slow cooker?
It’s possible, but the texture will be different. You would need to grease the slow cooker insert, pour in the batter, and cook on low for 3-4 hours. However, the top won’t get the same golden-brown crust as it does in the oven.
How do I store leftover cake?
Store it in an airtight container at room temperature for up to 2 days. If your kitchen is warm, refrigerate it. Reheat slices in the microwave for 10-15 seconds before serving.
Can I add other ingredients to the cake?
Absolutely! You can add white chocolate chips, chopped almonds, or even a swirl of peanut butter. Feel free to experiment with flavors that you enjoy. The base recipe is very forgiving.
Pin This Recipe!
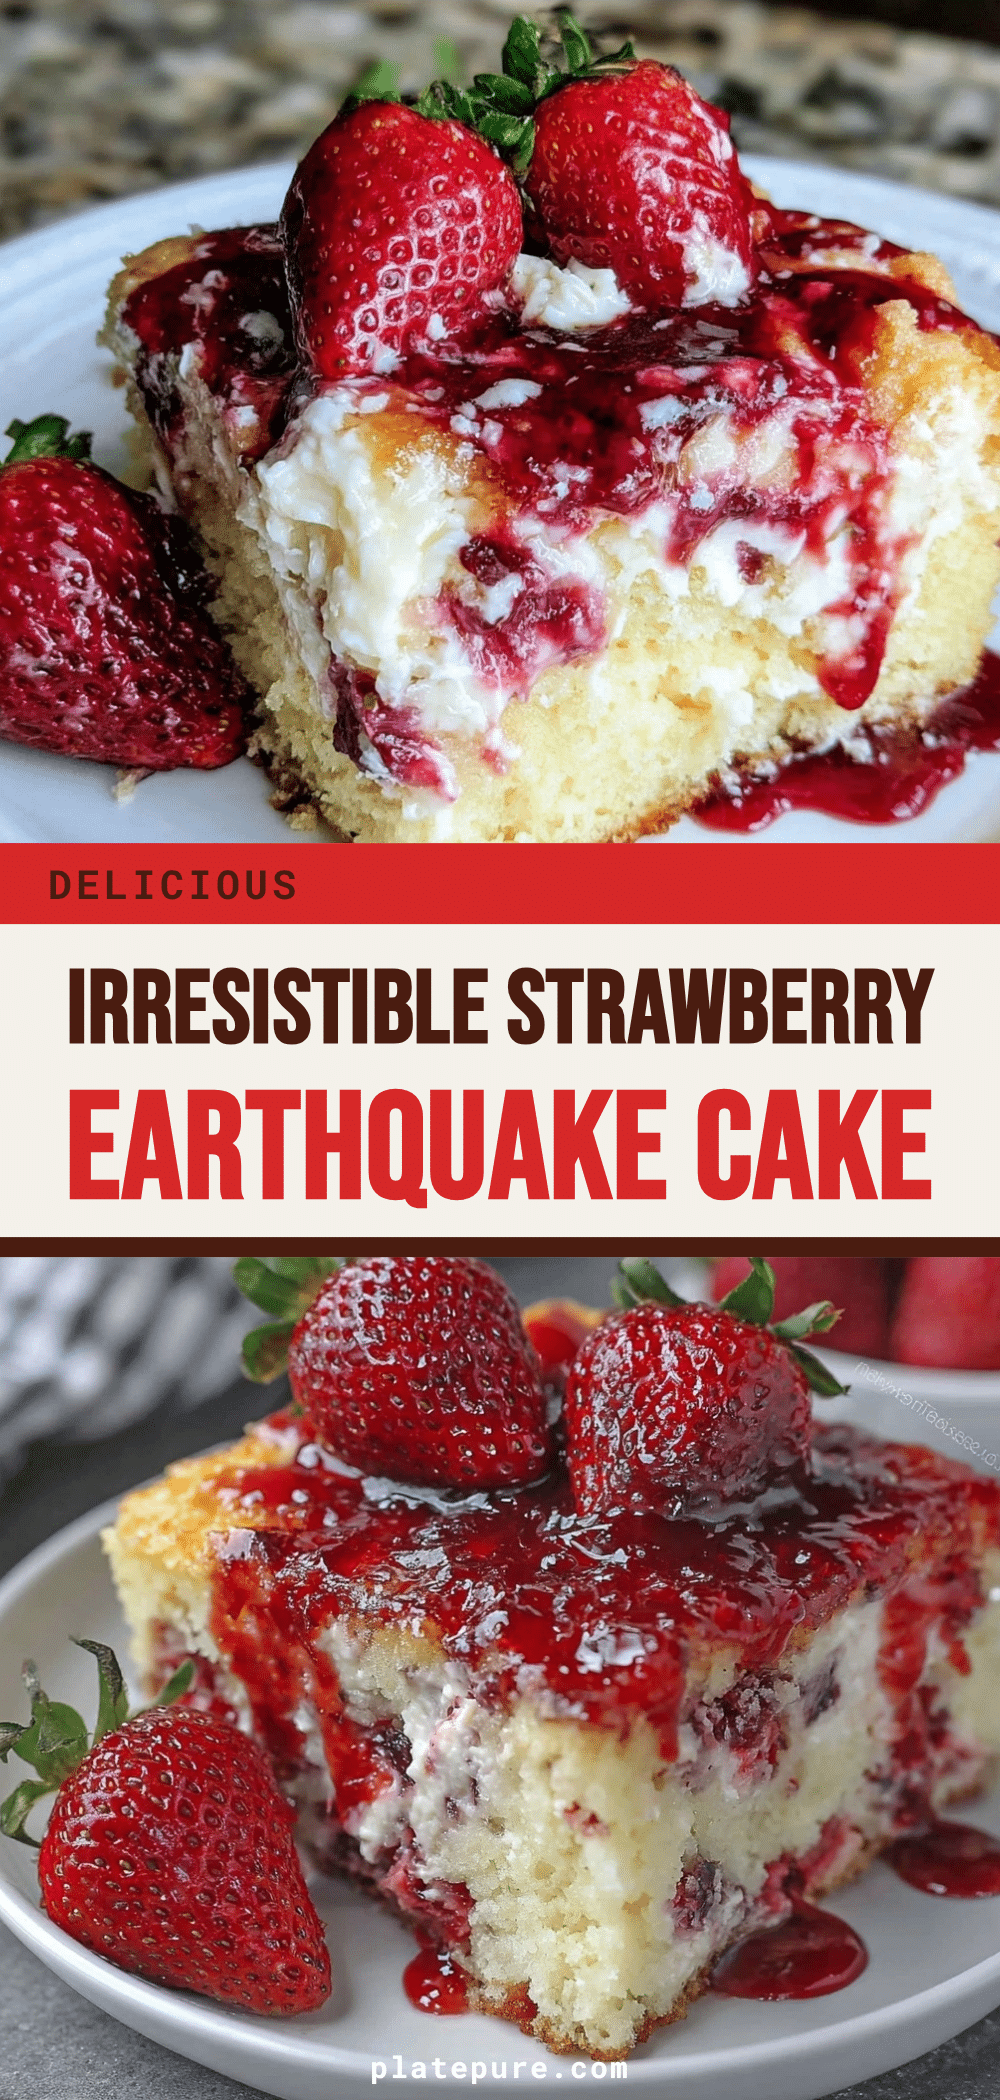
Strawberry Earthquake Cake: 3-Ingredient Zesty Crowd Pleaser
- Total Time: 55-60 minutes
- Yield: 12 servings 1x
Description
A simple, dump-and-mix strawberry cake that cracks and shifts as it bakes, creating gooey crevices filled with strawberries, chocolate chips, and pecans. It’s a zesty, indulgent dessert perfect for any occasion.
Ingredients
- 1 box (15.25 oz / 432g) Yellow or White Cake Mix
- 1 small box (3.4 oz / 96g) Instant Vanilla Pudding Mix
- 1 cup sliced strawberries (fresh or thawed frozen)
- 1 cup (170g) Mini Semi-Sweet Chocolate Chips
- 1 cup (110g) Chopped Pecans
- 1 stick (113g) Unsalted Butter, melted
- 2 large Eggs, room temperature
- 1 cup (240ml) Milk or Water
Instructions
- Preheat oven to 350°F (175°C) and grease a 9×13 inch baking dish.
- In a large mixing bowl, whisk together the eggs, melted butter, and milk (or water) until smooth.
- Add the cake mix and instant pudding mix to the wet ingredients. Stir gently until just combined; do not overmix.
- Pour half of the batter into the prepared baking dish and spread evenly.
- Sprinkle the sliced strawberries, chocolate chips, and chopped pecans evenly over the batter layer.
- Spoon the remaining batter over the fruit and nuts, spreading gently to cover most of the filling.
- Bake for 45-50 minutes, or until the top is golden brown and a toothpick inserted into the center comes out clean.
- Let the cake cool in the pan for 20-30 minutes before serving.
Notes
If the top browns too quickly, tent with aluminum foil for the last 10 minutes. For best texture, toast pecans beforehand. Ensure strawberries are patted dry if using fresh/juicy ones to prevent sogginess. The cake is fragile when hot, so cooling is essential for clean slicing.
- Prep Time: 10 minutes
- Cook Time: 45-50 minutes
- Category: Dessert
- Cuisine: American
Nutrition
- Serving Size: 1 slice
- Calories: 375
- Sugar: 32
- Sodium: 350
- Fat: 18
- Saturated Fat: 7
- Carbohydrates: 48
- Fiber: 2
- Protein: 5
Keywords: strawberry earthquake cake, easy dessert, crowd pleaser, strawberry cake, chocolate chip cake, pecan cake, dump cake, simple baking


