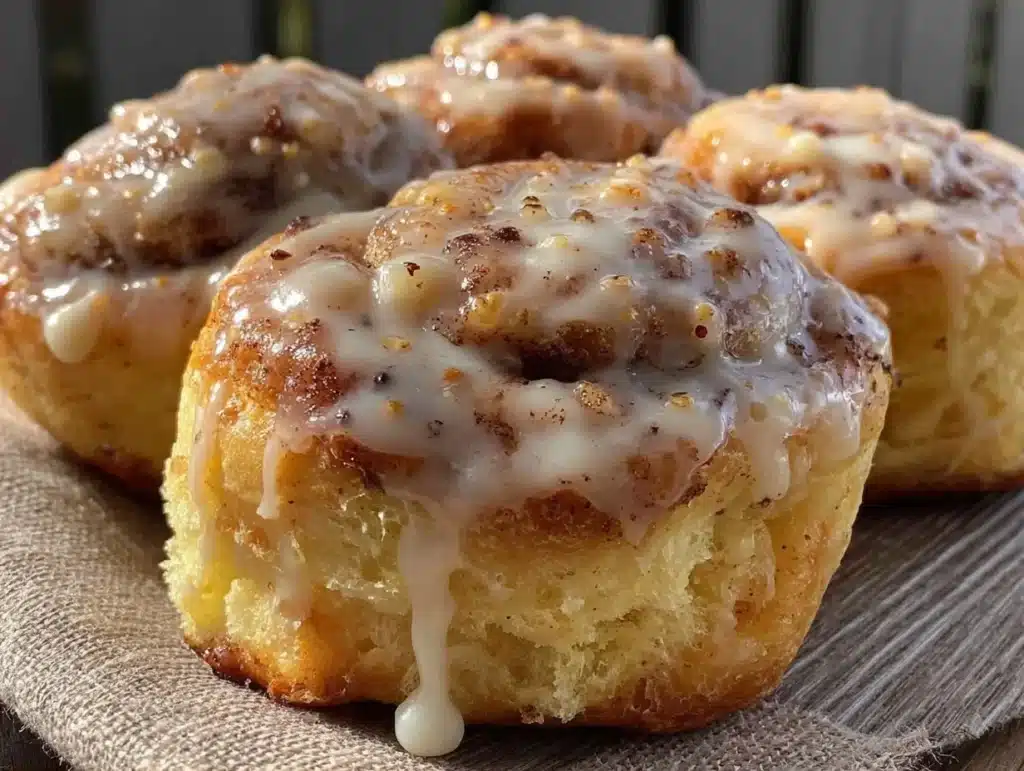
There is a specific kind of magic that happens when the smell of warm, buttery dough hits the air at 6 AM. Honestly, it’s almost unfair to the rest of the house. I remember the first time I attempted to make soft honey buns from scratch, it was a rainy Sunday in November. I wanted that cozy, bakery-style treat without spending three hours kneading dough or waiting for it to rise twice. The result was a bit dense, sure, but the honey glaze? Pure perfection. That morning started a quest to find the ultimate shortcut that didn’t sacrifice flavor or texture.
Today, I’m sharing the version that finally made the cut. These soft honey buns are the kind of breakfast that makes you close your eyes after the first bite. They are tender, sweet, and incredibly easy to pull together. You know how some recipes look good in photos but taste like cardboard? Not this one. This is the real deal, made with ingredients you likely already have in your pantry. It’s perfect for busy weeknights when you need something quick, or lazy weekends when you want to feel a bit fancy without the fuss.
Let’s face it, mornings are chaotic. Between getting kids ready, finding your keys, and trying to drink coffee before it gets cold, you don’t always have time for a complicated meal. That’s why I love this recipe. It comes together in under 10 minutes of active prep time. The dough is simple, the glaze is sticky and sweet, and the whole process feels less like cooking and more like a little treat for yourself. Whether you are a parent needing a win or just someone who loves a good pastry, these buns are your new go-to. I’ve tested this over a dozen times, tweaking the honey-to-butter ratio until it was just right. Trust me, once you try them, you’ll understand why they’ve become a staple in my weekly rotation.
Why You’ll Love This Recipe
I’ve spent years experimenting with breakfast pastries, and let me tell you, finding the balance between “quick” and “quality” is tough. Most shortcut recipes use biscuits or refrigerated dough, which works, but it lacks soul. This soft honey bun recipe is different. It uses a simplified yeast dough that rises fast but still has that pillowy, cloud-like texture you crave. I developed this after realizing my family’s favorite weekend treat was taking too long during the workweek. So, I hacked the process. The result is a bun that feels homemade but respects your time.
Here is why this recipe stands out from the crowd:
- Quick & Easy: You can have these in the oven in 10 minutes flat. No overnight proofing or complex lamination steps. It’s perfect for busy weeknights or those last-minute brunch cravings.
- Simple Ingredients: You don’t need to make a special trip to the grocery store. Flour, sugar, yeast, honey, butter, and milk. If you have a pantry, you have this recipe. It’s wholesome and straightforward.
- Perfect for Brunch: These are the stars of any weekend brunch table. They look impressive enough for guests but are humble enough for a Tuesday morning snack. Pair them with some crispy garlic chicken for a complete savory-sweet spread.
- Crowd-Pleaser: I’ve served these to picky eaters and pastry chefs alike. The honey glaze is universally loved. Kids go crazy for the sweetness, and adults appreciate the not-too-overpowering flavor profile.
- Unbelievably Delicious: The texture is next-level comfort food. The outside gets slightly crisp from the butter bath, while the inside stays soft and chewy. It’s a contrast that keeps you coming back for more.
What really makes this recipe special is the technique. Instead of rolling out a large sheet of dough and cutting it, we form individual balls. This creates more surface area for the glaze to stick to, meaning every single bite is coated in that sticky honey goodness. It’s a small tweak, but it makes a huge difference in the eating experience. Plus, the honey isn’t just a topping; a bit is mixed into the dough itself, infusing every crumb with floral sweetness. It’s comfort food reimagined—faster, easier, but with the same soul-soothing satisfaction as a slow-risen artisan loaf.
What Ingredients You Will Need
This recipe relies on simple, wholesome ingredients to deliver bold flavor and satisfying texture without the fuss. You don’t need fancy flours or exotic spices. The magic here is in the ratio of wet to dry ingredients and the quality of your honey. I always recommend using a decent quality clover honey if you can find it, as it adds a distinct floral note that cheap syrups just can’t match. The butter should be unsalted so you can control the saltiness, and room temperature ingredients help the dough come together faster.
For the Dough
- Warm Milk: 1 cup (240 ml), around 110°F (43°C). This activates the yeast without killing it.
- Active Dry Yeast: 2 teaspoons (7g). Standard packet size works fine.
- Granulated Sugar: 2 tablespoons. Feeds the yeast and adds a touch of sweetness.
- All-Purpose Flour: 2 ½ to 3 cups (315-375g). Bread flour can be used for a chewier texture, but AP is standard.
- Unsalted Butter: 4 tablespoons (56g), melted and slightly cooled. Adds richness and tenderness.
- Egg: 1 large egg, room temperature. Helps bind the dough and adds structure.
- Salt: 1 teaspoon. Balances the sweetness.
For the Honey Glaze & Assembly
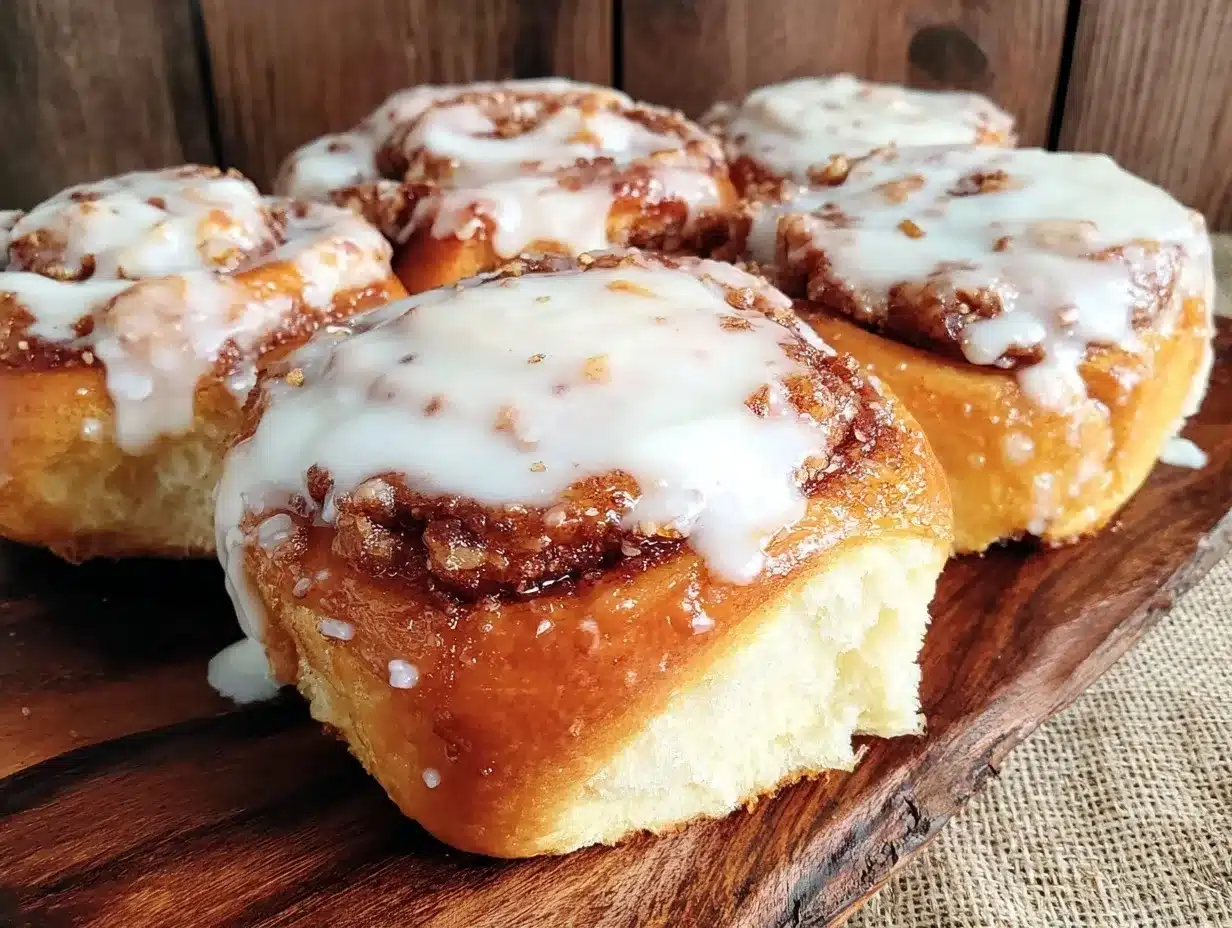
- Unsalted Butter: 4 tablespoons (56g), melted. This is brushed on the pan for maximum flavor.
- Light Brown Sugar: ½ cup (100g). Gives a deeper, caramel-like flavor than white sugar.
- Honey: ½ cup (170g). The star of the show. Use a thick, good-quality honey.
- Cinnamon: 1 teaspoon. Optional, but adds a warm spice note that pairs beautifully with honey.
I personally prefer using a silicone baking mat for the pan, as it makes cleanup a breeze, but a well-greased pan works too. If you are looking for a gluten-free option, you can swap the all-purpose flour for a 1:1 gluten-free baking blend, though the texture will be slightly denser. For a dairy-free version, use coconut oil instead of butter in both the dough and the glaze. Just keep in mind that the flavor profile will shift slightly toward coconut.
Equipment Needed
You don’t need a fancy kitchen to make these soft honey buns. A standard 9×13 inch baking dish is all you really need. I use a glass Pyrex dish because it heats evenly, but metal pans work just as well. If you don’t have a 9×13, you can use two 9-inch round cake pans, but you might need to adjust the baking time slightly. A whisk is essential for mixing the dry ingredients, and a rubber spatula is great for scraping the bowl clean so you don’t waste any dough.
A kitchen thermometer is helpful but not strictly necessary. If you don’t have one, just make sure the milk is warm to the touch but not hot. You want it to feel like a warm bath, not a hot tub. If the milk is too hot, it will kill the yeast, and your buns won’t rise. A small saucepan is useful for melting the butter and heating the milk if they aren’t at room temperature. I also recommend having a pastry brush on hand for brushing the melted butter onto the buns before baking. It’s a cheap tool that makes a big difference in achieving that golden, glossy finish. If you’re on a budget, a simple silicone brush works just as well as expensive nylon ones and is easier to clean.
Preparation Method
Getting started is the easiest part. First, preheat your oven to 350°F (175°C). This ensures the oven is ready when your dough is proofed. In a small bowl or measuring cup, combine the warm milk and sugar. Sprinkle the yeast over the top and give it a gentle stir. Let this sit for about 5-10 minutes. You’ll know it’s working when the mixture becomes foamy and bubbly on top. If it doesn’t foam, your yeast might be old, or the milk was too hot. Don’t skip this step; it’s crucial for a good rise.
While the yeast activates, melt the 4 tablespoons of butter for the dough. Let it cool slightly so it doesn’t scramble the egg. In a large mixing bowl, combine the flour and salt. Make a well in the center and pour in the yeast mixture, the melted butter, and the egg. Mix this with a wooden spoon or a stand mixer with a dough hook on low speed. Start with 2 ½ cups of flour. The dough should be soft and slightly sticky. If it’s too wet, add more flour, one tablespoon at a time. If it’s too dry, add a splash of milk. Knead the dough for about 5-7 minutes by hand or 3-4 minutes in a mixer. You want it to be smooth and elastic. Place the dough in a lightly oiled bowl, cover it with a damp towel or plastic wrap, and let it rise in a warm spot for 30-45 minutes, or until it has doubled in size.
Once the dough has risen, punch it down gently to release the air. Turn it out onto a lightly floured surface. Roll it into a rectangle, roughly 12×16 inches. In a small bowl, mix the brown sugar and cinnamon if you are using it. Sprinkle this mixture evenly over the dough. Roll the dough up tightly from the long side, like a jelly roll. Use a sharp knife or dental floss to cut the log into 12 equal pieces. This is where precision matters; uneven pieces will bake unevenly.
Now, for the assembly. Melt the remaining 4 tablespoons of butter and pour it into your 9×13 baking dish. Swirl it around to coat the bottom and sides. Place the cut pieces of dough into the dish, cut-side up. They should be touching each other, which helps them rise up rather than out. Cover the dish loosely and let the buns rise again for 15-20 minutes. This second rise is what gives them that soft, fluffy texture. While they rise, you can make the glaze. Whisk together the honey and a tablespoon of warm water to thin it out slightly. This makes it easier to drizzle. After the second rise, bake the buns for 20-25 minutes, or until they are golden brown on top. Remove from the oven and immediately drizzle the honey glaze over the hot buns. The heat will melt the glaze into the cracks. Let them cool for 5-10 minutes before serving. The steam helps set the glaze, making it sticky but not runny.
Cooking Tips & Techniques
I’ve made my fair share of baking mistakes, and the biggest one with these buns is over-kneading. It’s easy to go overboard, but too much kneading can make the buns tough. Stop when the dough is smooth and springs back when you poke it. Another common mistake is rushing the rising process. If your kitchen is cold, the dough might take longer. Don’t force it. A warm spot, like near a sunny window or on top of the fridge, helps. If the dough doesn’t double, give it more time. Patience is key.
For the glaze, don’t use too much honey. It can become too runny and soak into the buns, making them soggy. The 1:1 ratio of honey to butter in the pan is perfect for creating a caramelized bottom. Also, watch the buns closely in the last 5 minutes of baking. Honey burns easily. If the tops are browning too fast, cover them loosely with aluminum foil. I also recommend letting the buns cool slightly before glazing. If they are piping hot, the glaze might slide right off. If they are cold, the glaze will harden into a shell. The sweet spot is warm, where the glaze penetrates just enough to be sticky. Multitasking is your friend here. While the buns bake, you can clean up your bowls. It saves time and reduces stress.
Variations & Adaptations
One of the best things about this recipe is how adaptable it is. If you want a nuttier flavor, add ½ cup of chopped pecans or walnuts to the dough before rolling. They add a great crunch that contrasts with the soft bun. For a chocolate twist, sprinkle mini chocolate chips over the dough before rolling it up. It’s like a cinnamon roll meets a brownie. If you are looking for a savory option, skip the sugar and cinnamon in the filling. Instead, use shredded cheddar cheese and chopped chives. Brush with garlic butter instead of honey glaze. It’s a completely different vibe but uses the same base dough.
For a dairy-free version, substitute the butter with coconut oil or a plant-based butter alternative. Use maple syrup instead of honey for the glaze if you are vegan. The texture might be slightly different, but the flavor will still be delicious. If you want to make these ahead of time, you can assemble the buns the night before, cover them tightly, and refrigerate them. In the morning, let them come to room temperature for 30 minutes before baking. They might take an extra 5 minutes in the oven. This is perfect for busy mornings when you want to wake up to the smell of fresh baking. I personally love adding a pinch of cardamom to the cinnamon sugar for a more aromatic, Scandinavian-style flavor.
Serving & Storage Suggestions
These soft honey buns are best served warm. I like to microwave them for 10-15 seconds to bring back that fresh-baked softness. They pair wonderfully with a cup of black coffee or a glass of cold milk. For a more substantial breakfast, serve them alongside some scrambled eggs or crispy bacon. The sweetness of the buns balances the saltiness of the meat perfectly. If you have leftovers, store them in an airtight container at room temperature for up to 2 days. They stay soft and moist for a while. For longer storage, freeze them. Wrap individual buns in plastic wrap and place them in a freezer-safe bag. They will last for up to 3 months. To reheat, thaw them at room temperature and then warm them in the oven at 300°F for 10 minutes. The flavors actually develop more over time, making them even better on day two. The honey glaze softens the crust, creating a more uniform texture.
Nutritional Information & Benefits
While these are definitely a treat, they can fit into a balanced diet. Each bun contains roughly 250-300 calories, depending on the size. The honey provides natural sugars and antioxidants, which are better than refined white sugar. The butter adds healthy fats that help with satiety, keeping you full longer. If you use whole wheat flour, you can increase the fiber content, which is good for digestion. However, they are still a high-carb food, so portion control is key. I enjoy them as an occasional breakfast treat rather than a daily staple. They provide a quick energy boost, making them great for active mornings. Just be mindful of the sugar content if you are watching your intake. The cinnamon adds anti-inflammatory benefits, which is a nice bonus. Overall, they are a indulgent but reasonable treat when enjoyed in moderation.
Conclusion
Soft honey buns are more than just a breakfast item; they are a moment of comfort in a chaotic world. I love how simple they are to make but how impressive they look on the table. They bring a sense of warmth and homeliness that store-bought pastries just can’t match. I encourage you to try this recipe and make it your own. Add your favorite nuts, swap the honey for maple syrup, or experiment with different spices. The beauty of baking is in the customization. Share your creations with friends and family, and don’t forget to leave a comment with how they turned out for you. I love hearing about your baking adventures. Happy baking, and enjoy every sticky, sweet bite!
Frequently Asked Questions
Can I use instant yeast instead of active dry yeast?
Yes, you can. Instant yeast can be mixed directly with the dry ingredients. You may not need to proof it in the milk first, but it doesn’t hurt to do so to ensure it’s active. Use the same amount, and the rise time might be slightly faster.
Why did my buns turn out dense?
This usually happens if the yeast was dead or if the dough was over-kneaded. Make sure your milk is warm but not hot. Also, avoid adding too much extra flour when kneading. The dough should be soft and slightly sticky.
Can I make these buns gluten-free?
Absolutely. Use a 1:1 gluten-free flour blend that includes xanthan gum. The dough might be stickier, so you may need to handle it with wet hands. The texture will be slightly different but still delicious.
How do I store leftover honey buns?
Store them in an airtight container at room temperature for up to 2 days. For longer storage, freeze them in a freezer-safe bag. Reheat in the oven or microwave before serving.
Can I use maple syrup instead of honey?
Yes, maple syrup works well as a substitute for honey in both the dough and the glaze. The flavor will be more caramel-like, which is still very tasty. Just keep in mind that maple syrup is thinner, so you might need less of it in the glaze.
Pin This Recipe!
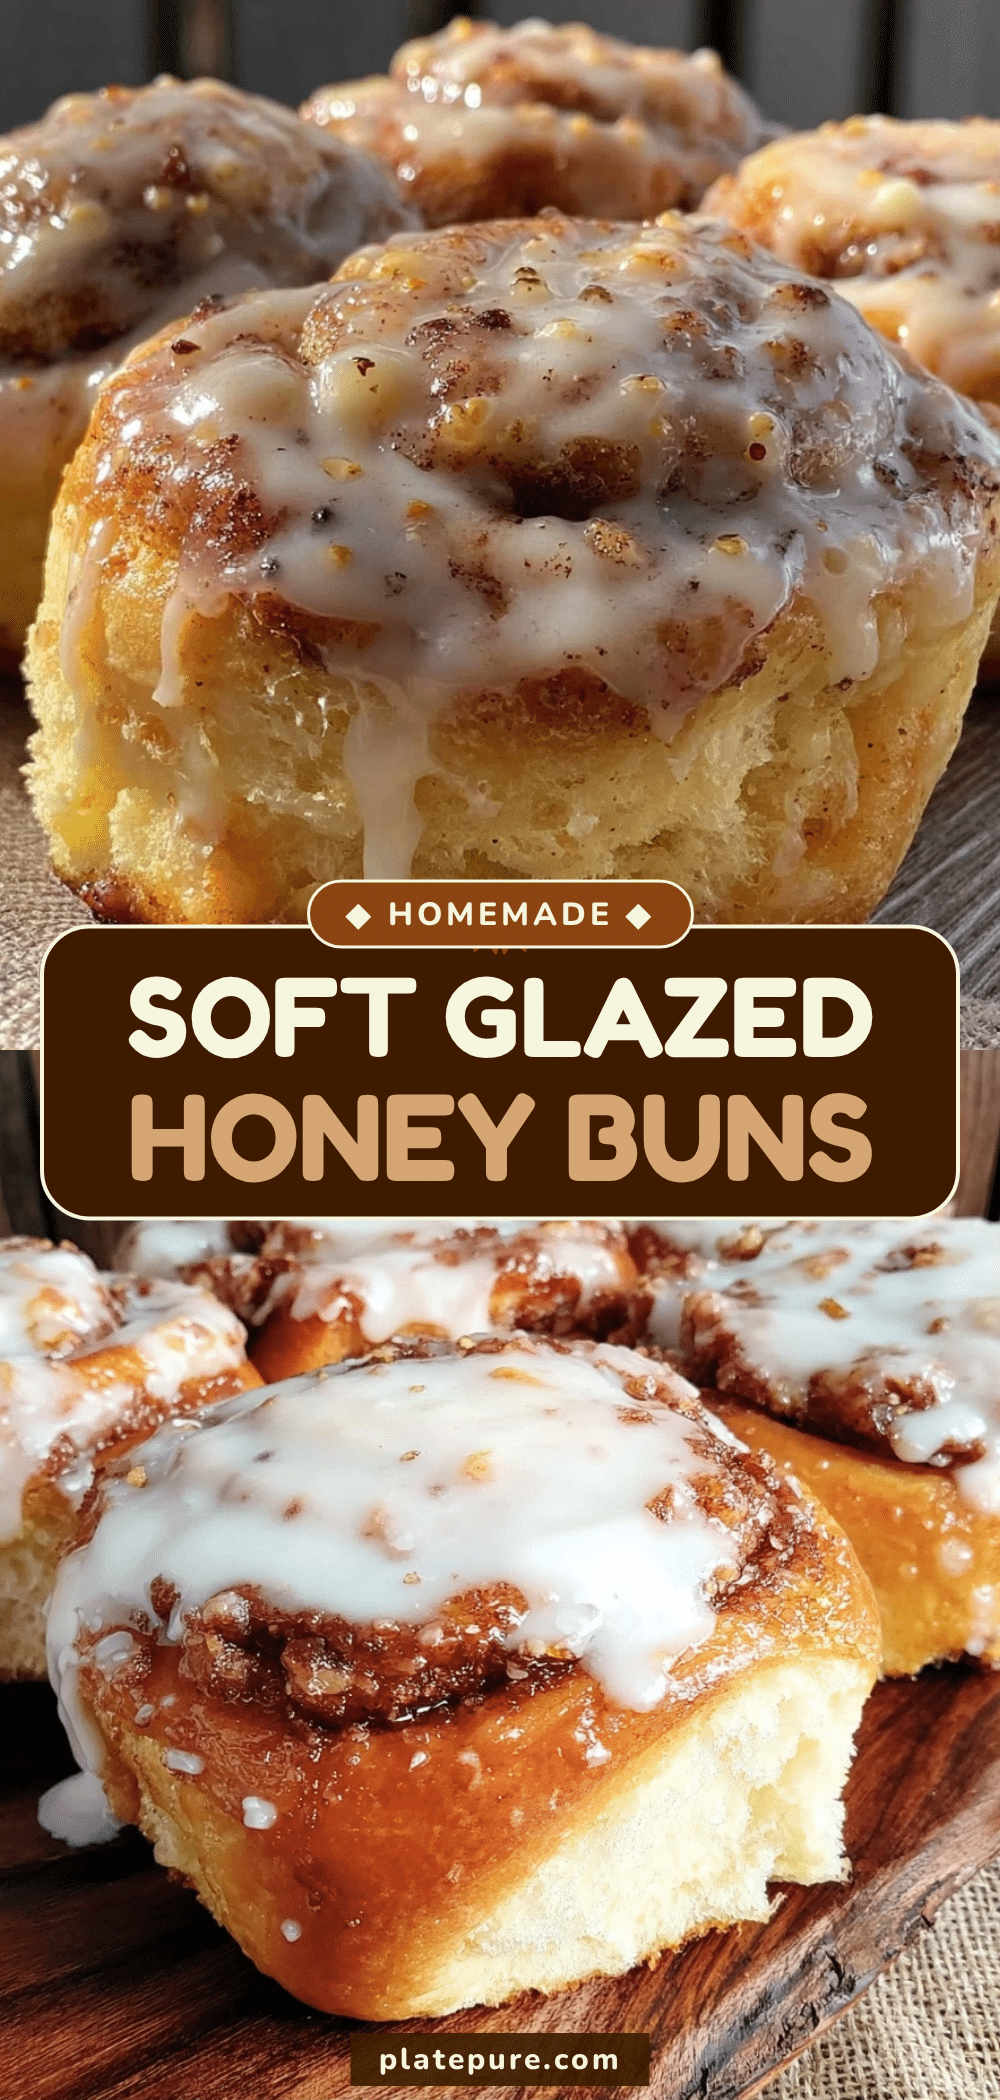

Soft Honey Buns: Easy 10-Minute Glazed Breakfast
- Total Time: 35 minutes
- Yield: 12 servings 1x
Description
Tender, sweet, and incredibly easy soft honey buns made with a simplified yeast dough and a sticky honey glaze. Perfect for busy mornings or lazy weekends.
Ingredients
- 1 cup (240 ml) warm milk (around 110°F/43°C)
- 2 teaspoons (7g) active dry yeast
- 2 tablespoons granulated sugar
- 2 ½ to 3 cups (315-375g) all-purpose flour
- 4 tablespoons (56g) unsalted butter, melted and slightly cooled (for dough)
- 1 large egg, room temperature
- 1 teaspoon salt
- 4 tablespoons (56g) unsalted butter, melted (for pan)
- ½ cup (100g) light brown sugar
- ½ cup (170g) honey
- 1 teaspoon cinnamon (optional)
Instructions
- Preheat oven to 350°F (175°C).
- In a small bowl, combine warm milk and sugar. Sprinkle yeast over the top and stir gently. Let sit for 5-10 minutes until foamy.
- Melt 4 tablespoons of butter for the dough and let cool slightly.
- In a large bowl, combine flour and salt. Make a well and add the yeast mixture, melted butter, and egg.
- Mix with a wooden spoon or stand mixer on low speed. Start with 2 ½ cups flour. Knead for 5-7 minutes by hand or 3-4 minutes in a mixer until smooth and elastic.
- Place dough in a lightly oiled bowl, cover, and let rise in a warm spot for 30-45 minutes until doubled.
- Punch down dough and turn out onto a floured surface. Roll into a 12×16 inch rectangle.
- Mix brown sugar and cinnamon (if using) and sprinkle evenly over the dough.
- Roll dough tightly from the long side into a log. Cut into 12 equal pieces.
- Melt remaining 4 tablespoons of butter and pour into a 9×13 inch baking dish. Swirl to coat.
- Place dough pieces cut-side up in the dish, touching each other.
- Cover loosely and let rise again for 15-20 minutes.
- Whisk honey with 1 tablespoon warm water to thin slightly for glazing.
- Bake for 20-25 minutes until golden brown.
- Immediately drizzle honey glaze over hot buns.
- Let cool for 5-10 minutes before serving.
Notes
Ensure milk is warm but not hot to avoid killing the yeast. Do not over-knead the dough to prevent tough buns. If tops brown too quickly, cover loosely with aluminum foil. For gluten-free, use a 1:1 gluten-free flour blend. For dairy-free, substitute butter with coconut oil or plant-based butter.
- Prep Time: 10 minutes
- Cook Time: 25 minutes
- Category: Breakfast
- Cuisine: American
Nutrition
- Serving Size: 1 bun
- Calories: 275
- Sugar: 22
- Sodium: 250
- Fat: 12
- Saturated Fat: 7
- Carbohydrates: 38
- Fiber: 1
- Protein: 4
Keywords: soft honey buns, breakfast recipe, easy baking, honey glaze, yeast dough, brunch ideas, quick breakfast


