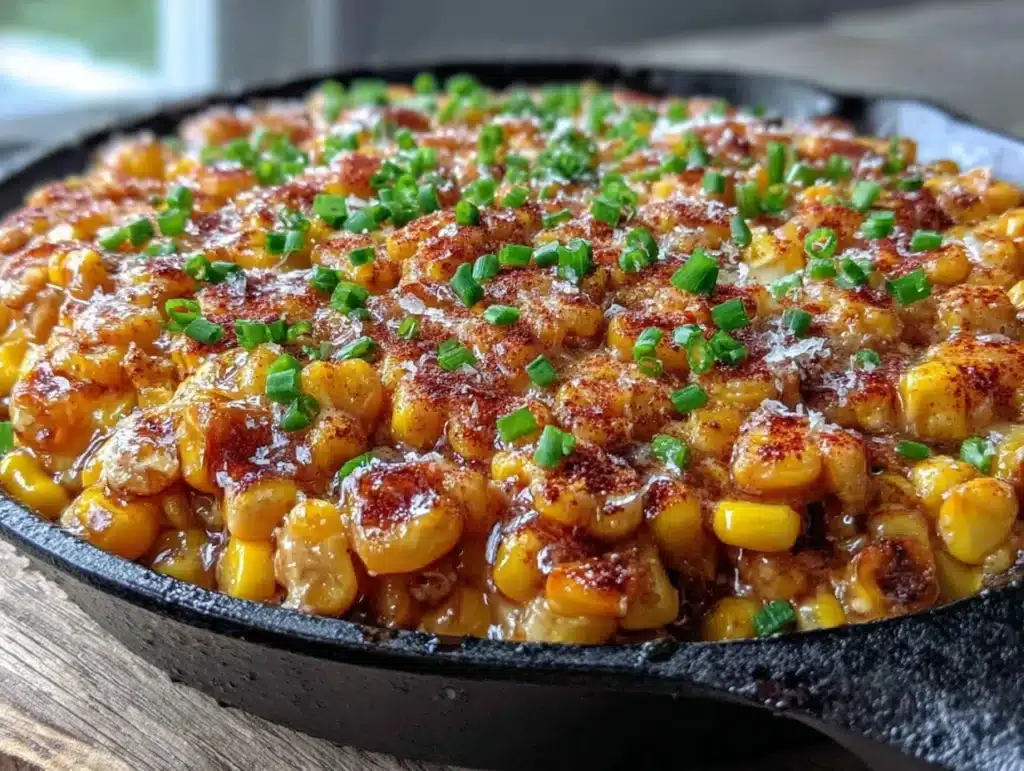
Let’s be honest for a second. You know that moment when you’re standing over a hot grill, flipping burgers or kebabs, and you realize you forgot to prep a side dish? I’ve been there. More times than I care to admit. It’s usually summer, the sun is beating down, and the only thing saving the meal from being a total disaster is a bag of frozen corn and a stick of butter.
I first stumbled on this One-Skillet Honey Butter Corn recipe during a chaotic Fourth of July barbecue. My partner had promised to handle sides, but he got distracted by the remote control. I panicked. I grabbed a skillet, some frozen kernels, honey, and that good stuff from the pantry. What came out of that pan wasn’t just “okay.” It was shiny, sweet, savory, and absolutely addictive.
Since then, I’ve made this One-Skillet Honey Butter Corn for every single cookout, weeknight dinner, and holiday gathering. It’s my secret weapon. It takes five minutes, uses one pan, and tastes like something you’d pay $8 for at a fancy restaurant. Honestly, it’s the finishing sauce doing all the work here. The honey and butter melt together to create this glossy, caramelized coating that clings to every single kernel.
If you are looking for a side dish that doesn’t require chopping, measuring, or washing a mountain of bowls, this is it. It’s perfect for busy families, picky eaters who usually hate vegetables, or anyone who just wants something delicious without the fuss. Let’s get cooking.
Why You’ll Love This Recipe
After testing this One-Skillet Honey Butter Corn over a dozen times, I can tell you why it keeps showing up on my table. It’s not just about speed, although that’s a huge plus. It’s about the flavor profile. Most corn recipes are just boiled or steamed. This one? It’s got personality.
- Quick & Easy: From frozen bag to finished plate in under 10 minutes. It’s perfect for those weeknights when you’re tired and just want to eat.
- Simple Ingredients: You likely have everything in your kitchen right now. Corn, butter, honey, salt, pepper, and maybe some chili flakes if you want a kick.
- Perfect for Grilling Season: While your main protein is on the grill, this skillet stays on the back burner. It’s the ultimate cowboy butter steak bites companion.
- Crowd-Pleaser: Kids love the sweetness. Adults love the richness. It’s a rare dish that satisfies everyone at the table.
- Unbelievably Delicious: The texture is tender but with a slight chew, and the flavor is a perfect balance of salty, sweet, and buttery.
What makes this different from other corn sides? It’s the technique. By using a skillet and high heat, you get a slight caramelization that boiling never gives you. The honey doesn’t just sit on top; it reduces slightly to coat the corn. It’s comfort food reimagined—simpler, faster, but with that soul-soothing satisfaction you crave.
What Ingredients You Will Need
This recipe relies on wholesome, simple ingredients to deliver bold flavor. You don’t need fancy groceries. In fact, the magic happens because the ingredients are so basic, they let each other shine. I like to use frozen corn because it’s pre-shucked and ready to go, but fresh corn works too if you’re in season.
- Frozen Corn Kernels: 2 cups (about one 10-12 oz bag). I recommend brands like Green Giant or store brands. They are flash-frozen at peak ripeness, so the sweetness is locked in. Thaw them slightly before cooking for faster results.
- Unsalted Butter: 2 tablespoons. Using unsalted lets you control the saltiness. If you use salted butter, reduce the added salt later. I prefer high-quality butter for that rich, creamy mouthfeel.
- Honey: 2 tablespoons. This is the star. Use a good quality honey. Clover or wildflower honey adds a nice floral note. Avoid cheap, overly sweet corn syrup blends.
- Garlic Powder: 1/2 teaspoon. This adds a savory depth that balances the sweetness. Fresh garlic can burn in the high heat, so powder is safer and more consistent.
- Onion Powder: 1/4 teaspoon. A little goes a long way. It adds background complexity without chunks of onion.
- Salt: 1/2 teaspoon, or to taste. Kosher salt is best because it’s easier to sprinkle evenly. If you use table salt, use less.
- Black Pepper: 1/4 teaspoon. Freshly cracked is always better for that sharp bite.
- Optional Red Pepper Flakes: 1/4 teaspoon. If you like a little heat, this is the way to go. It cuts through the richness of the butter.
- Fresh Parsley or Cilantro: 1 tablespoon, chopped. For garnish. It adds a fresh, bright finish to the rich dish.
Equipment Needed
You really only need one piece of equipment for this, which is the whole point. A large skillet or frying pan is ideal. I prefer a cast-iron skillet because it holds heat well and gives a nice sear, but a non-stick ceramic pan works perfectly too.
If you don’t have a large skillet, a wok can work as an alternative because of its wide surface area, allowing moisture to evaporate quickly. Just make sure it’s clean if you’ve cooked strong flavors in it before.
I also recommend using a silicone spatula or a wooden spoon for stirring. Metal utensils can scratch non-stick surfaces. Keep your spatula handy so you can toss the corn evenly. It’s a simple setup, which is why this recipe is so reliable.
Preparation Method
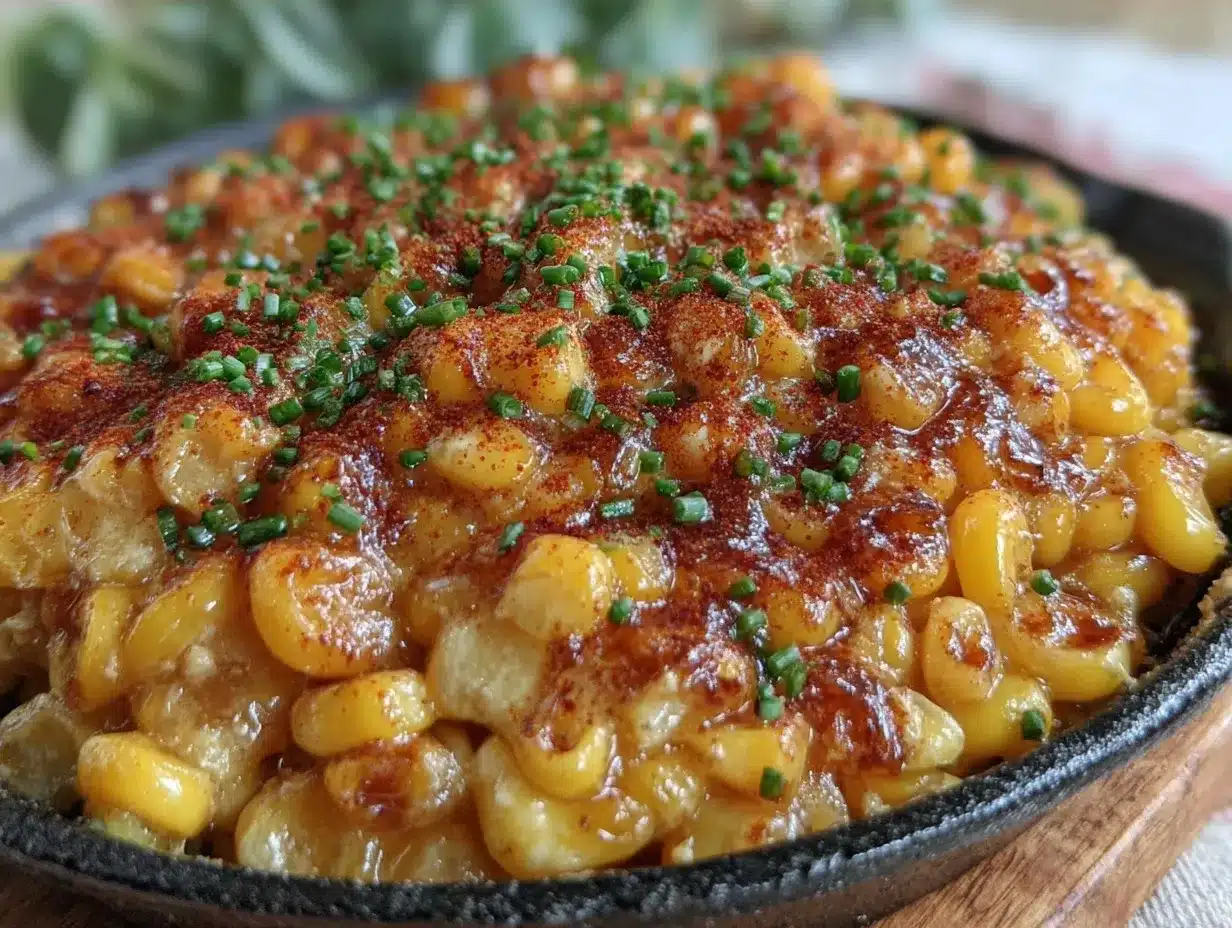
Getting this One-Skillet Honey Butter Corn ready is straightforward, but timing is everything. You want the corn hot and the sauce glossy, not watery or burnt.
- Heat the Pan: Place your large skillet over medium-high heat. Let it get hot for about 1-2 minutes. You want it to be shimmering hot before you add anything. This ensures the corn starts to sear immediately.
- Add Butter: Add the 2 tablespoons of butter to the hot pan. Let it melt completely. It will foam up a bit. Swirl the pan to coat the bottom evenly. Don’t let it brown too much; you just want it liquid.
- Add Corn: Toss in the thawed frozen corn kernels. Spread them out in a single layer if possible. This is crucial. If you pile them up, they will steam instead of sear. Let them sit undisturbed for 2-3 minutes. You want to hear that sizzle.
- Stir and Sear: After the initial sear, stir the corn. Cook for another 2-3 minutes, stirring occasionally. The kernels should start to look plump and slightly golden in spots. This is where the flavor develops.
- Add Seasonings: Sprinkle the garlic powder, onion powder, salt, and black pepper over the corn. Toss everything together. The spices will toast slightly in the butter, releasing their aromas.
- Pour in Honey: Drizzle the 2 tablespoons of honey over the corn. This is the moment of truth. Stir quickly and continuously. The honey will bubble and coat the corn. Cook for another 1-2 minutes until the sauce thickens slightly and becomes glossy.
- Finish and Serve: Remove the pan from the heat. If you are using red pepper flakes, add them now. Taste the corn. Do you need more salt? Add a pinch if needed. Garnish with fresh parsley or cilantro. Serve immediately while hot and shiny.
Cooking Tips & Techniques
I’ve made mistakes with this recipe before, so you don’t have to. Here is what I’ve learned through trial and error.
First, don’t skip the thawing step. If you throw frozen corn straight into the butter, it releases too much water. The result is soggy, diluted honey corn. Thawing it in the microwave for 30 seconds or leaving it on the counter for 10 minutes makes a huge difference.
Second, watch the heat. Medium-high is the sweet spot. If the heat is too low, the honey will just sit there and not reduce. If it’s too high, the honey will burn and turn bitter. You want a gentle bubble, not a violent boil.
Third, stir often once the honey is added. Honey burns quickly. Keep that spatula moving. I usually stand there and stir for the last minute to ensure an even coating. It’s worth the attention.
Finally, taste as you go. Every brand of corn and honey is slightly different in sweetness. Adjust your salt and pepper to your personal preference. This is your skillet, after all.
Variations & Adaptations
While the classic version is my go-to, this recipe is a canvas for creativity. Here are a few ways to twist it.
Spicy Honey Butter Corn: Add 1/2 teaspoon of cayenne pepper or a diced jalapeño when you add the corn. The heat pairs beautifully with the sweet honey. It’s like a dessert and dinner combo.
Herb-Infused Corn: Swap the parsley for fresh thyme or dill. Thyme adds an earthy note that works well if you are serving this with roasted meats. Dill adds a fresh, tangy twist.
Queso Style: Stir in 1/4 cup of shredded cheddar cheese at the very end, off the heat. The residual heat will melt it into a creamy, cheesy corn dish. It’s indulgent and perfect for game days.
Gluten-Free & Vegan: This recipe is naturally gluten-free. For a vegan version, swap the butter for vegan butter or coconut oil, and use maple syrup instead of honey. The flavor will be slightly different but still delicious.
I once tried adding crumbled bacon bits to this. It was amazing. The smokiness of the bacon combined with the sweet honey was a hit at my next dinner party. Feel free to experiment.
Serving & Storage Suggestions
This One-Skillet Honey Butter Corn is best served immediately. The glossiness fades as it cools, and the texture changes. Present it in a warm bowl to keep it hot.
It pairs wonderfully with grilled meats. I love serving it alongside honey garlic chicken kabobs or beef tips and noodles. The sweet corn balances the savory, rich proteins perfectly.
If you have leftovers, store them in an airtight container in the refrigerator for up to 3 days. Reheat in the microwave or in a skillet with a splash of water to loosen the sauce. The corn will be softer the next day, but the flavor remains strong.
Do not freeze this recipe. The corn will become mushy when thawed. It’s a fresh, quick dish meant for immediate enjoyment. That’s part of its charm.
Nutritional Information & Benefits
This dish is relatively light but satisfying. One serving (about 1/2 cup) contains approximately 150 calories. It provides carbohydrates from the corn and honey, along with some fat from the butter.
Corn is a good source of fiber and vitamins B and C. It’s also naturally gluten-free. The honey offers antioxidants, though it is still a sugar, so moderation is key. This recipe is not low-carb, but it fits well into a balanced diet as a side dish.
From a wellness perspective, I appreciate that it’s a vegetable side that kids actually eat. It’s a small victory in the battle for healthy eating. Plus, it’s quick, so you’re more likely to make a vegetable side when you’re busy.
Conclusion
This One-Skillet Honey Butter Corn is more than just a side dish. It’s a time-saver, a flavor bomb, and a crowd-pleaser. It proves that you don’t need complicated techniques to make something delicious. Sometimes, just butter, honey, and heat is enough.
I encourage you to try this recipe. Adjust the spices to your liking. Add some cheese or bacon if you want to go wild. But start with the basics and see how much your family loves it.
Don’t forget to leave a comment below and let me know how it turned out. Did you add extra chili flakes? Did you use fresh corn? I love hearing your variations. Share this recipe with a friend who needs an easy side dish. Happy cooking!
FAQs
Can I use fresh corn instead of frozen?
Yes, you can. You will need about 3-4 ears of corn, cut off the cob. Fresh corn has more moisture, so you may need to cook it a minute longer to evaporate the water and get the honey to coat properly. Thawing frozen corn is just for convenience.
Can I make this in the oven?
It’s not ideal. The skillet method allows for quick searing and coating. If you must use the oven, toss the corn with butter and honey on a baking sheet and bake at 400°F (200°C) for 15-20 minutes, stirring halfway. But the skillet is faster and gives better texture.
Is this recipe gluten-free?
Yes, naturally. Corn, butter, and honey are all gluten-free. Just ensure your spices and honey are certified gluten-free if you have celiac disease, as cross-contamination can happen in manufacturing.
Can I use maple syrup instead of honey?
Yes, maple syrup works well. It has a stronger flavor, so use a little less if you prefer a subtle taste. It also takes longer to thicken, so cook it a bit longer on medium heat.
How do I prevent the honey from burning?
Keep the heat at medium-high, not high. Stir constantly once the honey is added. Honey burns quickly because of its sugar content. If you see it darkening too much, remove the pan from the heat immediately and add a splash of water to deglaze and cool it down.
Pin This Recipe!
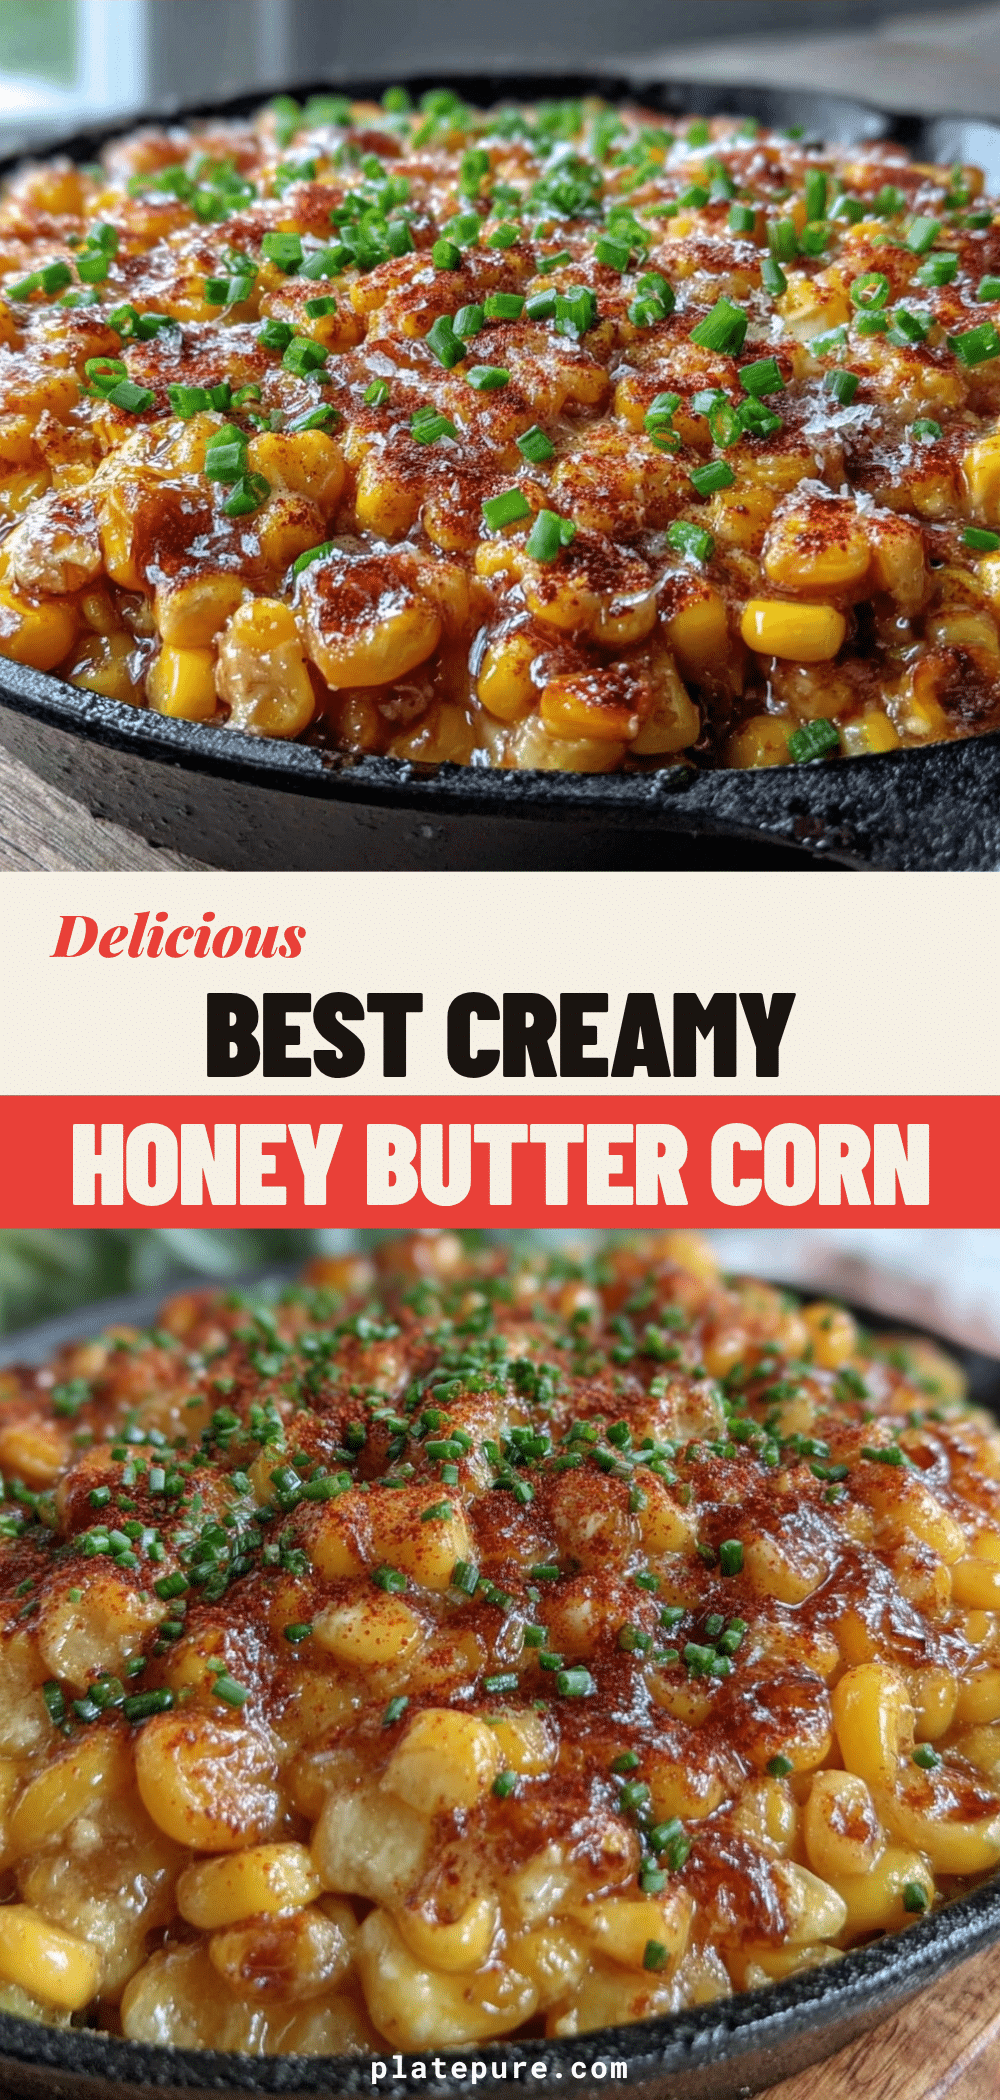

One-Skillet Honey Butter Corn
- Total Time: 10 minutes
- Yield: 4 servings 1x
Description
A quick and easy 5-minute side dish featuring sweet, savory, and caramelized corn kernels coated in a glossy honey butter sauce, perfect for grilling season or busy weeknights.
Ingredients
- 2 cups frozen corn kernels (thawed)
- 2 tablespoons unsalted butter
- 2 tablespoons honey
- 1/2 teaspoon garlic powder
- 1/4 teaspoon onion powder
- 1/2 teaspoon salt (or to taste)
- 1/4 teaspoon black pepper
- 1/4 teaspoon red pepper flakes (optional)
- 1 tablespoon fresh parsley or cilantro, chopped (for garnish)
Instructions
- Heat a large skillet over medium-high heat for 1-2 minutes until shimmering hot.
- Add the butter to the hot pan and let it melt completely, swirling to coat the bottom evenly without browning.
- Add the thawed corn kernels to the pan, spreading them out in a single layer to ensure searing rather than steaming.
- Let the corn sit undisturbed for 2-3 minutes until it sizzles and begins to sear.
- Stir the corn and cook for another 2-3 minutes, stirring occasionally, until kernels are plump and slightly golden.
- Sprinkle garlic powder, onion powder, salt, and black pepper over the corn and toss to combine.
- Drizzle the honey over the corn and stir continuously for 1-2 minutes until the sauce bubbles, thickens, and becomes glossy.
- Remove from heat, add red pepper flakes if using, and taste to adjust seasoning.
- Garnish with fresh parsley or cilantro and serve immediately.
Notes
Thaw the frozen corn slightly before cooking to prevent excess water from making the dish soggy. Use medium-high heat to caramelize the honey without burning it. Stir constantly once the honey is added. This recipe is naturally gluten-free. For a vegan version, substitute butter with vegan butter or coconut oil and honey with maple syrup.
- Prep Time: 5 minutes
- Cook Time: 5 minutes
- Category: Side Dish
- Cuisine: American
Nutrition
- Serving Size: 1/2 cup
- Calories: 150
- Sugar: 14
- Sodium: 280
- Fat: 6
- Saturated Fat: 3.5
- Carbohydrates: 24
- Fiber: 2
- Protein: 2
Keywords: honey butter corn, one skillet recipe, easy side dish, quick corn recipe, summer sides, gluten-free side dish, honey glazed corn


