There is a specific kind of magic that happens when the Ninja Creami blade spins through frozen protein ice cream. Honestly, it sounds like a dream until you actually hold the spoon. The texture isn’t just cold; it’s velvety, rich, and packed with that nostalgic peanut butter flavor we all crave but rarely get in a healthy form. I remember the first time I made this Ninja Creami Protein Shake (Peanut Butter), I was skeptical. Would it be icy? Would it taste like chalk? Let’s face it, protein powder can be tricky to work with in frozen desserts.
But after testing this recipe over a dozen times, I can confirm it is the real deal. It’s smooth, it’s dense, and it tastes like a cheat meal without the guilt. I created this version because I wanted something that satisfied my sweet tooth but also kept my macros in check. Whether you are looking for a post-workout refuel or just a midnight snack that doesn’t leave you feeling sluggish, this recipe delivers. It’s simple, it’s fast, and it tastes like pure comfort.
What I love most about this approach is how versatile it is. You can tweak the sweetness, change the nut butter, or add mix-ins to make it your own. It’s not just another protein ice cream; it’s a staple in my weekly rotation. If you’ve tried other frozen treats that fell flat, this one will change your mind. It’s the kind of recipe that makes you close your eyes after the first bite, savoring that creamy, nutty goodness. Let’s get into why this specific blend works so well.
Why You’ll Love This Recipe
This isn’t just about throwing ingredients in a container and hitting a button. It’s about understanding how fat, protein, and water interact when frozen. I’ve spent years tweaking protein ice cream recipes, and this one hits the sweet spot every time. Here is why this Ninja Creami Protein Shake (Peanut Butter) stands out from the crowd:
- Quick & Easy: You only need five ingredients and about five minutes of prep time. No cooking, no baking, just blend and freeze. It’s perfect for busy weeknights when you want a treat but don’t have hours to spare.
- Simple Ingredients: You likely already have everything in your kitchen. Peanut butter, protein powder, milk, a sweetener, and a touch of cream. No fancy grocery trips or obscure supplements needed.
- Perfect for Meal Prep: Make a batch on Sunday, and you have snacks ready for the entire week. It keeps well in the freezer and maintains its texture surprisingly well.
- Crowd-Pleaser: Even my pickiest eaters love this. It tastes like dessert, but it fuels your body. It’s great for kids, athletes, or anyone trying to eat cleaner without sacrificing flavor.
- Unbelievably Delicious: The texture is key here. By using the right ratio of liquid to solids, you avoid that icy block problem. It’s creamy, rich, and deeply satisfying.
What makes this recipe different is the balance. Many protein ice creams turn out dry or gritty. I found that adding a small amount of heavy cream or coconut milk helps emulsify the mixture, creating that soft-serve consistency. It’s not just good—it’s the kind of treat that reminds you of a classic peanut butter cup but in a lighter, more refreshing form. It’s comfort food reimagined for the modern lifestyle.
I also love that it pairs well with other bright flavors. If you want to add a zesty twist, try a dash of sea salt or a hint of chili. It wakes up the palate. This recipe is perfect for impressing guests without stress, or just treating yourself after a tough workout. It’s reliable, repeatable, and absolutely delicious.
What Ingredients You Will Need
This recipe relies on a few key components to create that smooth, creamy texture. The magic lies in the balance between the liquid base and the protein powder. Too much powder, and it turns to stone. Too little, and it lacks that protein punch. Here is what you need to make the perfect Ninja Creami Protein Shake (Peanut Butter):
- Peanut Butter (1/2 cup): I recommend using natural, creamy peanut butter without added sugars. Brands like Smucker’s Natural or Peter Pan Natural work well. Avoid the ones with hydrogenated oils, as they can separate in the freezer. If you can’t have peanuts, almond butter is a great substitute.
- Protein Powder (1 scoop): Whey isolate or casein works best here. I prefer vanilla whey isolate because it dissolves easily and doesn’t clump. Ensure it’s a high-quality brand with minimal fillers. Chocolate protein also works if you want a mocha twist.
- Milk (1 cup): Use your preferred milk. Dairy milk creates a creamier texture, but oat milk or almond milk work perfectly for a vegan version. I usually use 2% dairy milk for that extra richness.
- Heavy Cream (2 tablespoons): This is the secret weapon. The fat content helps prevent ice crystals from forming. It keeps the ice cream soft even after it’s been in the freezer for days. Don’t skip this step if you want that soft-serve texture.
- Sweetener (1-2 tablespoons): Maple syrup, honey, or a zero-calorie sweetener like stevia or monk fruit. Adjust based on how sweet your peanut butter and protein powder are. I usually use two tablespoons of maple syrup for a natural sweetness.
- Ice Cubes (Optional): If your mixture is too thin, add a few ice cubes before spinning. This helps create a thicker, softer consistency. I often freeze some of the mixture in ice cube trays for this purpose.
For the best results, make sure your ingredients are at room temperature before blending. This helps everything incorporate evenly. If you’re using cold milk and room temp peanut butter, it might take a bit longer to mix. Also, look for protein powders that are labeled “mixable” or “smooth” to avoid graininess.
Equipment Needed
You don’t need a lot of fancy tools to make this Ninja Creami Protein Shake (Peanut Butter). The star of the show is obviously the Ninja Creami machine. If you don’t have one, you can use a high-speed blender and freeze the mixture in a shallow dish, stirring every 30 minutes. However, the Creami gives that unique texture that is hard to replicate.
You will also need a measuring cup and spoons for accuracy. A small whisk or spatula is helpful for mixing the ingredients before pouring them into the pint container. Make sure your pint container is clean and dry. Any moisture left inside can affect the freezing process. I also recommend having a funnel handy to pour the mixture without making a mess.
If you are using a regular blender, a freezer-safe container is essential. Glass works, but plastic is less likely to break if it expands. I’ve learned the hard way that not all containers are created equal. Stick to ones designed for freezing. Also, keep your blender blades sharp for the smoothest results.
Preparation Method
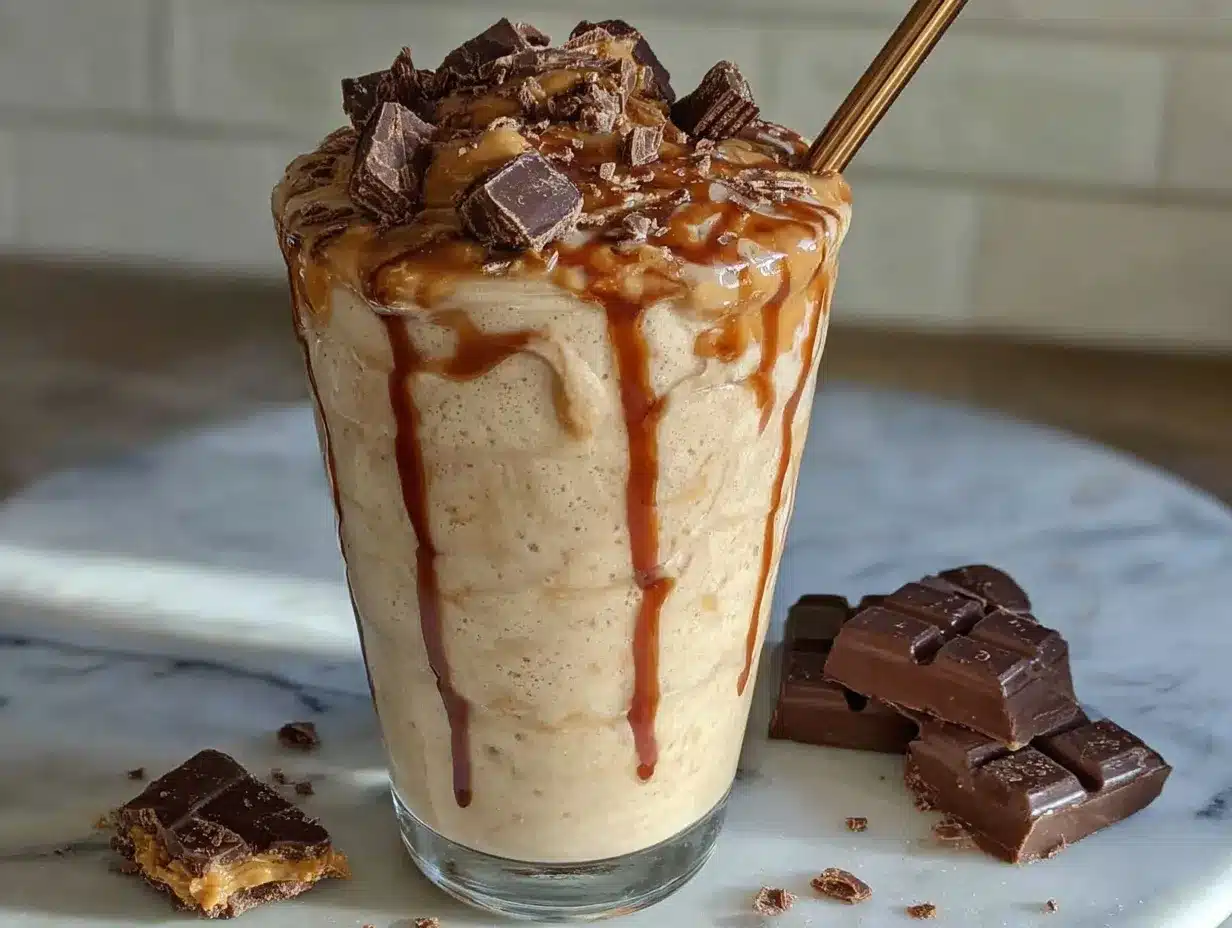
- Prepare the Mixture (5 minutes): In a blender or mixing bowl, combine the milk, peanut butter, protein powder, sweetener, and heavy cream. Blend on high for 30-60 seconds until completely smooth. There should be no lumps of peanut butter or powder left. If using a bowl, whisk vigorously. This step is crucial for texture.
- Check Consistency: The mixture should be liquid but slightly thick, similar to heavy cream. If it’s too thick, add a splash more milk. If it’s too thin, add a bit more protein powder. The goal is a balance that will freeze into a soft consistency. Pour the mixture into your Ninja Creami pint container.
- Fill to the Line: Make sure you do not exceed the max fill line on the container. Leave about half an inch of space at the top. This allows for expansion during freezing. Tap the container gently on the counter to remove any air bubbles.
- Freeze for 24 Hours: Place the lid on the container and freeze it for at least 24 hours. This is the longest wait, but it’s necessary for the ice crystals to form evenly. Do not try to rush this step. The longer it freezes, the better the texture. I usually make this on Sunday for the week.
- Spin the Creami: After 24 hours, remove the container from the freezer. Place it in the Ninja Creami machine and select the “Ice Cream” setting. Let it spin until the mixture is smooth. If it looks crumbly or hasn’t fully processed, run the “Re-Spin” function. This adds air and makes it creamy.
- Adjust Texture: If the ice cream is still too hard, add a splash of milk or cream and run the Re-Spin function again. Do this in small increments. You want it to be scoopable, like soft-serve. This might take one or two extra spins. Be patient.
- Serve Immediately: Once the desired texture is reached, serve it right away for the best taste and texture. It can be stored in the freezer, but it will harden. Let it sit on the counter for 5 minutes before scooping if storing.
Cooking Tips & Techniques
Getting the texture right with protein ice cream can be tricky. Here are some tips I’ve learned through trial and error. First, always use a whey isolate or a blend. Casein absorbs more liquid and can make the ice cream too dense if you aren’t careful. If you use casein, add a bit more milk.
Another common mistake is not freezing the mixture long enough. If it’s not frozen solid, the blade won’t crush the ice crystals properly. Wait the full 24 hours. Also, if your kitchen is warm, the mixture might start to melt slightly before you spin it. Work quickly to minimize this.
I also recommend tasting the mixture before freezing. Adjust the sweetness or salt level now. Salt is crucial to enhance the peanut butter flavor. A pinch of sea salt can make a huge difference. And don’t be afraid to add mix-ins like crushed peanuts or chocolate chips after the first spin, before the final re-spin.
Variations & Adaptations
This recipe is highly adaptable. Here are a few ways to switch it up. For a chocolate peanut butter version, swap the vanilla protein powder for chocolate. You can also add a tablespoon of cocoa powder for extra richness. If you want a healthier twist, use almond butter instead of peanut butter. It has a slightly more delicate flavor but works just as well.
For a dairy-free option, use coconut milk instead of dairy milk and coconut cream instead of heavy cream. This gives it a tropical twist that pairs beautifully with the peanut butter. You can also add a splash of espresso powder for a mocha flavor. It’s surprisingly good and gives you an energy boost.
If you are watching your carb intake, use a zero-calorie sweetener and skip the maple syrup. The peanut butter and protein powder will provide enough natural sweetness. I’ve also tried adding a pinch of cinnamon for a fall-inspired flavor. It’s warm, cozy, and delicious.
Serving & Storage Suggestions
Serve this ice cream immediately after spinning for the softest texture. It pairs well with fresh berries, banana slices, or a drizzle of extra peanut butter. For a more indulgent treat, add a sprinkle of chocolate chips or crushed granola. It’s also great as a topping for pancakes or waffles.
To store leftovers, keep the container in the freezer. It will harden over time. To serve, let it sit at room temperature for 5-10 minutes to soften. You can also microwave it for 10-15 seconds, but be careful not to melt it completely. The flavor develops over time, becoming richer and more intense as it sits. It stays good in the freezer for up to two weeks.
Nutritional Information & Benefits
This Ninja Creami Protein Shake (Peanut Butter) is not just a treat; it’s a functional food. Each serving provides approximately 30-35 grams of protein, depending on the brand of powder used. It’s also rich in healthy fats from the peanut butter and cream, which help keep you full and satisfied. The low sugar content makes it suitable for low-carb and keto diets.
Peanut butter is a great source of vitamin E and magnesium, while protein powder supports muscle recovery. This recipe is gluten-free and can be made dairy-free. It’s a perfect post-workout snack or a satisfying dessert that won’t derail your health goals. Enjoy it guilt-free.
Conclusion
This Ninja Creami Protein Shake (Peanut Butter) is a game-changer for anyone who loves ice cream but wants to eat healthier. It’s simple, delicious, and incredibly satisfying. I hope you try this recipe and enjoy it as much as I do. Feel free to customize it with your favorite flavors and mix-ins. Don’t forget to share your creations or ask questions in the comments below. Happy blending!
FAQs
Can I use other nut butters?
Yes, almond butter, cashew butter, or sunflower seed butter work great. Just keep the quantity the same.
Why is my ice cream icy?
This usually means there wasn’t enough fat or the mixture wasn’t frozen long enough. Add a bit more cream or freeze for 24 hours.
Can I make this without a Ninja Creami?
Yes, blend the mixture and freeze it in a shallow dish, stirring every 30 minutes until fluffy.
How long does it last in the freezer?
It stays good for up to two weeks, though it may harden over time.
Can I add mix-ins?
Absolutely. Add crushed peanuts, chocolate chips, or fruit after the first spin and before the re-spin.
Pin This Recipe!
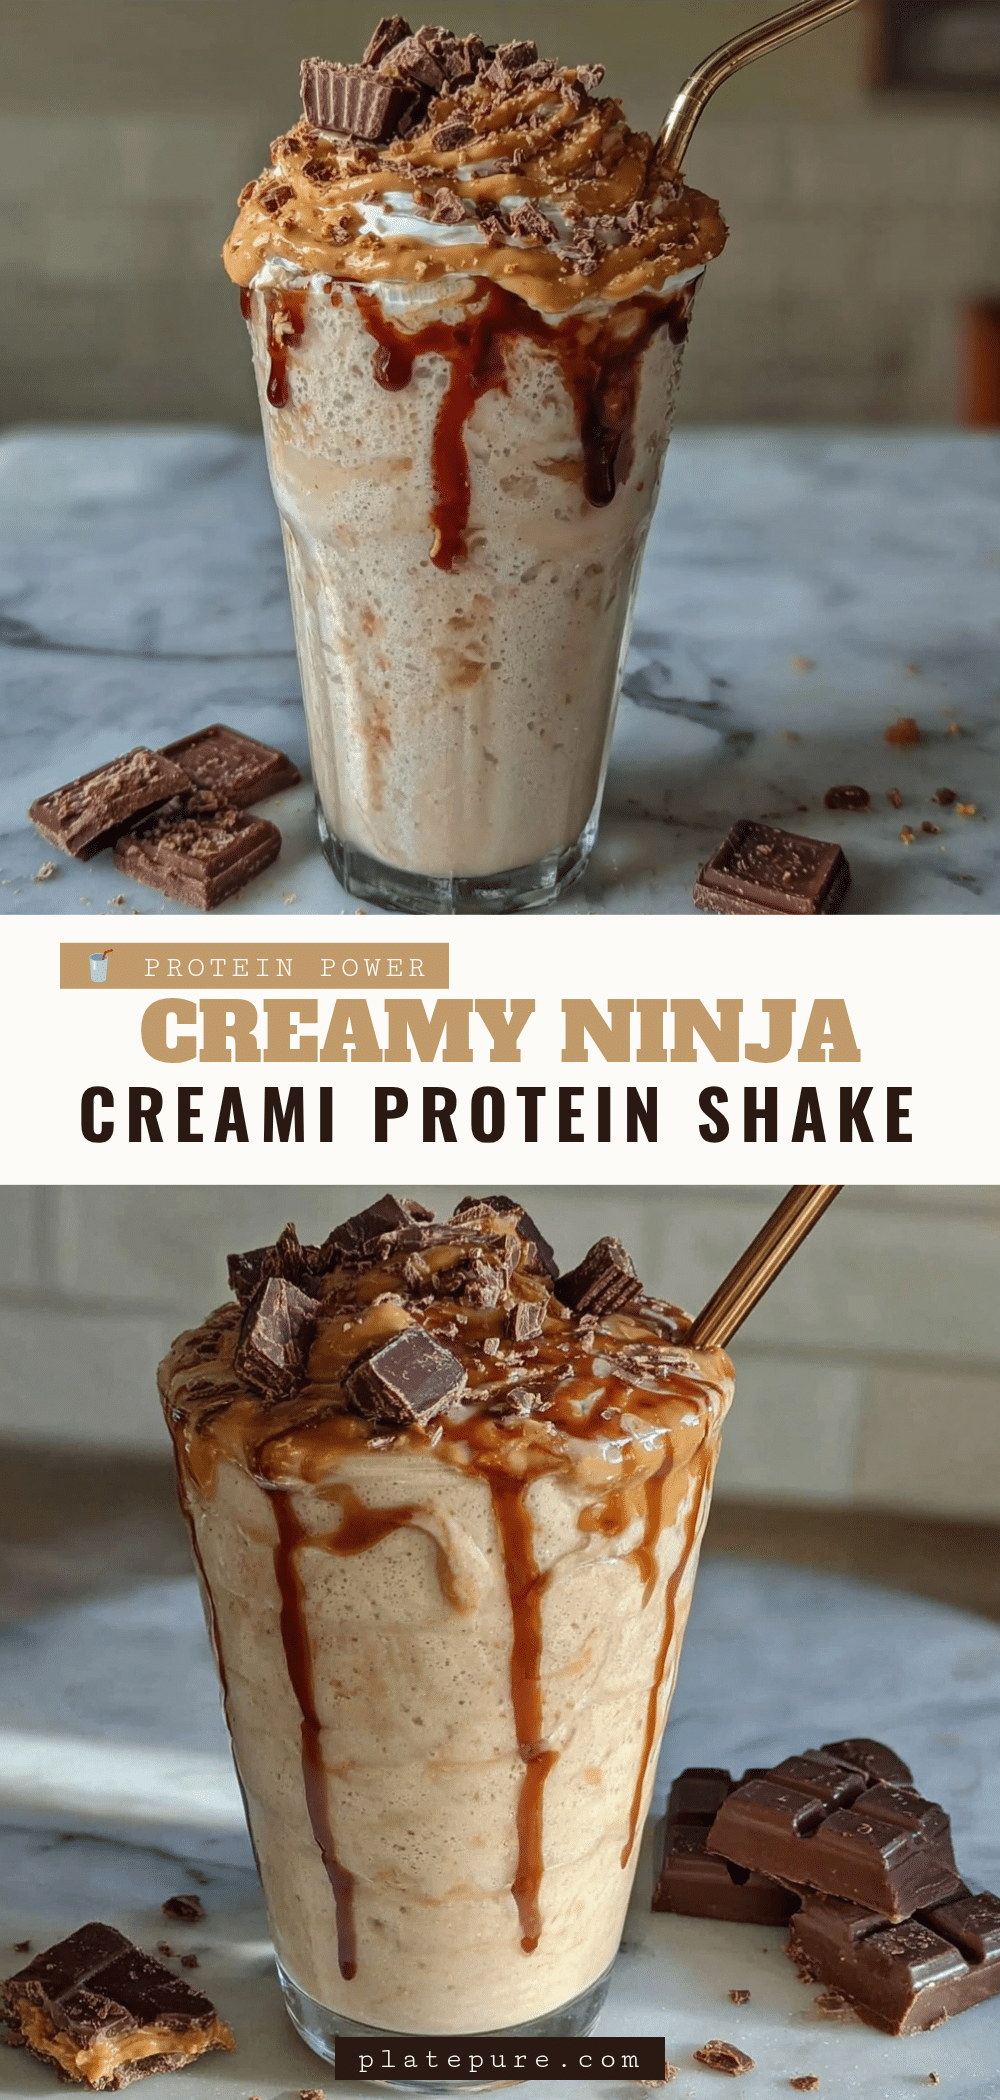

Ninja Creami Protein Shake: 5-Ingredient PB Ice Cream
- Total Time: 24 hours 5 minutes
- Yield: 1 pint (approx. 4 servings) 1x
Description
A velvety, rich, and healthy peanut butter protein ice cream made with just five ingredients. This recipe uses a Ninja Creami to create a soft-serve texture that is perfect for post-workout refueling or a guilt-free dessert.
Ingredients
- 1/2 cup creamy natural peanut butter
- 1 scoop vanilla whey isolate protein powder
- 1 cup 2% dairy milk (or oat/almond milk for vegan)
- 2 tablespoons heavy cream (or coconut cream for dairy-free)
- 1–2 tablespoons maple syrup (or stevia/monk fruit)
- Ice cubes (optional, for thickness)
Instructions
- In a blender or mixing bowl, combine the milk, peanut butter, protein powder, sweetener, and heavy cream.
- Blend on high for 30-60 seconds until completely smooth with no lumps.
- Check consistency; it should be liquid but slightly thick like heavy cream. Add more milk if too thick or more protein powder if too thin.
- Pour the mixture into a Ninja Creami pint container, filling only up to the max fill line.
- Tap the container gently to remove air bubbles, place the lid on, and freeze for at least 24 hours.
- After 24 hours, place the container in the Ninja Creami and select the ‘Ice Cream’ setting.
- Let it spin until smooth. If crumbly, run the ‘Re-Spin’ function to add air and creaminess.
- If still too hard, add a splash of milk or cream and run Re-Spin again until scoopable.
- Serve immediately for the best texture, or store in the freezer.
Notes
Ensure ingredients are at room temperature for easier blending. Use whey isolate for best texture as casein can make it dense. If using a regular blender, freeze the mixture in a shallow dish and stir every 30 minutes. Add a pinch of sea salt to enhance flavor. Mix-ins like chocolate chips or crushed peanuts can be added after the first spin.
- Prep Time: 5 minutes
- Cook Time: 0 minutes
- Category: Dessert
- Cuisine: American
Nutrition
- Serving Size: 1/4 of the pint cont
- Calories: 350
- Sugar: 10
- Sodium: 150
- Fat: 18
- Saturated Fat: 6
- Carbohydrates: 15
- Fiber: 3
- Protein: 30
Keywords: Ninja Creami, protein ice cream, peanut butter, healthy dessert, post-workout snack, keto friendly, gluten-free, 5-ingredient recipe