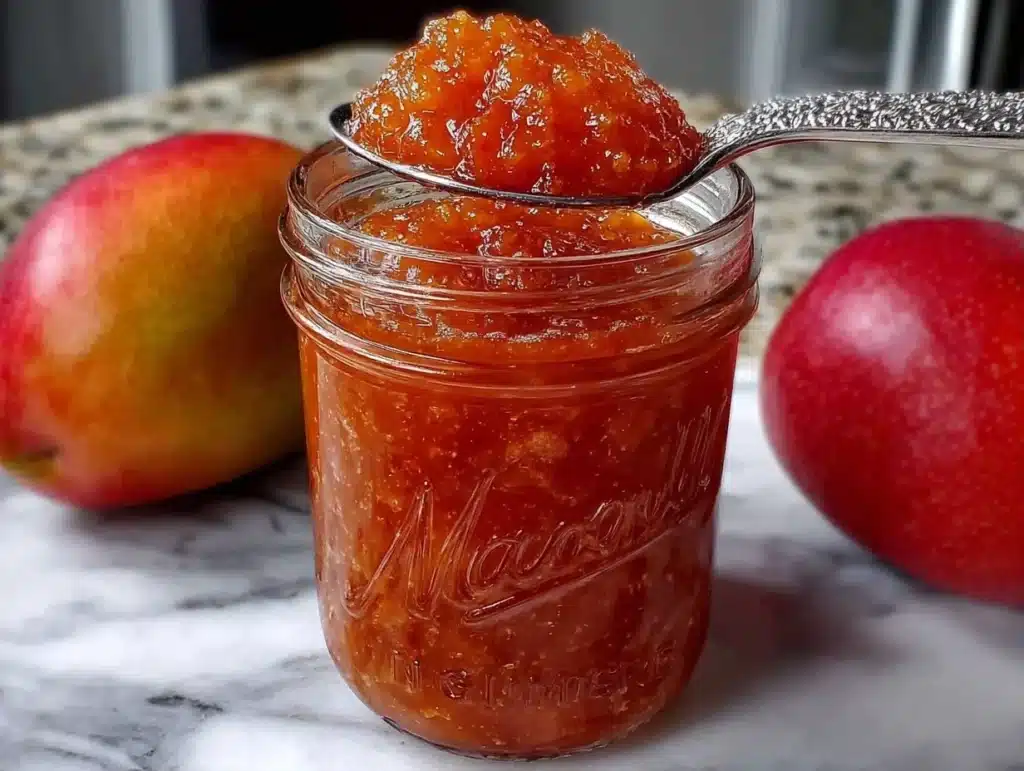
There is a specific kind of magic that happens when ripe mangoes hit the pot. I remember the first time I made this homemade mango jam, it was mid-July, and the air outside was so thick with humidity you could practically wear it. I had bought a bag of slightly bruised, overly sweet Alphonso mangoes from a street vendor who swore they were the best of the season. My kitchen smelled like a tropical vacation, and honestly, I wasn’t about to waste those beautiful fruits on just a snack.
I’ve always hated the idea of buying jam that costs as much as a small grocery bill and tastes like sugar water. You know the type? It’s just sticky sweetness with no real fruit soul. So, I decided to try making my own, but I wanted it to be simple. No complicated candy thermometers, no expensive packets of pectin that expire in six months, and definitely no confusing chemical names. Just three ingredients. That’s it. This homemade mango jam (no pectin!) is the result of a few rainy afternoons spent perfecting the ratio of fruit to sugar to acid.
What I love most about this recipe is how forgiving it is. If your mangoes are a little less sweet, you add a touch more sugar. If they are super tart, you cut back. It’s flexible, which means you can use whatever is in season. I’ve made this with peaches, with strawberries, and even with green tomatoes, but nothing beats the bright, floral notes of fresh mango. It’s the perfect way to preserve summer’s peak flavor for those gray winter mornings when you need a little comfort.
After testing this over a dozen times, I’ve found that the secret isn’t in the technique—it’s in the patience. Letting the jam reduce slowly allows the natural果胶 (fruit pectin) in the mango to do its job. It creates that glossy, spreadable texture that makes toast taste like a bakery treat. Whether you are a beginner in the kitchen or a seasoned preserver, this recipe will become your go-to for breakfast, baking, or gifting. It’s simple, it’s delicious, and it tastes like you spent all day in the kitchen (even though it’s surprisingly easy).
Why You’ll Love This Recipe
Let’s be honest for a second. Making jam from scratch sounds intimidating. You might be worried about it being too runny or too hard, or maybe you’re just scared of boiling sugar syrup. But this homemade mango jam (no pectin!) changes the game entirely. I developed this recipe after realizing that most commercial jams use pectin not because it’s better, but because it’s consistent. But when you make it at home, you get a depth of flavor that no store-bought jar can ever match.
Here is why this specific version has earned a permanent spot in my rotation:
- Quick & Easy: You don’t need to spend hours monitoring a thermometer. The active prep time is minimal, and the rest is just letting the pot do the work. It’s perfect for lazy weekends or when you want to feel productive without the stress.
- Simple Ingredients: You likely have everything you need right now. Fresh mangoes, sugar, and lemon juice. That’s all it takes to transform raw fruit into a luxurious preserve. No fancy grocery trips or obscure ingredients.
- Perfect for Gift Giving: There is something incredibly thoughtful about gifting homemade goods. A jar of this golden, fragrant jam looks beautiful tied with a ribbon. It’s the ultimate hostess gift for dinner parties, holiday visits, or just to brighten up a friend’s mailbox.
- Crowd-Pleaser: Even people who claim they “don’t like jam” usually love this. The flavor is vibrant and not overly cloying. It strikes that perfect balance between sweet and tart that keeps people coming back for more.
- Unbelievably Delicious: The texture is chunky and glossy, with visible pieces of fruit suspended in a syrupy gel. It’s comfort food reimagined—simple, soul-soothing, and incredibly satisfying.
What makes this recipe different from others is the focus on the natural pectin in the mangoes themselves. Many recipes call for adding lemon juice to help set, which is true, but this method relies on the natural sugars and acids breaking down properly. It’s not just another version; it’s the best version because it lets the mango shine. When you close your eyes after the first bite on a warm biscuit, you’ll taste the actual fruit, not just sugar. It’s the kind of recipe that turns a simple breakfast into a memorable experience.
What Ingredients You Will Need
This recipe uses simple, wholesome ingredients to deliver bold flavor and satisfying texture without the fuss. The beauty of homemade mango jam (no pectin!) lies in the quality of your raw materials. Since there are only three components, each one plays a critical role in the final flavor profile. You don’t need any additives, thickeners, or preservatives. Just real food.
- Ripe Mangoes: You will need about 3 to 4 large mangoes, yielding roughly 4 cups of diced fruit. The ripeness is crucial here. Look for mangoes that yield slightly to pressure and smell sweet and fragrant at the stem end. Alphonso, Ataulfo (Honey mangoes), or Tommy Atkins all work well. I prefer Ataulfo for their smooth, buttery texture and lack of fibrous strings. Avoid green or hard mangoes, as they lack the natural sugars needed for proper setting.
- Granulated Sugar: You will need 2 to 3 cups of white granulated sugar, depending on how sweet your mangoes are. Sugar isn’t just for sweetness; it’s a natural preservative and helps extract the pectin from the fruit. If you prefer a lower-sugar option, you can try using coconut sugar or a sugar substitute, but note that the texture might be slightly different, and the shelf life may be reduced. For the best traditional flavor and set, white sugar is the way to go.
- Fresh Lemon Juice: You will need about 2 to 3 tablespoons of fresh lemon juice. This is the third key ingredient. The acid in the lemon juice balances the sweetness of the sugar and helps activate the natural pectin in the mangoes, allowing the jam to gel. Never use bottled lemon juice if you can avoid it; the fresh squeeze makes a noticeable difference in brightness. If you are out of lemons, lime juice works as a substitute, though it will impart a slightly different citrus note.
One tip I’ve learned through trial and error: if your mangoes are particularly tart, stick with the higher end of the sugar range. If they are incredibly sweet, you can get away with less. Always taste your diced mangoes before adding the sugar to gauge the sweetness level. This homemade mango jam (no pectin!) is flexible, so trust your palate. Also, ensure your mangoes are completely free of pits and fibrous strings near the seed. These strings can make the jam unpleasant to eat, so take the time to dice them neatly.
Equipment Needed
You don’t need a professional kitchen to make this jam. A heavy-bottomed large pot is essential. I recommend a Dutch oven or a thick stainless steel stockpot. Thin pots can scorch the sugar easily, leading to a burnt taste that ruins the delicate mango flavor. A wooden spoon is best for stirring because it doesn’t conduct heat and is gentle on the pot’s surface.
You will also need a fine-mesh strainer or a food mill if you want a smoother jam, though I prefer leaving some chunks for texture. Canning jars with lids and bands are necessary if you plan to store the jam long-term. If you aren’t planning to can them, clean glass mason jars with tight-fitting lids work perfectly for refrigerator storage. Make sure your jars are sterilized before filling to prevent spoilage.
For those who like precision, a candy thermometer is helpful but not strictly required. You are looking for the gel stage, which is around 220°F (104°C). However, you can also use the “plate test” described in the instructions. Finally, a ladle makes transferring the hot jam into jars much safer and cleaner. Keep your workspace clear and have your jars ready before you start cooking, as the jam moves quickly from liquid to set.
Preparation Method
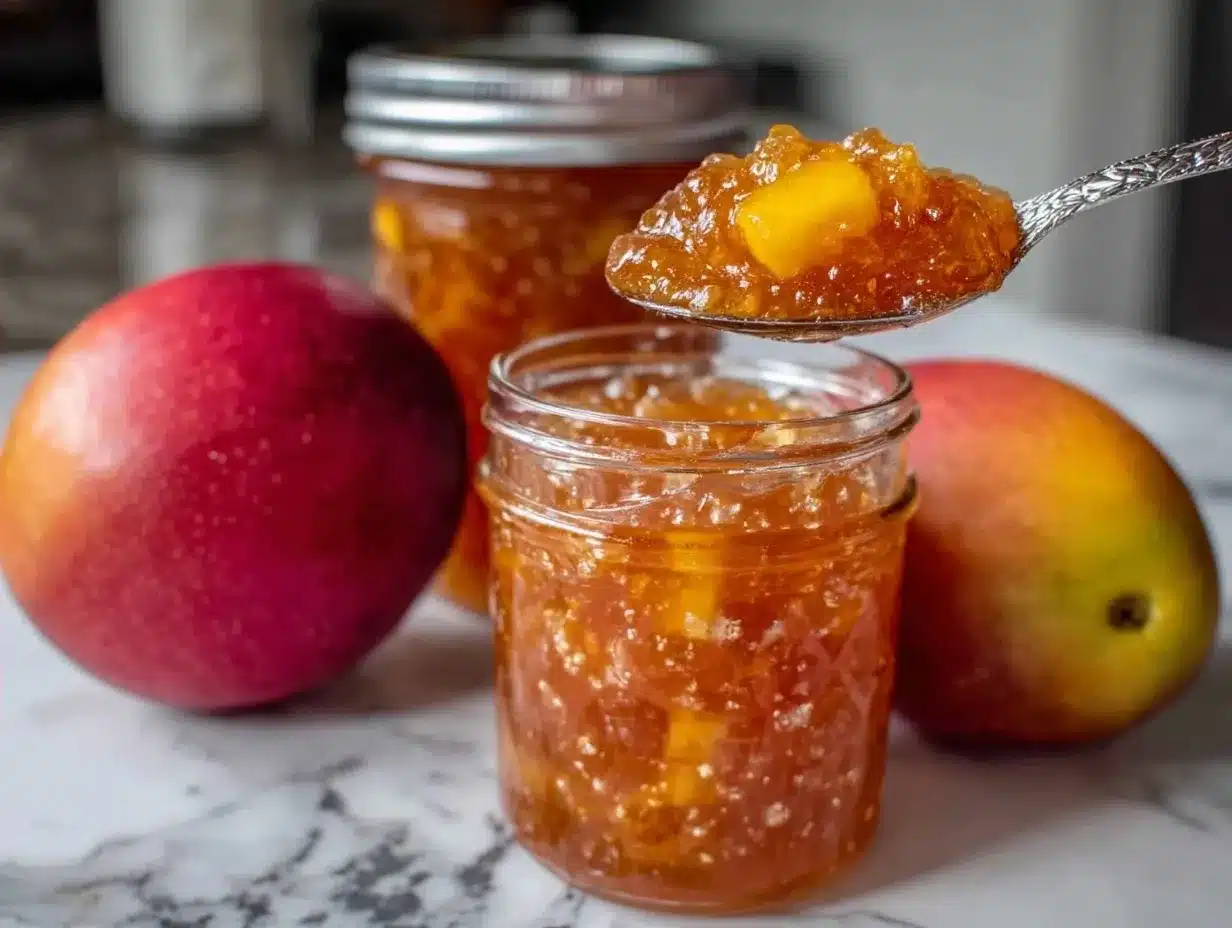
Getting started with this homemade mango jam (no pectin!) is straightforward, but attention to detail ensures success. First, wash your mangoes thoroughly under cold water. Peel them and slice the flesh away from the pit. Dice the mango flesh into small, uniform pieces, about half an inch to one inch in size. Smaller pieces will break down faster, while larger chunks give you a chunkier preserve. Place the diced mangoes into your heavy-bottomed pot.
Step 1: Macerate the Fruit (10-15 minutes)
Add the granulated sugar and the fresh lemon juice to the diced mangoes. Stir gently to combine. Let this mixture sit at room temperature for about 15 minutes. This step is important because it draws out the natural juices from the fruit, creating a syrup that will help the jam set properly. You will see the sugar dissolve and the mangoes release their liquid. If you are in a rush, you can skip this, but the result will be slightly less cohesive.
Step 2: Bring to a Boil (5 minutes)
Place the pot over medium-high heat. Stir occasionally to prevent the sugar from sticking to the bottom. Once the mixture starts to bubble and boil, reduce the heat to medium-low. You want a gentle, steady simmer, not a rolling, violent boil. Skim off any foam that forms on the surface using a spoon. This foam is just air and impurities, and removing it ensures a clear, glossy final product.
Step 3: Simmer and Reduce (30-45 minutes)
Let the jam simmer gently. Stir every 5-10 minutes to prevent burning. As the water evaporates, the mixture will thicken and darken slightly. The aroma will become intensely fragrant. This is where patience pays off. Do not rush this step. The jam needs time for the natural pectins to break down and bond with the sugar. If you see the jam starting to stick to the bottom, reduce the heat further and stir more frequently.
Step 4: The Gel Test (2 minutes)
To check if the jam is ready, place a small plate in the freezer while you cook. When you think the jam is done, take the cold plate out and drop a teaspoon of the hot jam onto it. Let it sit for 30 seconds, then push it with your finger. If it wrinkles and holds its shape, it’s ready. If it’s still runny, continue cooking for another 5 minutes and test again. The target temperature is around 220°F (104°C) if using a thermometer.
Step 5: Jar and Seal (5 minutes)
Once the jam passes the gel test, remove the pot from the heat. Let it cool for about 5 minutes to prevent the fruit from floating to the top later. Ladle the hot jam into your sterilized jars, leaving about 1/4 inch of headspace. Wipe the rims clean with a damp cloth to ensure a good seal. Place the lids on and screw the bands on fingertip-tight. Process in a boiling water bath for 10 minutes if you want shelf-stable jars, or let them cool completely for refrigerator storage.
Cooking Tips & Techniques
There are a few common mistakes people make when making jam without pectin, and avoiding them will save you from disappointment. The biggest error is undercooking. Without commercial pectin, the jam relies on the natural pectin in the fruit and the sugar concentration to set. If you pull it off the heat too early, it will remain runny even after cooling. Trust the gel test; don’t guess.
Another tip is to use low-acid mangoes. Some varieties are naturally sweeter and less acidic. If your mangoes are very sweet, you might need a bit more lemon juice to balance the pH and help the set. Conversely, if they are tart, less lemon juice is needed. Always taste the mixture before adding the lemon juice to get a baseline.
Stirring is key, but don’t stir too vigorously. You want to break up the fruit gently, not mash it into a puree unless that’s the texture you prefer. Letting it simmer undisturbed for periods helps the fruit break down naturally. Also, keep the heat consistent. Fluctuating heat can cause the sugar to crystallize or the fruit to burn. Medium-low is your best friend here.
If you find your jam is too thick after cooling, you can always thin it out with a little water or orange juice when you serve it. If it’s too thin, you can reheat it and cook it down a bit longer. It’s a forgiving process. I once made a batch that was way too runny, so I used it as a glaze for yogurt instead. It still tasted amazing, so don’t stress if it’s not perfect.
Variations & Adaptations
One of the best things about this homemade mango jam (no pectin!) is how easily it can be adapted. You can change the flavor profile to suit your mood or what you have on hand. For a tropical twist, add a teaspoon of grated fresh ginger or a pinch of cardamom powder while it simmers. The warmth of the spices complements the mango beautifully.
If you want a spicier kick, add a small piece of fresh chili or a pinch of cayenne pepper. This is a fantastic combination for pairing with cheese boards or grilled meats. For a floral note, steep a few edible flowers or a vanilla bean in the sugar before adding the mangoes. The vanilla adds a creamy depth that makes the jam feel luxurious.
You can also experiment with different fruits. This method works wonderfully with peaches, plums, or even berries. If you use berries, you might need a bit more lemon juice as they are more acidic. For a lower-sugar version, you can use erythritol or stevia, but be aware that these sugars don’t behave exactly like cane sugar, so the texture might be slightly different. Always test the gel stage carefully when using substitutes.
I also like to make a mango-chili jam for savory applications. Add a diced jalapeño and a splash of lime juice. It’s incredible on tacos or with fried chicken. The possibilities are endless, so don’t be afraid to get creative. This base recipe is just a starting point for your own culinary experiments.
Serving & Storage Suggestions
Once your homemade mango jam (no pectin!) is cooled and sealed, it’s ready to be enjoyed. Serve it warm on toasted brioche, thick sourdough, or buttery scones. It’s also delicious stirred into plain yogurt, swirled into oatmeal, or used as a glaze for roasted chicken or pork. The bright flavor cuts through rich fats beautifully, making it a versatile condiment.
For storage, if you have processed the jars in a boiling water bath, they can be stored in a cool, dark pantry for up to a year. Once opened, keep them in the refrigerator and consume within 3 months. If you didn’t process the jars, store them in the refrigerator and use within 2-3 weeks. Always check for signs of spoilage, such as mold or an off smell, before eating.
To reheat, simply warm the desired amount in a small saucepan over low heat or microwave it in short bursts. The jam will thicken as it cools, so don’t be alarmed if it seems firm in the jar. It will soften up again when warmed. The flavors actually develop and deepen over the first week, so if you can wait, it will taste even better after a few days.
Nutritional Information & Benefits
While jam is a treat, mangoes are packed with nutrients. They are rich in Vitamin C, which supports immune health, and Vitamin A, which is great for eye health. Mangoes also contain fiber, which aids digestion. However, because this recipe includes added sugar, it should be enjoyed in moderation. A typical serving is about one tablespoon, which provides around 50-60 calories.
This homemade mango jam (no pectin!) is naturally gluten-free and dairy-free, making it suitable for many dietary restrictions. It is also free from artificial preservatives and colors, which is a big plus for those looking to reduce processed foods in their diet. Just be mindful of the sugar content if you are monitoring your intake. Using less sugar or natural substitutes can help, but the taste and texture may vary slightly.
From a wellness perspective, I love that this recipe uses whole fruits. You are getting the actual nutritional benefits of the mango, not just empty calories. It’s a way to enjoy something sweet that still feels somewhat wholesome. Plus, the act of cooking can be therapeutic, reducing stress and promoting mindfulness.
Conclusion
Making homemade mango jam (no pectin!) is a rewarding experience that connects you to the seasons and the simple joys of cooking. It’s easier than you think, requires only three ingredients, and results in a product that is far superior to anything you can buy at the store. Whether you are preserving the last of the summer mangoes or gifting a jar to a loved one, this recipe is sure to impress.
I encourage you to try it and make it your own. Adjust the sweetness, add spices, or pair it with your favorite breakfast items. The beauty of cooking is in the customization. I love this recipe because it brings a taste of summer into my kitchen all year round. It’s a small jar of sunshine that brightens even the gloomiest days.
So, grab some ripe mangoes and get started. I can’t wait to hear how you enjoy it. Share your variations and tips in the comments below, and don’t forget to tag me if you post your creations online. Happy jamming!
Frequently Asked Questions
Can I use frozen mangoes for this recipe?
Yes, you can use frozen mangoes. Just make sure they are thawed and drained of excess liquid before adding them to the pot. The cooking time might be slightly longer as you need to evaporate the extra water. The flavor will still be delicious, though fresh mangoes are preferred for the best texture.
Why is my jam runny?
If your jam is runny, it likely wasn’t cooked long enough. The natural pectin in mangoes requires time and heat to activate. Continue simmering and test again using the cold plate method. Also, ensure you used ripe mangoes, as underripe fruit has less natural pectin.
How long does homemade mango jam last?
If properly canned and stored in a cool, dark place, homemade mango jam can last up to a year. Once opened, keep it in the refrigerator and use within 3 months. If not canned, store in the refrigerator and use within 2-3 weeks.
Can I reduce the sugar in this recipe?
You can reduce the sugar, but it will affect the setting process and shelf life. Sugar acts as a preservative and helps the jam gel. If you reduce it, store the jam in the refrigerator and use it quickly. You can also use a low-sugar pectin if you want to maintain the set with less sugar.
What type of mangoes work best?
Alphonso and Ataulfo (Honey) mangoes are excellent choices because they are sweet, flavorful, and have less fiber. Tommy Atkins mangoes are also common and work well, though they may be slightly more fibrous. Avoid green or hard mangoes as they lack the necessary sweetness and pectin.
Pin This Recipe!
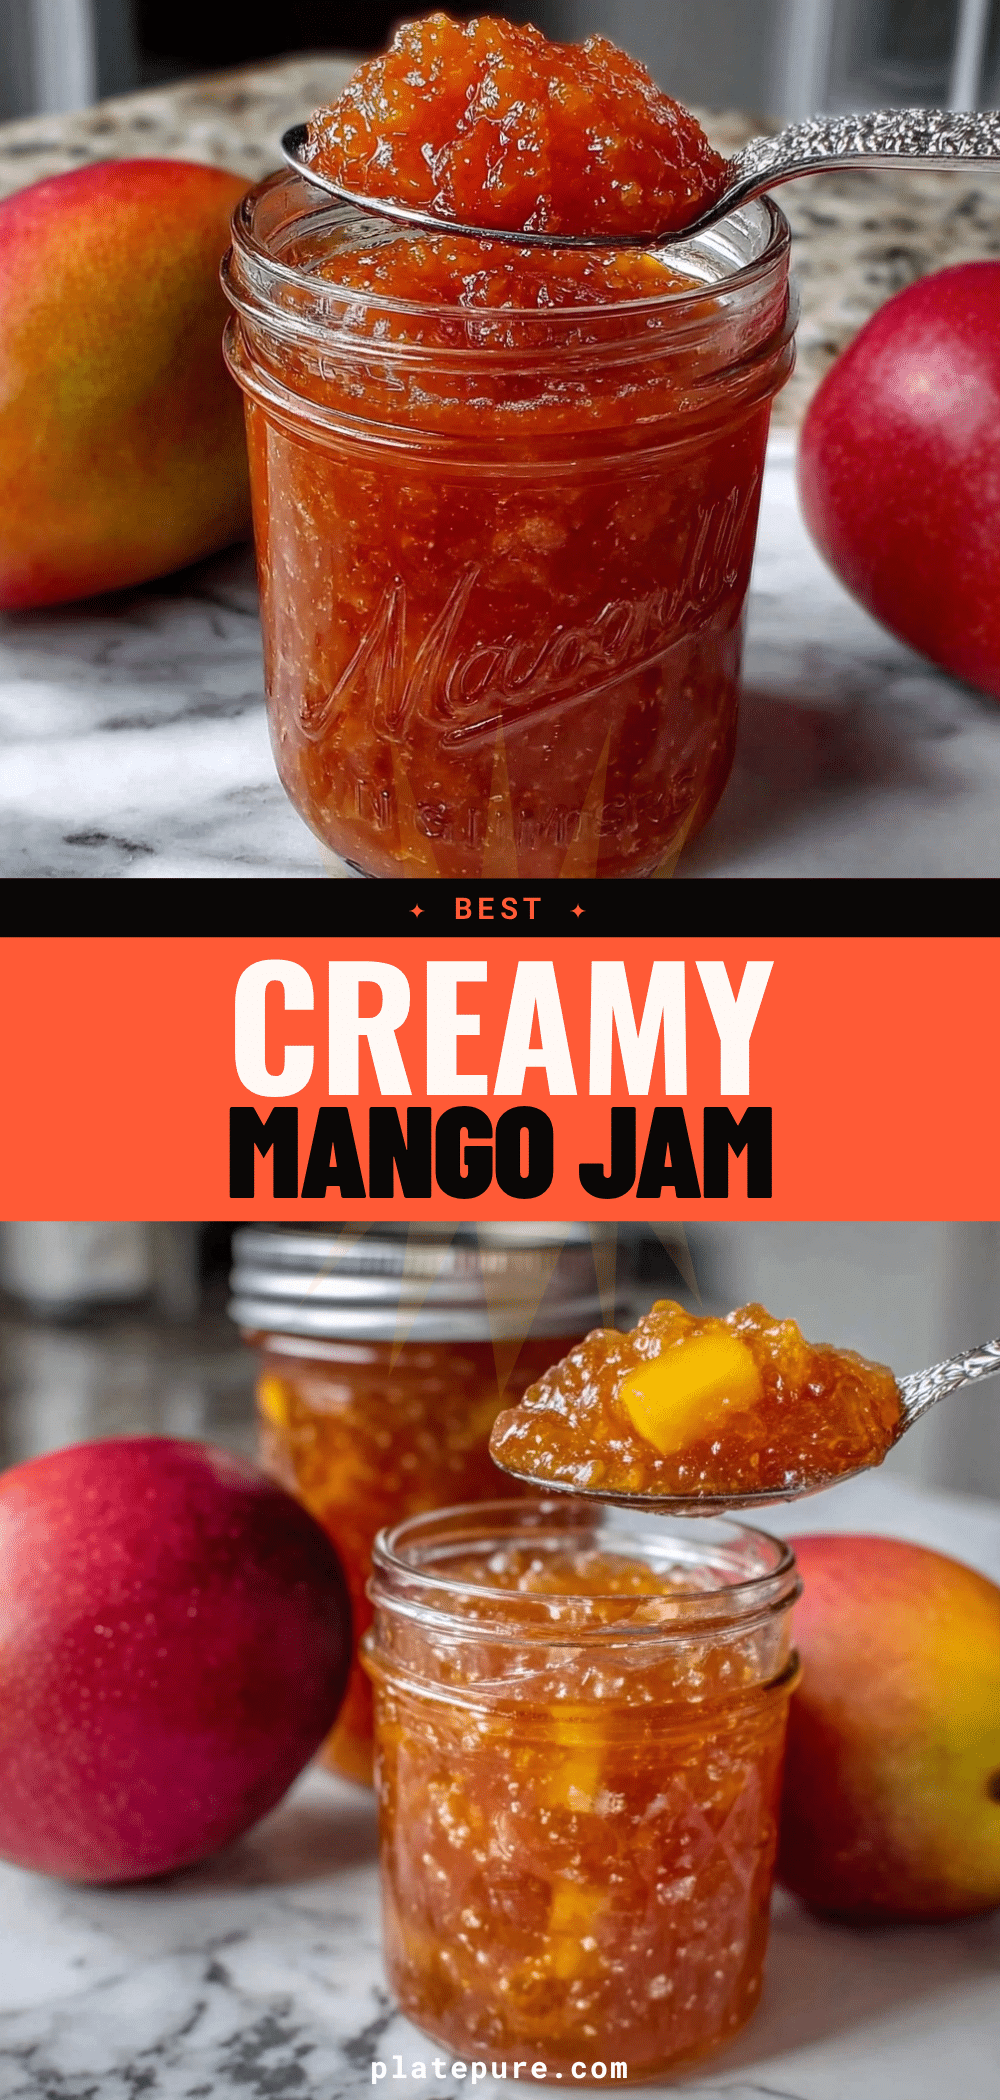
Homemade Mango Jam (No Pectin!): 3-Ingredient Easy Recipe
- Total Time: 1 hour
- Yield: Approximately 4 cups (makes 16 servings) 1x
Description
A simple, flexible homemade mango jam made with just three ingredients: ripe mangoes, sugar, and lemon juice. This recipe relies on the natural pectin in the fruit for a glossy, spreadable texture without the need for commercial pectin.
Ingredients
- 3 to 4 large ripe mangoes (yielding approx. 4 cups diced fruit)
- 2 to 3 cups granulated white sugar (adjust based on mango sweetness)
- 2 to 3 tablespoons fresh lemon juice
Instructions
- Wash, peel, and dice the mangoes into small, uniform pieces (1/2 to 1 inch). Place them in a heavy-bottomed large pot.
- Add the granulated sugar and fresh lemon juice to the diced mangoes. Stir gently to combine.
- Let the mixture sit at room temperature for 10-15 minutes to macerate and draw out natural juices.
- Place the pot over medium-high heat and stir occasionally until the mixture begins to bubble and boil.
- Reduce heat to medium-low to maintain a gentle simmer. Skim off any foam that forms on the surface.
- Simmer the jam for 30-45 minutes, stirring every 5-10 minutes to prevent burning. The mixture will thicken and darken.
- Perform the gel test: Place a teaspoon of hot jam on a cold plate. If it wrinkles and holds its shape after 30 seconds, it is ready. Target temperature is 220°F (104°C).
- Remove from heat and let cool for 5 minutes. Ladle into sterilized jars, leaving 1/4 inch headspace.
- Wipe rims clean, seal with lids and bands, and process in a boiling water bath for 10 minutes for shelf stability, or store in the refrigerator.
Notes
Ensure mangoes are ripe and free of fibrous strings. Sugar acts as a preservative; reducing it may affect setting and shelf life. The jam will thicken further as it cools. For a spicy variation, add chili or cayenne. For a floral note, add vanilla bean or edible flowers.
- Prep Time: 15 minutes
- Cook Time: 45 minutes
- Category: Condiments
- Cuisine: American
Nutrition
- Serving Size: 1 tablespoon
- Calories: 55
- Sugar: 13
- Carbohydrates: 14
- Fiber: 0.5
- Protein: 0.2
Keywords: mango jam, homemade jam, no pectin, easy jam recipe, fruit preserve, summer recipes, gluten-free, dairy-free


