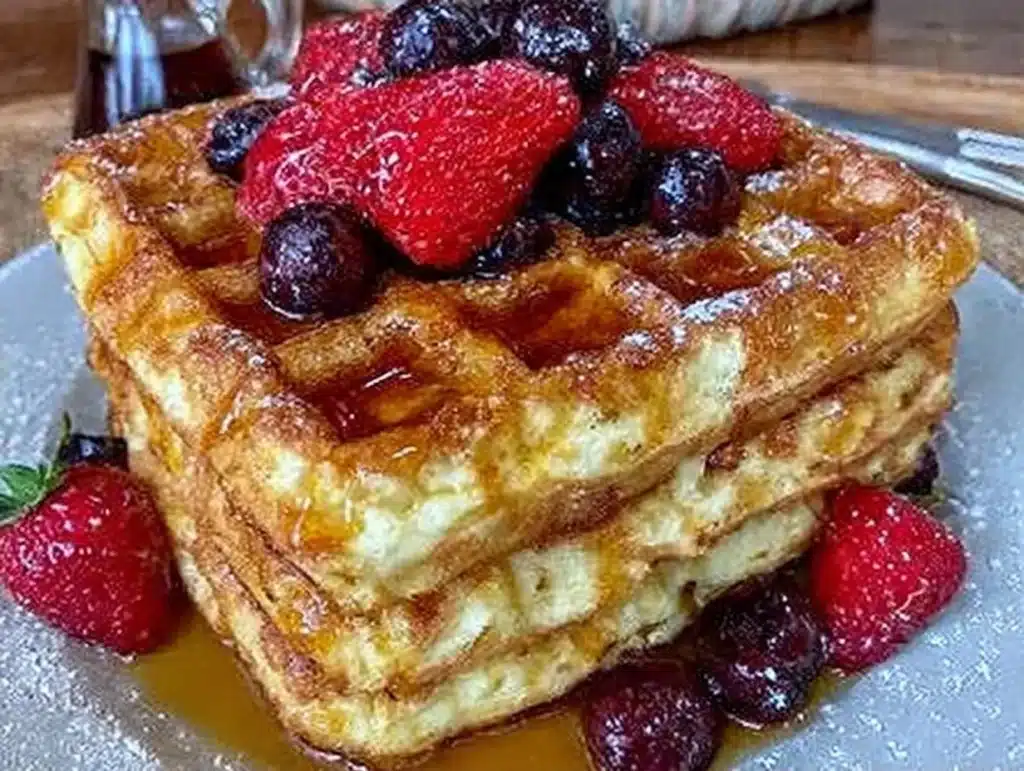
Let’s be honest for a second. There is nothing quite like the smell of waffle batter sizzling in a cast iron iron to signal that the weekend has officially arrived. But you know what’s even better? Taking that first bite of a waffle that is actually crispy on the outside, fluffy on the inside, and doesn’t leave you feeling like you just ate a brick of refined flour.
I first stumbled upon the magic of white wheat flour during a rainy Sunday in November three years ago. I was out of my usual all-purpose flour and had a bag of King Arthur White Wheat Flour gathering dust in the back of my pantry. Desperate for comfort food, I whipped up a batch of buttermilk waffles, expecting a dense, heavy mess. Instead, I got something surprisingly light, with a nutty, earthy flavor that paired perfectly with the tangy richness of buttermilk.
Since then, I’ve tested this crispy white wheat buttermilk waffles recipe over a dozen times. I’ve tweaked the ratios, played with resting times, and even argued with my waffle iron about the perfect temperature. The result is a recipe that feels indulgent but is actually packed with more fiber and nutrients than traditional white flour versions. It’s the kind of breakfast that keeps you satisfied until lunch, without the mid-morning crash.
Whether you’re feeding a hungover crew, trying to sneak more whole grains into your kids’ diets, or just craving that classic diner-style breakfast at home, these waffles are the answer. They are reliable, forgiving, and absolutely delicious. Let’s get cooking.
Why You’ll Love This Recipe
After years of flipping waffles and dealing with soggy middles, I’ve learned that the secret to a perfect morning breakfast lies in the details. This recipe isn’t just another take on a classic; it’s the result of trial, error, and a lot of delicious failures. Here is why this crispy white wheat buttermilk waffles recipe has earned a permanent spot in my weekly rotation.
- Quick & Easy: You can have these ready in under 20 minutes. The batter comes together faster than you can brew a fresh pot of coffee, making it perfect for busy weeknights or lazy Sunday mornings.
- Simple Ingredients: No fancy grocery trips needed. You likely already have buttermilk, eggs, and flour in your kitchen. If you don’t have buttermilk, I’ll show you how to make a quick substitute with milk and vinegar.
- Perfect for Meal Prep: These waffles freeze beautifully. I often make a double batch on Sunday so I can grab one from the freezer on hectic mornings, popping it straight into the toaster.
- Crowd-Pleaser: Even my pickiest eater, who usually turns his nose up at “healthy” grains, asks for seconds. The texture is so satisfying that no one misses the all-purpose flour.
- Unbelievably Delicious: The combination of white wheat flour’s nutty flavor and buttermilk’s tang creates a depth of taste that plain flour just can’t match. It’s comfort food, upgraded.
What makes this recipe different from the rest is the specific technique used to keep them crispy. Most people overmix the batter, leading to tough waffles. I’ve found that letting the batter rest allows the white wheat flour to fully hydrate, resulting in a tender crumb. Plus, the high protein content from the buttermilk and eggs helps create a sturdy structure that holds up to heavy toppings without getting soggy. It’s not just good; it’s the kind of waffle that makes you close your eyes after the first bite and sigh with relief.
What Ingredients You Will Need
This recipe relies on simple, wholesome ingredients to deliver bold flavor and satisfying texture without the fuss. The star here is the white wheat flour, which offers the nutrition of whole wheat but with a milder, sweeter taste that is much more palatable for those new to whole grains. The buttermilk provides the necessary acidity to react with the baking powder, ensuring a light and airy rise.
Here is what you need to gather before you start:
- White Wheat Flour (2 cups / 240g): I recommend King Arthur or Bob’s Red Mill. Look for fine-milled varieties for the lightest texture. This is your base, so quality matters.
- Buttermilk (1 ½ cups / 360ml): Full-fat is best for richness. If you can’t find it, mix 1 ½ cups of milk with 1 ½ tablespoons of white vinegar or lemon juice and let it sit for 10 minutes.
- Large Eggs (2 large): Room temperature eggs incorporate better into the batter. They provide structure and help with browning.
- Unsalted Butter (¼ cup / 56g): Melted and slightly cooled. This adds moisture and helps create those crispy edges.
- Granulated Sugar (2 tablespoons / 25g): Just enough to balance the tang of the buttermilk and aid in browning. You can reduce this if you prefer less sweetness.
- Baking Powder (1 ½ teaspoons / 6g): Make sure it’s fresh! Old baking powder is the number one reason for dense waffles.
- Baking Soda (½ teaspoon / 2g): Helps the buttermilk react and creates a deeper golden color.
- Salt (½ teaspoon / 3g): Essential for enhancing all the other flavors. Don’t skip this.
- Vanilla Extract (1 teaspoon / 5ml): Adds a warm, aromatic note that pairs perfectly with the nutty flour.
For the best results, I suggest using a digital scale for the flour. Volume measurements can vary wildly depending on how packed the flour is, which can throw off the hydration ratio. White wheat flour absorbs more liquid than all-purpose flour, so getting the measurements right is key to avoiding dry waffles.
Equipment Needed
You don’t need a fancy kitchen to make great waffles, but having the right tools definitely helps. The most important piece of equipment is, of course, a reliable waffle iron. I use a standard Belgian-style waffle maker because it creates those deep pockets for syrup. If you don’t have one, a regular iron works fine, though the pockets will be shallower.
A large mixing bowl is essential for combining the wet and dry ingredients without making a mess. I prefer glass or ceramic bowls because they don’t retain heat, keeping the batter cool until it hits the iron. A whisk is better than a spoon for incorporating the flour and breaking up any lumps in the buttermilk.
I also highly recommend using a silicone brush to grease the waffle iron. Paper towels can leave lint behind, which sticks to the batter and ruins the texture. A little bit of neutral oil or non-stick spray on the brush goes a long way. If your iron is old and sticking, you might need to season it again, but most modern non-stick models don’t require much oil.
Lastly, a cooling rack is crucial. Placing cooked waffles on a plate stacks them up, trapping steam and making them soggy. Keeping them in a single layer on a wire rack allows air to circulate, maintaining that coveted crispiness until you’re ready to eat.
Preparation Method
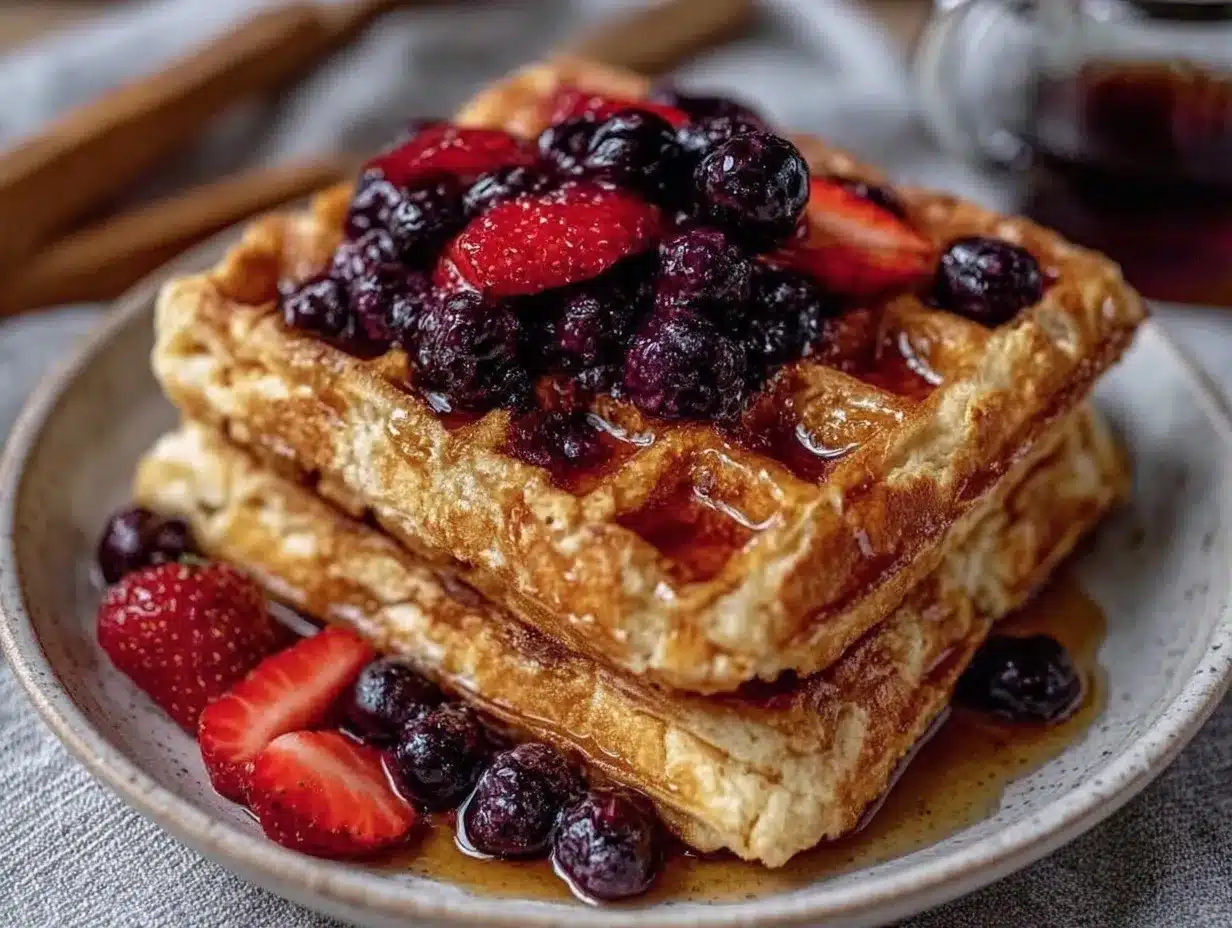
Making these waffles is straightforward, but following the steps closely ensures you get that perfect crispy exterior every time. Here is how to put it all together.
- Mix the Dry Ingredients (2 minutes): In a large bowl, whisk together the white wheat flour, baking powder, baking soda, sugar, and salt. Whisking these together ensures that the leavening agents are evenly distributed. This prevents bitter spots of baking soda and ensures a uniform rise. Set this bowl aside.
- Combine the Wet Ingredients (1 minute): In a separate medium bowl, whisk the buttermilk, eggs, melted butter, and vanilla extract until smooth. The butter should be melted but not hot, or you might cook the eggs slightly. Whisk vigorously to emulsify the butter into the buttermilk.
- Combine Wet and Dry (1 minute): Pour the wet mixture into the dry ingredients. Gently stir with a spatula or wooden spoon until just combined. Do not overmix! It is okay if there are a few small lumps. Overmixing develops gluten, which leads to tough, chewy waffles instead of tender ones. This step should take less than a minute.
- Let the Batter Rest (10-15 minutes): This is the secret step. Let the batter sit on the counter while you preheat your waffle iron. This allows the white wheat flour to absorb the liquid, resulting in a thicker batter that cooks up fluffier. It also gives the gluten a chance to relax.
- Preheat the Waffle Iron (5-10 minutes): Preheat your waffle iron to a medium-high setting. If your iron has a temperature dial, aim for around 375°F (190°C). You know it’s ready when a few drops of water sizzle and evaporate immediately upon contact.
- Cook the Waffles (4-6 minutes per batch): Lightly grease the iron with oil or non-stick spray. Pour about ½ to ¾ cup of batter onto the center of the iron, depending on your machine’s size. Close the lid and cook until the steam stops escaping and the waffle is deep golden brown. This usually takes 4-6 minutes. Resist the urge to peek too early, as it can interrupt the cooking process.
- Keep Warm (Optional): Transfer cooked waffles to a cooling rack. If you are serving them all at once, you can place them in a 200°F (95°C) oven while you cook the rest. This keeps them warm without steaming them out of crispness.
Watch for the steam. When the steam stops coming from the iron, the waffle is usually done. If you see steam continuing to escape, give it another minute. Each waffle iron is slightly different, so use your eyes and nose as your guide.
Cooking Tips & Techniques
Having cooked hundreds of batches of waffles, I’ve learned a few tricks that make a huge difference in the final product. The biggest mistake people make is assuming that all waffle irons are created equal. Mine runs a bit hot, so I have to adjust my timing. If your waffles are burning on the outside but raw on the inside, lower the temperature and cook them longer.
Another tip is to avoid opening the waffle iron too early. When you first close the lid, the batter expands rapidly. If you lift the lid to check, you deflate the waffle, and it won’t rise properly. Patience is key here. Let the iron do its work.
I also recommend using a light hand when greasing the iron. Too much oil can pool in the bottom of the waffle and make it greasy rather than crispy. A thin, even coat is all you need. If your iron is well-maintained, you might not even need oil, but a little bit never hurts.
For extra crispiness, you can brush the cooked waffles with a tiny bit of melted butter immediately after removing them from the iron. This adds flavor and helps maintain the crust. It’s a small step that makes a big difference in texture and taste.
Variations & Adaptations
One of the best things about this crispy white wheat buttermilk waffles recipe is how adaptable it is. You can tweak it to suit your dietary needs or taste preferences without losing that signature crunch.
Gluten-Free Option: You can substitute the white wheat flour with a 1:1 gluten-free flour blend. Look for a blend that contains xanthan gum, as this helps mimic the elasticity of gluten. You may need to add an extra tablespoon of liquid, as gluten-free flours can be thirstier.
Dairy-Free Version: Swap the buttermilk for a thick, unsweetened plant-based yogurt mixed with a little lemon juice. Use coconut oil or dairy-free butter instead of regular butter. The texture might be slightly denser, but the flavor will still be delicious.
Berry Blast: Fold in ½ cup of fresh or frozen blueberries into the batter just before cooking. The natural sugars in the berries will caramelize slightly, adding bursts of sweetness. Be careful not to overmix, or the berries will bleed into the batter and turn it purple.
Chocolate Chip: Add ¼ cup of mini chocolate chips to each waffle before closing the lid. The chips will melt into the hot batter, creating gooey pockets of chocolate. This is a great way to use up leftover chips from the pantry.
I personally love adding a pinch of cinnamon to the dry ingredients for a cozy, autumnal flavor. It pairs beautifully with the nuttiness of the white wheat flour and makes the kitchen smell amazing while you cook.
Serving & Storage Suggestions
These waffles are versatile enough to be served for breakfast, brunch, or even dessert. I recommend serving them warm, right off the cooling rack. Top them with fresh berries, a dollop of Greek yogurt, and a drizzle of pure maple syrup. The combination of tangy, sweet, and crispy is unbeatable.
For a savory twist, try topping your waffle with fried chicken and hot sauce. This Southern-style combination is a game-changer and works surprisingly well with the white wheat flour’s earthy notes. It’s a great way to use up leftover fried chicken.
If you have leftovers, these waffles freeze exceptionally well. Let them cool completely on the rack, then place them in a single layer in a freezer-safe bag or container. They will keep for up to three months. To reheat, pop them straight from the freezer into a toaster or a 400°F (200°C) oven for 5-10 minutes. This restores their crispiness better than microwaving, which can make them chewy.
Flavors tend to meld and deepen after a day or two, especially if you add fruit compotes or jams. I often find that day-old waffles are even better than fresh ones, as the texture becomes slightly more substantial and chewy. It’s a personal preference, but I love that versatility.
Nutritional Information & Benefits
Switching to white wheat flour isn’t just about taste; it’s a smart move for your health. White wheat flour contains more fiber and protein than refined all-purpose flour, which helps stabilize your blood sugar levels. This means you get sustained energy rather than a quick spike and crash.
Buttermilk is also a nutritional powerhouse. It is lower in fat than regular milk but high in calcium and probiotics, which support gut health. The eggs add high-quality protein and essential vitamins like B12 and D. Together, these ingredients create a breakfast that is not only delicious but also nourishing.
Each waffle contains approximately 250 calories, 8g of protein, and 4g of fiber, depending on the toppings used. This makes it a balanced start to the day. For those watching their sodium intake, you can reduce the salt in the recipe without compromising the flavor significantly.
From a personal wellness perspective, I find that starting my day with a high-fiber, high-protein meal helps me stay focused and satisfied. These waffles fit perfectly into a balanced diet, proving that healthy eating doesn’t have to be boring or restrictive.
Conclusion
There is a reason why these crispy white wheat buttermilk waffles have become my go-to recipe. They are simple, nutritious, and incredibly satisfying. Whether you are a seasoned home cook or a beginner in the kitchen, this recipe is forgiving and reliable.
I encourage you to experiment with the toppings and variations. Add your favorite fruits, nuts, or spices to make it your own. Cooking is about creativity, and this recipe is a perfect canvas for your culinary imagination.
I’d love to hear how you enjoy your waffles. Do you stick to classic syrup, or do you get creative with savory toppings? Share your experiences in the comments below, and don’t forget to tag me in your photos if you try the recipe. Let’s inspire each other to make breakfast an event to look forward to every day.
Frequently Asked Questions
Can I use self-rising flour instead of white wheat flour?
It’s not recommended. Self-rising flour already contains baking powder and salt, which can throw off the balance of leavening agents in this recipe. This could result in waffles that rise too much and then collapse, or taste overly salty. Stick to the white wheat flour for the best texture.
Why are my waffles not crispy?
There are a few reasons for this. First, check your baking powder; if it’s old, it won’t create enough lift. Second, you might be opening the waffle iron too early. Finally, stacking hot waffles on a plate traps steam. Always use a cooling rack to keep air circulating around each waffle.
Can I make the batter the night before?
Yes, you can. Store the batter in an airtight container in the refrigerator. However, note that the leavening agents may lose some potency overnight, so you might need to add a tiny bit more baking powder in the morning. Also, the batter will thicken, so you may need to whisk in a splash of milk to loosen it up.
What is the best oil to use for greasing the waffle iron?
Neutral oils with a high smoke point, like canola, vegetable, or avocado oil, work best. Coconut oil is also a great option if you want a subtle coconut flavor. Avoid using butter for greasing the iron, as the milk solids in butter can burn and stick to the plates.
How do I reheat frozen waffles without losing crispiness?
Avoid the microwave if you want to preserve the texture. Instead, reheat them in a toaster or a conventional oven at 400°F (200°C) for 5-10 minutes. This method restores the crisp exterior while warming the interior thoroughly.
Pin This Recipe!
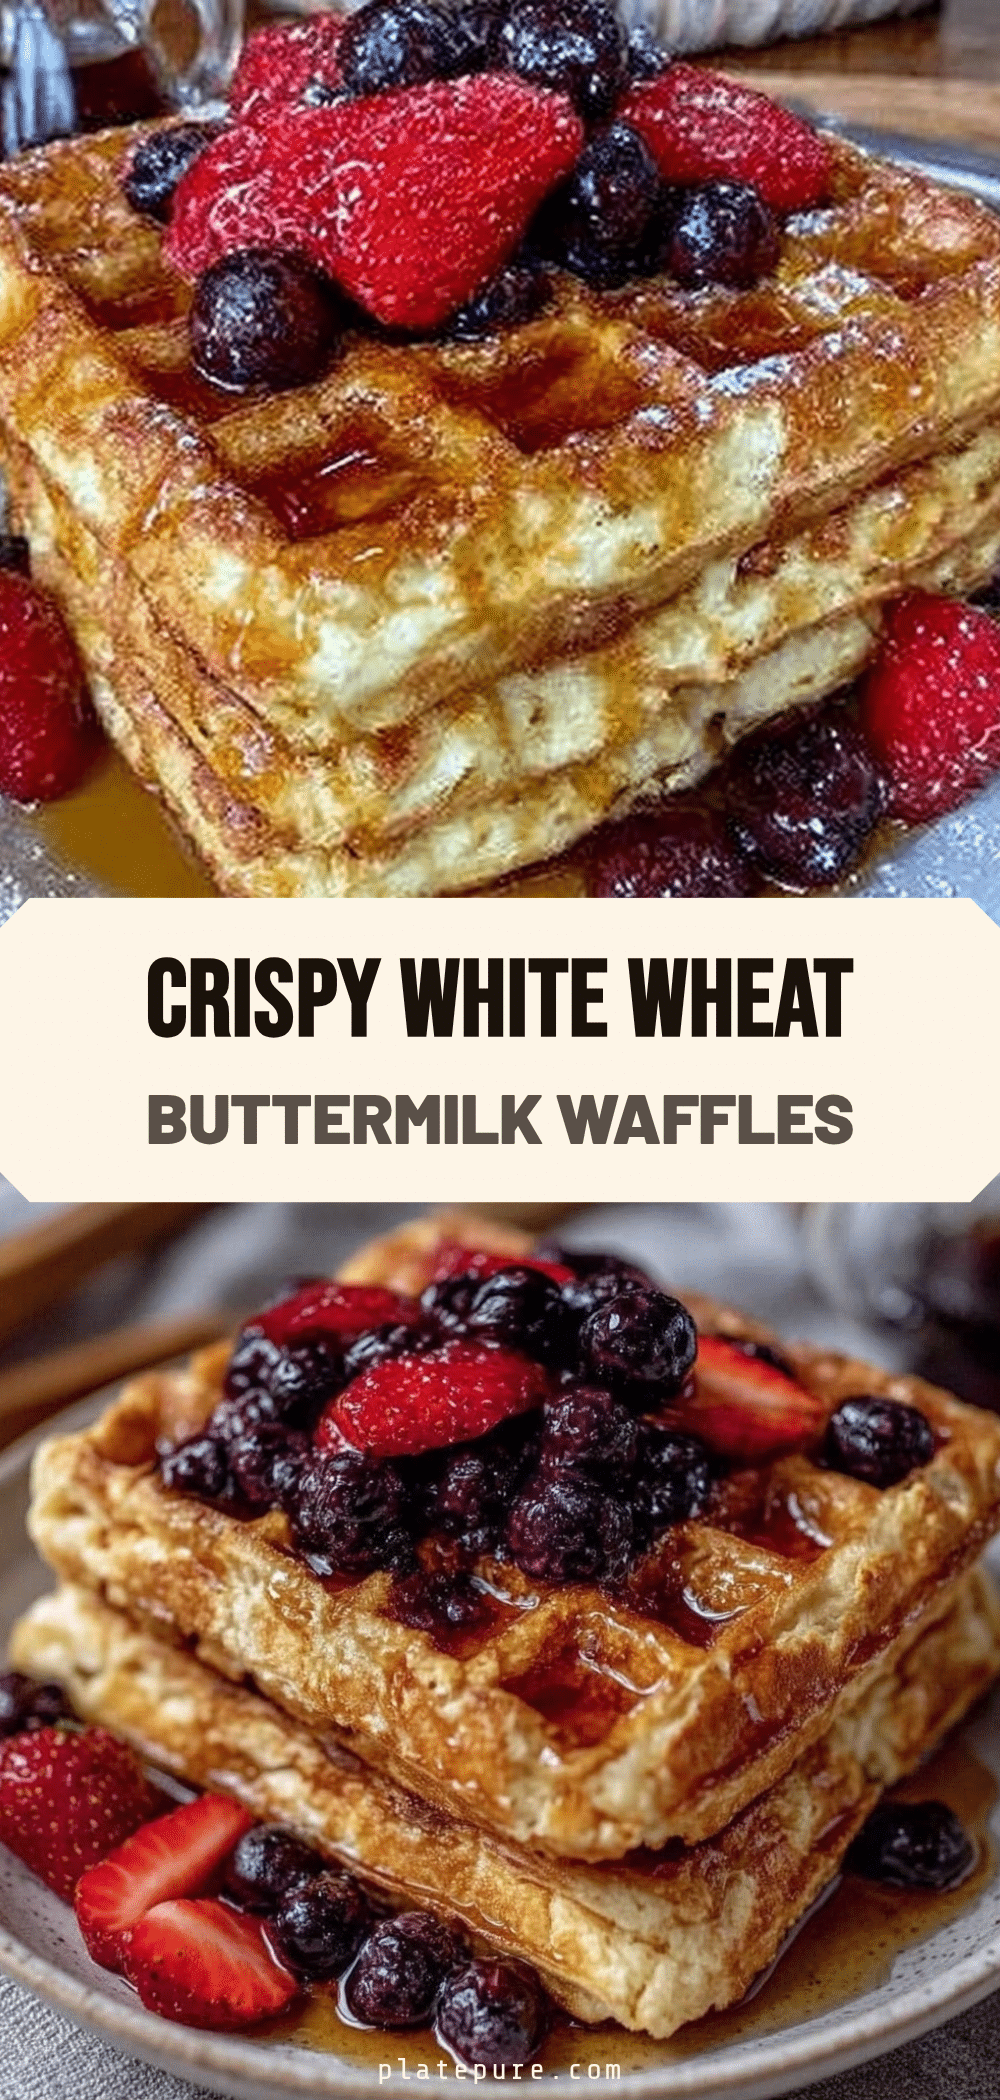

Crispy White Wheat Buttermilk Waffles
- Total Time: 35 minutes
- Yield: 4 servings 1x
Description
These crispy white wheat buttermilk waffles are light, fluffy, and perfectly crisp on the outside. Made with simple ingredients and a few key techniques, they offer a nutritious twist on a classic breakfast favorite.
Ingredients
- 2 cups (240g) White Wheat Flour
- 1 ½ cups (360ml) Buttermilk
- 2 large Eggs
- ¼ cup (56g) Unsalted Butter, melted and slightly cooled
- 2 tablespoons (25g) Granulated Sugar
- 1 ½ teaspoons (6g) Baking Powder
- ½ teaspoon (2g) Baking Soda
- ½ teaspoon (3g) Salt
- 1 teaspoon (5ml) Vanilla Extract
Instructions
- In a large bowl, whisk together the white wheat flour, baking powder, baking soda, sugar, and salt.
- In a separate medium bowl, whisk the buttermilk, eggs, melted butter, and vanilla extract until smooth.
- Pour the wet mixture into the dry ingredients and gently stir until just combined. Do not overmix; small lumps are okay.
- Let the batter rest on the counter for 10-15 minutes to allow the flour to hydrate.
- Preheat your waffle iron to a medium-high setting (around 375°F / 190°C).
- Lightly grease the iron with oil or non-stick spray. Pour ½ to ¾ cup of batter onto the center of the iron.
- Close the lid and cook for 4-6 minutes, or until steam stops escaping and the waffle is deep golden brown.
- Transfer cooked waffles to a cooling rack to maintain crispiness. Serve warm.
Notes
For best results, use a digital scale for the flour. If you don’t have buttermilk, mix milk with vinegar or lemon juice and let sit for 10 minutes. Do not overmix the batter to avoid tough waffles. Store leftovers in the freezer and reheat in a toaster or oven to restore crispiness.
- Prep Time: 15 minutes
- Cook Time: 20 minutes
- Category: Breakfast
- Cuisine: American
Nutrition
- Serving Size: 1 large waffle
- Calories: 250
- Sugar: 8
- Sodium: 350
- Fat: 10
- Saturated Fat: 6
- Carbohydrates: 35
- Fiber: 4
- Protein: 8
Keywords: waffles, white wheat flour, buttermilk waffles, crispy waffles, homemade waffles, healthy breakfast, whole grain waffles


