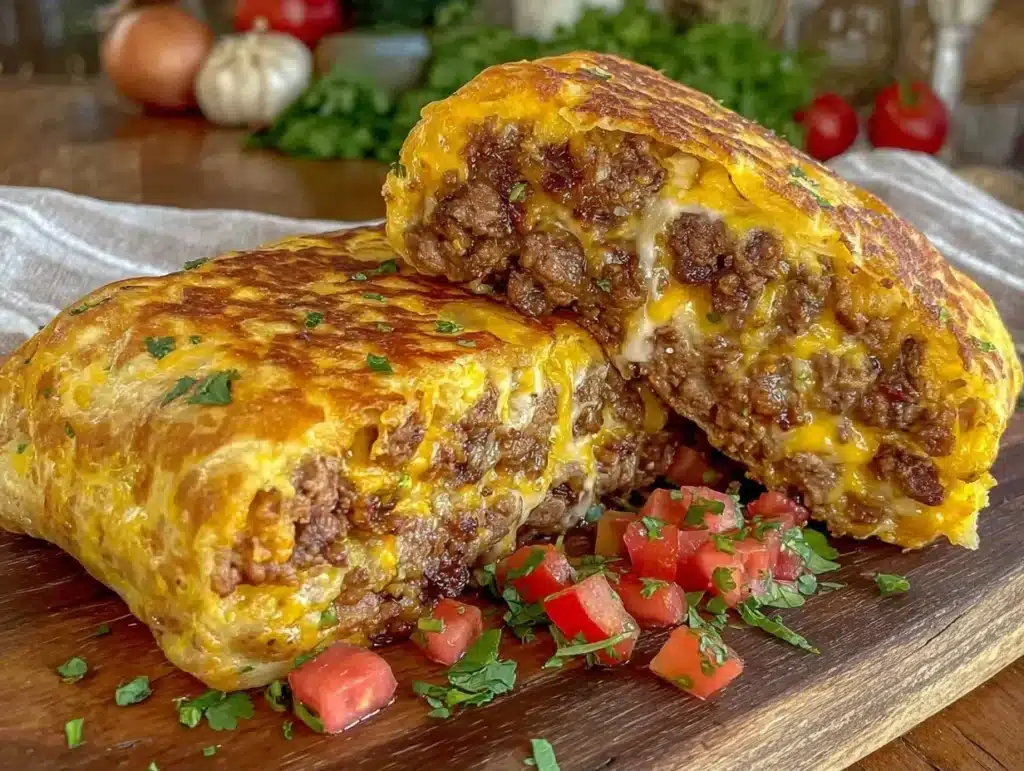
Let’s be honest for a second. The smell of frying tortillas is intoxicating, but standing over a pot of hot oil? Not so much. I remember the first time I tried to make chimichangas at home, I ended up with a kitchen that smelled like a fast-food joint for three days and a stack of paper towels that never saw the inside of a trash can. I was tired, my arms were tired, and I just wanted a crunchy, cheesy, beefy dinner without the hassle.
That’s when I decided to stop trying to replicate restaurant perfection and start making dinner that actually fits into a real life. This crispy beef chimichangas recipe changes the game by using a one-pot method to cook the filling, which means less cleanup. It’s the kind of weeknight miracle that saves your sanity while still hitting that crave-worthy spot.
I’ve tested this version over a dozen times, tweaking the spice levels and the cooking technique until I got the texture just right. You know how it is when you’re trying to get kids to eat dinner? They need that crunch. They need that gooey cheese pull. And honestly, adults need it too. This recipe delivers on all fronts without leaving your stove looking like a war zone. It’s practical, it’s flavorful, and it’s surprisingly healthy if you watch your oil usage.
What makes this version special is the balance. We are talking about tender, slow-cooked beef that falls apart easily, wrapped in a tortilla that gets golden and crisp in the oven or air fryer. No soggy middles. No burnt edges. Just pure, comforting Mexican-inspired flavor. I call this my “One Pot Beef Chimichangas” because the magic happens in a single skillet before they even hit the oven. It’s efficient cooking at its finest, and I think you’re going to love it.
Why You’ll Love This Recipe
There are a few reasons why this one-pot chimichanga recipe has become a staple in my weekly rotation. First off, it respects your time. We all have those nights where we come home and the last thing we want to do is chop vegetables for an hour. This recipe uses simple ingredients you likely already have in your pantry or fridge. It’s not about buying fancy, hard-to-find items; it’s about making something delicious with what you’ve got.
Here is why this recipe stands out from the crowd:
- Quick & Easy: The filling comes together in under 20 minutes in one pot. The baking or air-frying takes about 15-20 minutes. You are looking at less than 45 minutes from start to finish.
- Simple Ingredients: Ground beef, spices, beans, cheese, and tortillas. That’s it. No obscure sauces or hard-to-find herbs. If you can boil water, you can make this.
- Perfect for Meal Prep: These freeze beautifully. I often make a double batch on Sunday and freeze half for busy Tuesday nights. They reheat surprisingly well, keeping that crunch if you use an air fryer.
- Crowd-Pleaser: Even my pickiest eaters devour these. The combination of savory beef and melted cheese is universally loved. It’s great for game day, family dinners, or just treating yourself.
- Less Mess: Because we cook the filling in one pot, you only have one pan to wash afterward. This is a huge win for weeknights when you’re already exhausted.
What really makes this recipe different is the texture. Many people think “one-pot” means mushy. Not here. By cooking the beef mixture slowly, it becomes incredibly tender. Then, by brushing the tortillas with a little oil or butter before baking, you get that restaurant-style crunch without submerging them in oil. It’s a smarter way to cook that doesn’t compromise on flavor or satisfaction.
What Ingredients You Will Need
This recipe relies on high-quality, simple ingredients to deliver bold flavor. The key is to keep the filling moist enough to bind the chimichanga but not so wet that the tortilla gets soggy. Here is what you will need to get started.
For the One-Pot Filling
- Ground Beef (1 lb): I prefer 80/20 fat ratio for flavor, but lean beef works if you drain the grease well. Look for fresh, bright red meat at your local market.
- Yellow Onion (1 medium): Finely diced. This adds sweetness and depth to the beef.
- Garlic (3 cloves): Minced fresh. Jarred garlic can sometimes taste metallic, so fresh is better here.
- Black Beans (1 can, 15 oz): Rinsed and drained. These add fiber and help bind the filling. I like the organic variety, but any brand works.
- Corn Kernels (1 cup): Frozen or canned. Frozen adds a nice pop of sweetness. Canned is fine if you rinse it thoroughly.
- Tomato Sauce (1 cup): Unsweetened. This provides the moisture and base for the sauce. I recommend using a low-sodium version to control salt levels.
- Chili Powder (2 tbsp): This is the main flavor driver. Use a good quality blend, not just pure chili powder, for complex flavor.
- Cumin (1 tsp): Ground cumin adds that earthy, warm note that defines Mexican cuisine.
- Smoked Paprika (1 tsp): This gives a subtle smokiness that mimics grilled meat without the grill.
- Salt and Black Pepper: To taste. Always season in layers.
For Assembly
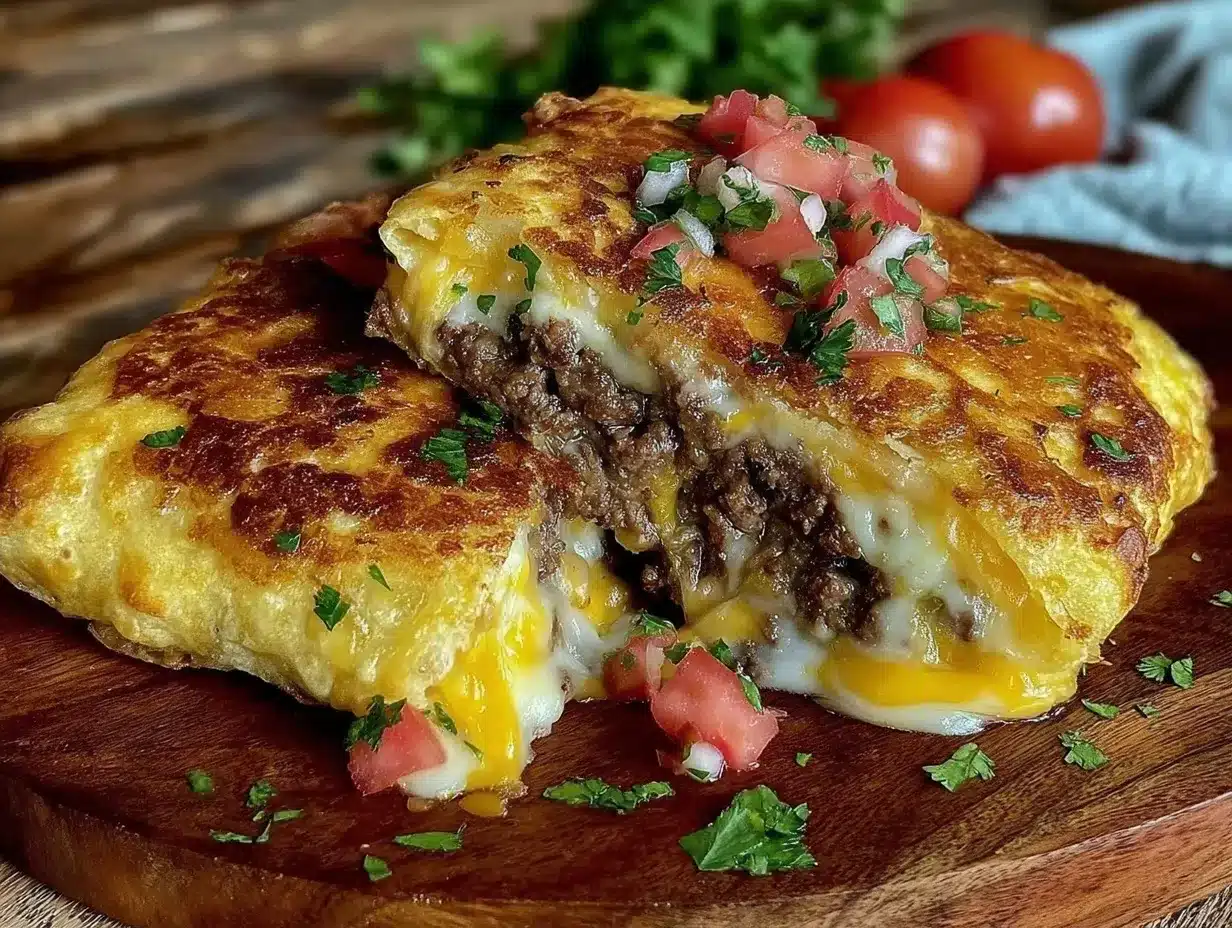
- Flour Tortillas (8-10 large): Burrito-sized tortillas work best. They need to be pliable enough to roll but sturdy enough to hold the filling. Warm them slightly before rolling to prevent cracking.
- Shredded Mexican Blend Cheese (2 cups): A mix of cheddar, Monterey Jack, and quesillo. Pre-shredded cheese has anti-caking agents, so it melts slightly differently than block cheese, but it’s convenient. For the best melt, shred your own from a block.
- Vegetable Oil or Avocado Oil (2 tbsp): Used for brushing the tortillas to help them crisp up in the oven.
For the best results, I recommend using a cast-iron skillet if you have one. It distributes heat evenly and keeps the filling warm while you roll. Also, don’t skip rinsing the beans and corn. Excess liquid is the enemy of a crispy chimichanga.
Equipment Needed
You don’t need a lot of fancy gadgets to make this recipe, but having the right tools makes the process smoother. Here is what you will need:
- Large Skillet or Dutch Oven: A 12-inch skillet is ideal. You need enough surface area to brown the beef and enough depth to hold the sauce. A Dutch oven works great if you want to keep everything in one pot for serving later.
- Wooden Spoon or Spatula: For stirring the filling. A silicone spatula is good for scraping the sides of the pan.
- Baking Sheet: Line it with parchment paper for easy cleanup. You want the chimichangas to have space to breathe so they crisp on all sides.
- Pastry Brush: Essential for brushing the oil onto the tortillas. It ensures an even coating without using too much oil.
- Measuring Cups and Spoons: For accuracy, especially with the spices.
- Cooling Rack (Optional): If you bake them on a rack over a baking sheet, air circulates better, leading to a crispier result on the bottom too.
If you don’t have a baking sheet, you can use an air fryer basket. This is actually my preferred method for getting that extra crunch. Just make sure not to overcrowd the basket. If you’re using an air fryer, you might need to cook in batches.
Preparation Method
Let’s get into the nitty-gritty. This process is straightforward, but attention to detail makes all the difference in the final texture.
- Prepare the Filling Base (5 minutes): Heat your large skillet over medium-high heat. Add a tiny splash of oil if your beef is very lean. Add the diced onion and cook until translucent, about 3 minutes. Add the minced garlic and cook for another 30 seconds until fragrant. Be careful not to burn the garlic, or it will turn bitter.
- Brown the Beef (5-7 minutes): Add the ground beef to the skillet. Break it up with your wooden spoon. Cook until no pink remains. If there is a lot of grease, drain it now. You want the beef to be browned, not steamed. This browning process, known as the Maillard reaction, adds deep flavor.
- Build the Sauce (3 minutes): Stir in the chili powder, cumin, smoked paprika, salt, and pepper. Toast the spices in the beef fat for about 1 minute. This wakes up the flavors. Then, add the rinsed black beans, corn, and tomato sauce. Stir well to combine.
- Simmer the Filling (10 minutes): Reduce the heat to medium-low. Let the mixture simmer uncovered. This is crucial. You want to evaporate excess moisture. Stir occasionally. The filling should be thick and cohesive, not soupy. If it looks too dry, add a splash of water. If too wet, cook longer. Taste and adjust seasoning. It should taste good on its own before you wrap it.
- Preheat Oven and Prep Tortillas (5 minutes): Preheat your oven to 400°F (200°C). Line a baking sheet with parchment paper. Take your tortillas and warm them in the microwave for 10-15 seconds. This makes them pliable and less likely to tear when rolling. Do not skip this step.
- Assemble the Chimichangas (10 minutes): Lay a tortilla flat. Spoon about ½ to ¾ cup of the beef mixture down the center. Sprinkle with shredded cheese. Fold the sides in, then roll tightly from the bottom up. Place seam-side down on the baking sheet. Repeat with remaining tortillas. Brush the tops and sides lightly with oil or melted butter. This is what creates the golden crust.
- Bake Until Crispy (15-20 minutes): Place the baking sheet in the oven. Bake for 15-20 minutes, flipping halfway through, until the tortillas are golden brown and crispy. If you are using an air fryer, cook at 375°F (190°C) for 10-12 minutes, flipping halfway.
- Rest and Serve (5 minutes): Let the chimichangas rest for 5 minutes after baking. This allows the cheese to set slightly, making them easier to cut and eat without the filling spilling out. Garnish with fresh cilantro, salsa, or a dollop of sour cream.
Cooking Tips & Techniques
After making these dozens of times, I’ve learned a few tricks to ensure success. The biggest mistake people make is using a filling that is too wet. I cannot stress this enough. If your filling is soupy, your chimichanga will burst open in the oven. Always simmer the filling until it is thick. You can even put it in the fridge for 10 minutes to cool and thicken further before rolling.
Another tip is the rolling technique. Roll it tight. Think of it like a Swiss roll. If it’s loose, the cheese will leak out. Use the “tuck and roll” method: fold the sides in, then roll tightly. Secure with a toothpick if you’re worried, though I usually find a tight roll holds fine.
Don’t be afraid to use more spice. Ground beef can be bland, so don’t shy away from the chili powder and cumin. Taste your filling before assembling. If it needs more heat, add a dash of cayenne or red pepper flakes. Also, warming the tortillas is non-negotiable. Cold tortillas crack. Warm tortillas bend. It’s physics.
If you want extra crispiness, use an egg wash (one egg beaten with a tablespoon of water) instead of oil. The protein in the egg helps create a harder, crispier shell. But the oil method is lighter and easier. Choose your adventure.
Variations & Adaptations
One of the best things about this recipe is how adaptable it is. Here are a few ways to switch it up:
- Turkey or Chicken: Swap the ground beef for ground turkey or chicken. You might need to add a little extra oil to the pan since poultry is leaner. The flavor profile remains the same.
- Vegetarian Option: Skip the meat. Use lentils or extra beans as the base. Add diced mushrooms for a meaty texture. The spices will carry the flavor just as well.
- Spicy Kick: Add diced jalapeños to the onion step. Or mix a tablespoon of chipotle peppers in adobo sauce into the beef mixture for a smoky heat.
- Gluten-Free: Use certified gluten-free flour tortillas. Most major brands have good options now. Just check the label to ensure they are sturdy enough to hold the filling.
- Low-Carb: Use large collard green leaves or low-carb tortillas. Collard greens need to be blanched first to soften them. They add a nice, fresh contrast to the rich beef.
I once made these with shredded pulled pork instead of beef, and they were incredible. The smokiness of the pork paired well with the cumin. Feel free to experiment with leftovers. Any cooked meat works here.
Serving & Storage Suggestions
These chimichangas are best served immediately while they are hot and crispy. They pair wonderfully with a simple green salad with a lime vinaigrette. The acidity cuts through the richness of the cheese and beef. I also love serving them with a side of Mexican rice or a bowl of black bean soup.
For beverages, a cold beer or a margarita fits the theme perfectly. But honestly, even just a glass of iced tea with lemon works great. It’s comfort food, after all.
Leftovers? If you have any (and I doubt you will), store them in an airtight container in the fridge for up to 3 days. To reheat, do not use the microwave if you want to keep the crunch. Use an air fryer or a toaster oven at 350°F for 5-10 minutes. The microwave will make the tortilla chewy and soft. If you must use the microwave, follow it up with a quick sear in a dry skillet.
You can also freeze the unbaked chimichangas. Roll them, place them on a baking sheet, and freeze until solid. Then transfer to a freezer bag. They will keep for up to 3 months. Bake them from frozen, adding 5-10 minutes to the cooking time. This is a lifesaver for busy weeks.
Nutritional Information & Benefits
While chimichangas are often seen as indulgent, this one-pot version can be balanced. Ground beef provides high-quality protein and iron. Black beans add fiber, which aids digestion and keeps you full. The cheese offers calcium.
By baking instead of deep-frying, you significantly reduce the fat and calorie content. This makes it a more reasonable option for a regular dinner. Of course, moderation is key. If you are watching your sodium, use low-sodium tomato sauce and beans.
For those with dietary restrictions, this recipe is easily modified. It is naturally nut-free. For dairy-free needs, use a dairy-free cheese alternative or skip the cheese entirely. The flavor of the beef and spices is strong enough to stand on its own. I appreciate that this recipe allows me to enjoy a “cheat meal” feeling without the heavy guilt or sluggishness that comes with heavy frying.
Conclusion
There you have it. Crispy Beef Chimichangas made easy, with minimal cleanup and maximum flavor. This recipe is proof that you don’t need a deep fryer or a chef’s degree to make restaurant-quality food at home. It’s about smart techniques, good ingredients, and a little bit of love.
I hope you give this one-pot method a try. It has become a favorite in my house for a reason. It’s reliable, delicious, and fits into a busy lifestyle. Feel free to tweak the spices to match your heat tolerance. Add extra veggies if your family needs more greens. Make it your own.
If you try this recipe, I’d love to hear how it turned out. Leave a comment below with your thoughts, or share a photo on social media. Tag me if you can! Let’s inspire each other in the kitchen. Happy cooking, and enjoy every crunchy, cheesy bite.
Frequently Asked Questions
Can I use leftover cooked beef instead of ground beef?
Yes, absolutely. Shredded leftover roast beef or steak works well. Just make sure to chop it into smaller pieces so it mixes evenly with the beans and sauce. You may need to add a little extra tomato sauce to keep it moist.
Why did my chimichangas burst open in the oven?
This usually happens if the filling was too wet or if the tortilla cracked. Ensure you simmer the filling until it is thick and sticky. Also, warm your tortillas before rolling to make them pliable. Roll them tightly, and leave a small border at the edges.
Can I make these in an air fryer?
Air fryers are great for this recipe. They produce a crispier exterior with less oil. Cook at 375°F (190°C) for 10-12 minutes, flipping halfway through. Do not overcrowd the basket, as air needs to circulate.
How do I store leftovers?
Store leftovers in an airtight container in the refrigerator for up to 3 days. Reheat in an air fryer or oven to maintain crispiness. Avoid the microwave if you want to keep the texture.
Can I freeze the finished chimichangas?
Yes, you can freeze baked chimichangas. Let them cool completely, then wrap individually in plastic wrap and foil. They will last for up to 3 months in the freezer. Reheat in the oven at 350°F until heated through.
Pin This Recipe!
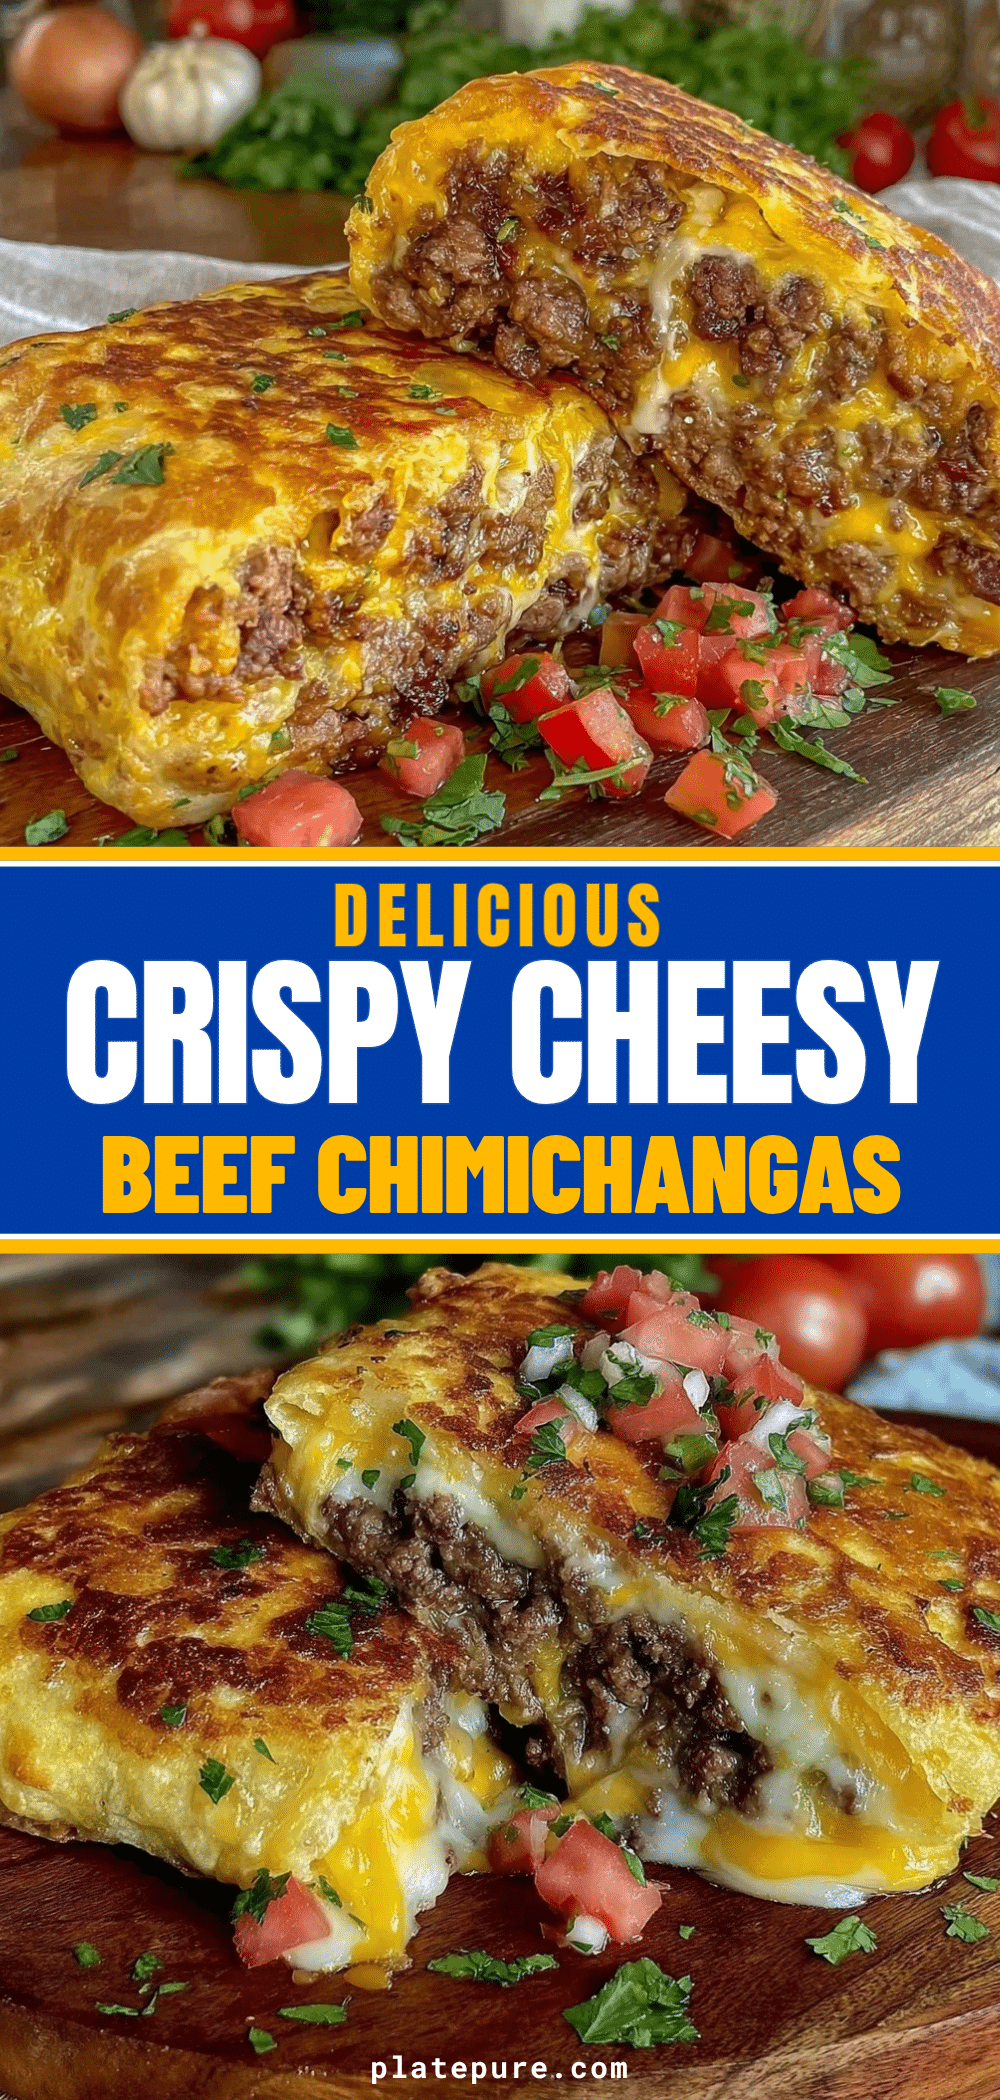

Crispy Beef Chimichangas: One Pot Easy Dinner
- Total Time: 45 minutes
- Yield: 4 servings 1x
Description
A weeknight-friendly, one-pot beef chimichanga recipe that uses ground beef, beans, and spices for a flavorful filling, baked or air-fried for a crispy texture without the mess of deep frying.
Ingredients
- 1 lb ground beef (80/20 fat ratio preferred)
- 1 medium yellow onion, finely diced
- 3 cloves garlic, minced
- 1 can (15 oz) black beans, rinsed and drained
- 1 cup corn kernels (frozen or canned)
- 1 cup unsweetened tomato sauce (low-sodium recommended)
- 2 tbsp chili powder
- 1 tsp ground cumin
- 1 tsp smoked paprika
- Salt and black pepper to taste
- 8–10 large flour tortillas (burrito-sized)
- 2 cups shredded Mexican blend cheese
- 2 tbsp vegetable oil or avocado oil
Instructions
- Heat a large skillet over medium-high heat. Add a splash of oil if using lean beef. Add diced onion and cook until translucent (about 3 minutes). Add minced garlic and cook for 30 seconds until fragrant.
- Add ground beef to the skillet. Break it up with a wooden spoon and cook until no pink remains (5-7 minutes). Drain excess grease if necessary.
- Stir in chili powder, cumin, smoked paprika, salt, and pepper. Toast spices in the beef fat for 1 minute. Add black beans, corn, and tomato sauce. Stir to combine.
- Reduce heat to medium-low and simmer the mixture uncovered for 10 minutes, stirring occasionally, until the filling is thick and cohesive. Adjust seasoning to taste.
- Preheat oven to 400°F (200°C). Line a baking sheet with parchment paper.
- Warm tortillas in the microwave for 10-15 seconds to make them pliable.
- Lay a tortilla flat. Spoon ½ to ¾ cup of beef mixture down the center. Sprinkle with shredded cheese. Fold sides in and roll tightly from the bottom up. Place seam-side down on the baking sheet.
- Brush the tops and sides of the chimichangas lightly with oil or melted butter.
- Bake for 15-20 minutes, flipping halfway through, until golden brown and crispy. Alternatively, air fry at 375°F (190°C) for 10-12 minutes, flipping halfway.
- Let chimichangas rest for 5 minutes before serving to allow cheese to set.
Notes
Ensure the filling is thick and not soupy to prevent the tortillas from bursting. Warm tortillas before rolling to prevent cracking. For extra crispiness, use an egg wash instead of oil. These freeze well unbaked for up to 3 months.
- Prep Time: 20 minutes
- Cook Time: 25 minutes
- Category: Main Course
- Cuisine: Mexican
Nutrition
- Serving Size: 2 chimichangas per s
- Calories: 650
- Sugar: 4
- Sodium: 800
- Fat: 35
- Saturated Fat: 12
- Carbohydrates: 45
- Fiber: 8
- Protein: 35
Keywords: chimichangas, beef chimichangas, one pot dinner, easy weeknight meals, baked chimichangas, air fryer recipes, mexican food, ground beef recipes


