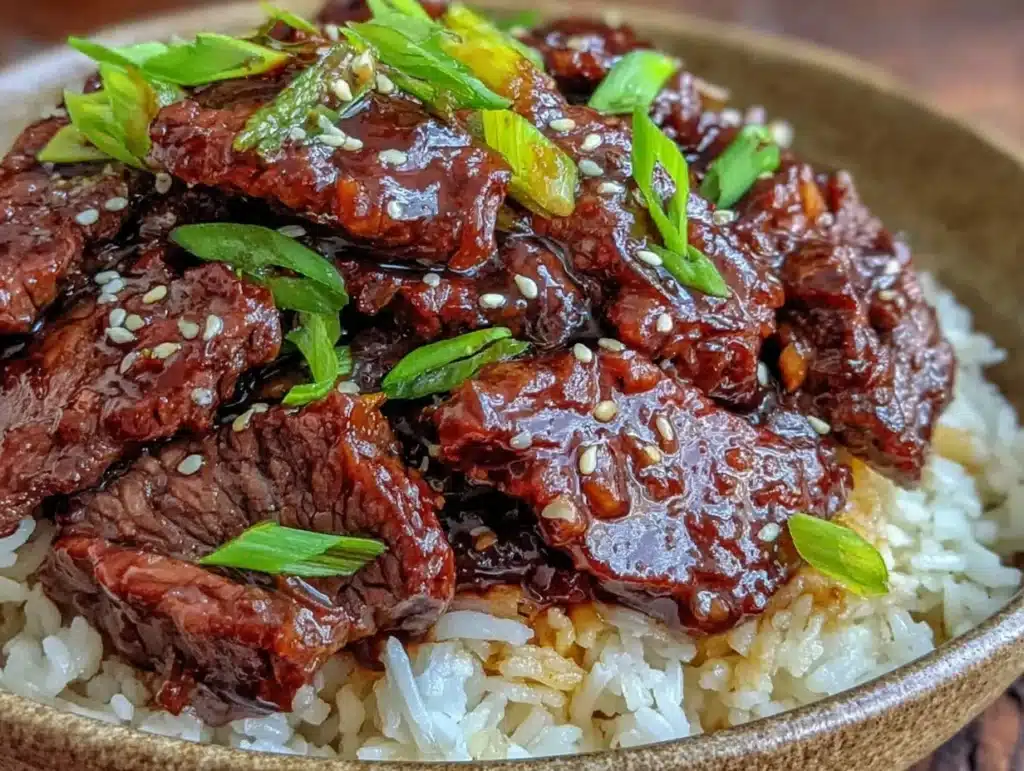
Let’s be honest for a second. You’ve had that crispy, sweet, soy-glazed beef at your favorite local Chinese restaurant. Maybe you ordered it on a rainy Tuesday night, or perhaps it was the go-to comfort food after a long week. It’s delicious, sure. But have you ever thought about how much better it would be if you could make it in your own kitchen in under 20 minutes? I remember the first time I tried to replicate Mongolian beef at home. I used flank steak, sliced it against the grain, and tossed it in a wok with a sauce that was just a little too sweet and a little too thin. It was good, but it wasn’t great.
Fast forward a few years, and I’ve tested this recipe dozens of times. I’ve swapped flours, adjusted sugar levels, and played with heat levels until I hit the sweet spot. This Best Ever Mongolian Beef hits that perfect balance of savory umami and sticky sweetness. The beef is crisp on the outside and tender on the inside, coated in a glossy sauce that clings to every bite. It’s the kind of dish that makes your family ask, “What are we ordering for dinner tonight?” when you tell them it’s homemade.
I love this recipe because it’s forgiving. You don’t need to be a professional chef to pull it off. You just need a hot pan, some confidence, and about 20 minutes of your time. It’s perfect for busy weeknights when you want something that feels fancy but doesn’t require hours of prep. Plus, the smell of garlic and ginger sizzling in oil will have your neighbors wondering what you’re cooking. Honestly, once you try this version, you might never order takeout again. Let’s get into why this specific combination of ingredients works so well together.
Why You’ll Love This Recipe
There are a million beef recipes out there, so why does this one stand out? It comes down to texture and flavor balance. Most home cooks struggle with getting the beef crispy without drying it out. This method uses a light cornstarch coating that fries the steak in the pan, creating that restaurant-style crunch. The sauce isn’t just salty; it has depth from the brown sugar and a kick from the fresh ginger and red pepper flakes. Here is what makes this dish a total winner:
- Quick & Easy: You can have dinner on the table in 20 minutes. That’s right, from fridge to fork in less time than it takes to wait for delivery.
- Simple Ingredients: You probably have most of this in your pantry already. Soy sauce, brown sugar, garlic, ginger—these are staples, not obscure items.
- Perfect for Weeknights: When you’re tired after work, you don’t want to chop a dozen vegetables. This recipe is fast, focused, and satisfying.
- Crowd-Pleaser: Even the pickiest eaters usually love Mongolian beef. The sweet-savory profile is universally appealing to both kids and adults.
- Unbelievably Delicious: The contrast between the crispy beef and the sticky sauce is next-level comfort food. It’s rich without being heavy.
What really sets this apart from other versions is the technique. Many recipes skip the step of frying the beef in cornstarch, which results in soggy, boiled meat. By searing the beef first, we get that essential crunch. Also, the sauce is balanced carefully so it’s not cloyingly sweet. It has a savory backbone from the soy sauce and a bright finish from the green onions. It’s comfort food reimagined—faster, healthier-ish, but with that same soul-soothing satisfaction. It’s perfect for impressing guests without the stress of cooking a multi-course meal.
What Ingredients You Will Need
This recipe relies on simple, wholesome ingredients to deliver bold flavor and satisfying texture without the fuss. The magic happens in how these basic pantry staples interact with each other. You don’t need fancy grocery trips for this one. Here is what you need to gather before you start cooking.
For the Beef
- Flank Steak: 1 pound (450g). This cut is lean and flavorful. Look for a steak that is fairly uniform in thickness so it cooks evenly. Flank steak is the traditional choice, but skirt steak works too if you trim the silver skin.
- Cornstarch: 2 tablespoons. This is the secret weapon. It creates a barrier that crisps up in the pan and helps the sauce cling to the meat later.
- Vegetable Oil: 1 tablespoon. For frying the beef. You need an oil with a high smoke point.
For the Sauce
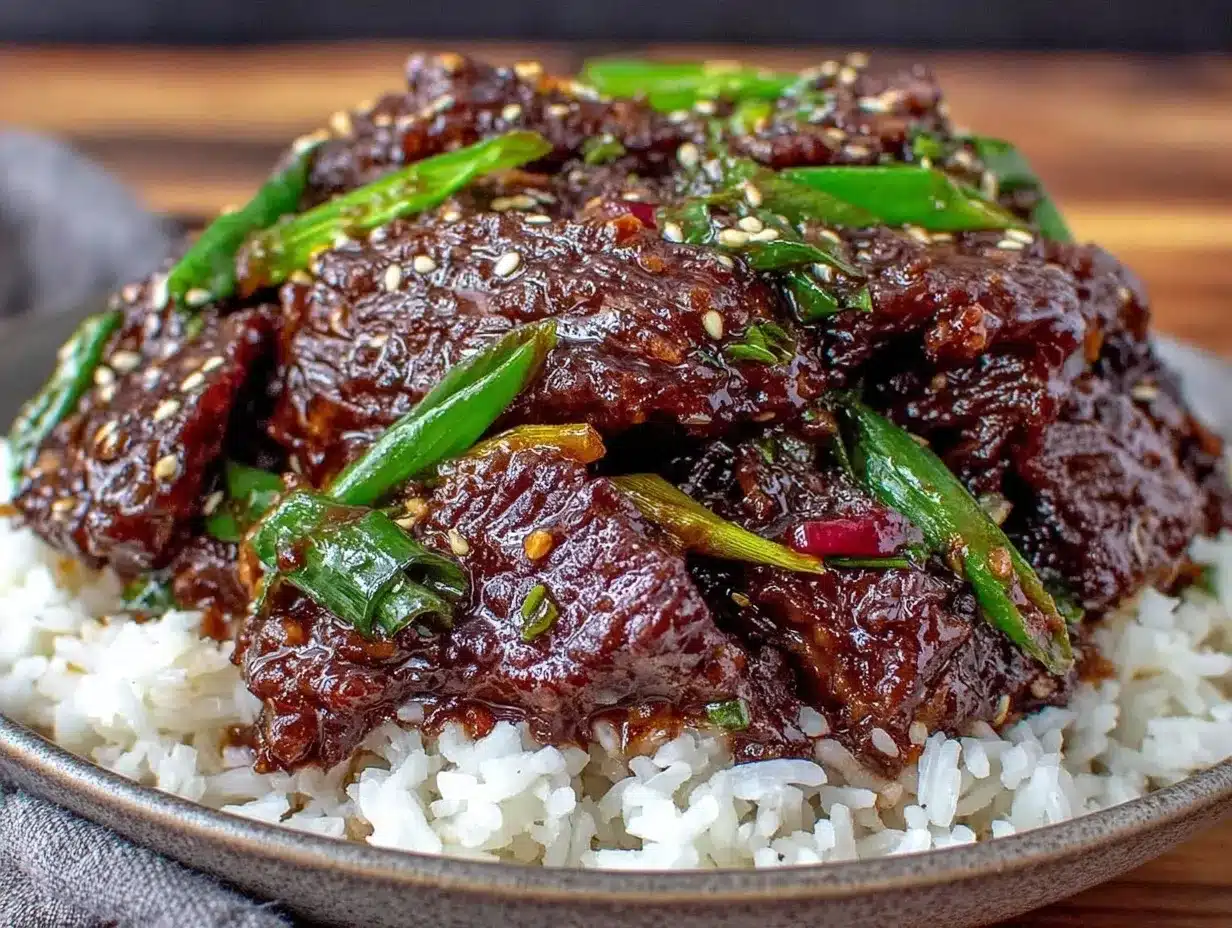
- Soy Sauce: ½ cup (120ml). Use a good quality soy sauce. I prefer Kikkoman for its consistent saltiness, but tamari works for a gluten-free version.
- Brown Sugar: ¼ cup (50g). Packed. This gives the dish its signature sticky sweetness and helps caramelize the beef.
- Water: ½ cup (120ml). To thin out the sauce so it coats everything evenly.
- Rice Vinegar: 1 tablespoon. Adds a little tang to cut through the richness of the beef and sugar.
For the Aromatics & Garnish
- Garlic: 4 cloves, minced. Don’t skimp on the garlic. It’s the backbone of the flavor profile. Fresh garlic is non-negotiable here.
- Fresh Ginger: 1 tablespoon, grated. Grate it yourself if you can. Pre-grated ginger in a jar lacks that bright, spicy punch.
- Green Onions: 4 stalks, chopped. Use both the white and green parts. The whites go in early for flavor, the greens go on top for color.
- Red Pepper Flakes: ½ teaspoon. Optional, but recommended if you like a little heat. It adds a nice background warmth.
If you need to substitute, you can use sirloin steak if flank is too tough to slice thinly. For a gluten-free option, ensure your soy sauce is certified gluten-free or use coconut aminos. The cornstarch is essential for texture, so don’t swap it for flour unless you want a different mouthfeel.
Equipment Needed
You don’t need a fancy kitchen to make this. A large skillet or wok is the most important tool. I use a 12-inch non-stick skillet because it’s easier to clean than carbon steel, though a well-seasoned wok works beautifully too. The key is having enough surface area so the beef isn’t crowded. If you crowd the pan, the beef steams instead of frying, and you lose that crispy texture.
You’ll also need a sharp knife. Slicing flank steak against the grain requires a blade that can cut cleanly without tearing the meat. A dull knife will make the job difficult and result in chewy pieces. A cutting board is obvious, but make sure it’s stable so you don’t slip. For mixing the sauce, a small bowl and a whisk are all you need. If you don’t have a whisk, a fork works fine. Finally, tongs are helpful for flipping the beef quickly. I find that using tongs gives me better control than a spatula when dealing with thin strips of meat.
Preparation Method
Ready to cook? Let’s break this down into simple steps. Keep your mise en place ready, because this part moves fast.
- Prep the Beef (5 minutes): Take your flank steak out of the fridge. It’s easier to slice if it’s slightly chilled but not rock hard. Slice it thinly against the grain. This means you want to cut perpendicular to the direction of the muscle fibers. This step is crucial for tenderness. Place the strips in a bowl and sprinkle the cornstarch over them. Toss until every piece is lightly coated. You want a dusty, matte finish on the meat.
- Mix the Sauce (2 minutes): In a small bowl, whisk together the soy sauce, brown sugar, water, rice vinegar, and red pepper flakes. Stir until the brown sugar is mostly dissolved. Set this aside. You can smell the sweet, salty aroma already.
- Heat the Pan (2 minutes): Place your large skillet or wok over medium-high heat. Add the vegetable oil and let it heat up until it shimmers. You know it’s ready when you hold your hand above the pan and feel intense heat. Do not let it smoke, though.
- Fry the Beef (6-8 minutes): Add half of the beef to the pan in a single layer. Do not crowd the pan! If you add too much, the beef will steam. Let it sit undisturbed for about 1-2 minutes until the bottom is golden brown and crispy. Flip the pieces and cook for another minute. Remove the beef to a plate. Repeat with the remaining beef. You should have crispy, browned strips of beef.
- Sauté Aromatics (1 minute): Wipe out the pan if there are burnt bits, or just leave them for flavor. Add a tiny splash of oil if needed. Add the minced garlic, grated ginger, and the white parts of the green onions. Stir constantly for about 30-60 seconds. You want them fragrant but not browned. Burnt garlic tastes bitter.
- Combine and Glaze (2 minutes): Return all the crispy beef to the pan. Pour the sauce over the beef. Toss everything together vigorously. The sauce will bubble and thicken almost instantly. Cook for another minute until the sauce is glossy and coats every piece of beef. Taste it. If you want more salt, add a dash of soy sauce. If you want more heat, add more red pepper flakes.
- Serve (Immediate): Remove from heat. Garnish with the green parts of the green onions. Serve immediately over steamed jasmine rice.
Watch the sauce closely at the end. It thickens fast. If it gets too thick, add a teaspoon of water. If it’s too thin, let it cook for another 30 seconds. The goal is a glaze, not a soup.
Cooking Tips & Techniques
I’ve made plenty of mistakes in the kitchen, and some of them involved burnt garlic or soggy beef. Here is how to avoid those pitfalls. First, always slice against the grain. I can’t stress this enough. If you slice with the grain, your Mongolian beef will be tough and chewy, no matter how well you cook it. Second, don’t skip the cornstarch. It’s not just for thickening; it’s for texture. The cornstarch layer fries up and creates a crunch that holds up against the wet sauce. Without it, the beef just gets soft.
Another common mistake is overcrowding the pan. When you put too much beef in at once, the temperature of the pan drops. The beef releases moisture, and instead of frying, it boils in its own juices. This leads to gray, steamed meat. Cook in batches if you have to. It takes an extra two minutes, but the difference in quality is night and day. Also, keep your heat at medium-high. You want a good sear, but you don’t want to burn the sugar in the sauce. If the pan is too hot, the sauce will burn before the beef is coated. If it’s too low, the sauce won’t reduce properly.
For consistency, use a timer. The aromatics only take about 30 seconds to release their flavor. If you leave them in too long, they burn. I usually set a timer on my phone while the beef is frying so I don’t forget. Multitasking is key here. While the beef is cooking in batches, you can prep the next batch. This keeps the process smooth and ensures everything comes together hot and fresh.
Variations & Adaptations
One of the best things about this recipe is how adaptable it is. You can tweak it to fit your dietary needs or taste preferences. For a spicy version, add a tablespoon of chili garlic sauce or a diced fresh jalapeño when you sauté the aromatics. This gives it a kick that pairs well with the sweetness. If you want to add vegetables, broccoli florets are a classic addition. Steam them briefly before adding them to the pan at the end, so they stay crisp-tender. Bell peppers or snap peas also work well.
For a lighter option, you can air-fry the beef. Toss the cornstarch-coated beef with a little oil and air-fry at 400°F (200°C) for 8-10 minutes, shaking halfway through. It’s less oily than pan-frying, though it won’t get quite as crispy. For a gluten-free adaptation, simply swap regular soy sauce for tamari or coconut aminos. The flavor profile remains very similar. You can also use honey instead of brown sugar for a different floral sweetness, though brown sugar adds a nice molasses depth.
I once tried making this with chicken breast, and it was surprisingly good. Slice the chicken thinly and cook it the same way. It’s a great way to use up leftover chicken. For a vegetarian version, replace the beef with firm tofu or seitan. Press the tofu well to remove moisture, coat it in cornstarch, and fry until golden. It absorbs the sauce beautifully. These variations keep the recipe fresh and allow you to use what you have on hand.
Serving & Storage Suggestions
This dish is best served immediately while the beef is still crispy. Serve it over a bed of fluffy jasmine rice. The rice soaks up the extra sauce, which is always a win. I also like to serve it with a side of steamed broccoli or a simple cucumber salad to balance the richness. A cup of hot green tea or jasmine tea is a perfect beverage pairing to cut through the savory flavors.
If you have leftovers, store them in an airtight container in the refrigerator for up to 3 days. The beef will continue to absorb the sauce, so it might get softer. To reheat, use a skillet over medium heat with a splash of water to steam it back to life. Avoid the microwave if you can, as it tends to make the coating soggy. If you must use the microwave, do it in short bursts and let it sit for a minute afterward.
You can also freeze this dish, though the texture of the beef may change slightly upon thawing. Freeze in portions for easy weeknight dinners. When you’re ready to eat, thaw it in the fridge overnight and reheat gently. The flavors often meld and deepen after a day in the fridge, so leftovers can actually taste even better than day one. Just give it a good stir when you reheat it.
Nutritional Information & Benefits
While this isn’t a diet food, it does have some nutritional merits. Flank steak is a good source of protein and iron, which helps keep your energy levels up. The sauce is relatively low in calories compared to other Chinese takeout sauces, thanks to the balance of water and soy sauce. However, the brown sugar adds some carbohydrates, so be mindful of portion sizes if you are watching your sugar intake. Using lean cuts of beef and controlling the amount of oil can help keep the calorie count in check.
This dish is naturally low in fiber unless you add vegetables. Adding broccoli or peppers boosts the fiber content significantly, making it a more balanced meal. For those with gluten sensitivities, using tamari makes this dish safe to enjoy. It’s also dairy-free, which is a plus for many people. Overall, it’s a satisfying meal that provides substantial protein and flavor without being overly heavy. It’s a great way to enjoy a restaurant-style meal at home with better control over the ingredients.
Conclusion
Making the Best Ever Mongolian Beef at home is easier than you think. It’s quick, delicious, and uses ingredients you likely already have. I hope you try this recipe and find it to be a new favorite for your weekly dinner rotation. The combination of crispy beef and sticky sauce is just too good to resist. Feel free to adjust the spice level or add vegetables to suit your taste. Cooking is all about making it your own.
Once you make this, I’d love to hear how it turned out. Did you add extra chili flakes? Did you serve it with rice or noodles? Leave a comment below and let me know your thoughts. Share this recipe with friends who love Chinese food or pin it to your dinner inspiration board. Thanks for reading, and happy cooking! Enjoy every bite of this sweet and savory masterpiece.
Frequently Asked Questions
Can I use skirt steak instead of flank steak?
Yes, skirt steak works well too. Just make sure to trim any excess fat and silver skin before slicing. It has a slightly different texture but tastes just as good.
Why is my Mongolian beef soggy?
This usually happens if the pan is overcrowded or if the beef isn’t coated in cornstarch properly. Make sure to fry the beef in batches and keep the heat high to get that crispy texture.
How spicy is this recipe?
It’s mild by default, but you can adjust the heat by adding more red pepper flakes or chili garlic sauce. Start with half a teaspoon and add more to taste.
Can I make this in an air fryer?
Yes, you can air-fry the beef. Toss it with cornstarch and a little oil, then air fry at 400°F for 8-10 minutes. You’ll still need to make the sauce on the stovetop.
What is the best rice to serve with this?
Jasmine rice is the classic choice because it’s fragrant and slightly sticky, which pairs perfectly with the sauce. Short-grain rice also works well.
Pin This Recipe!
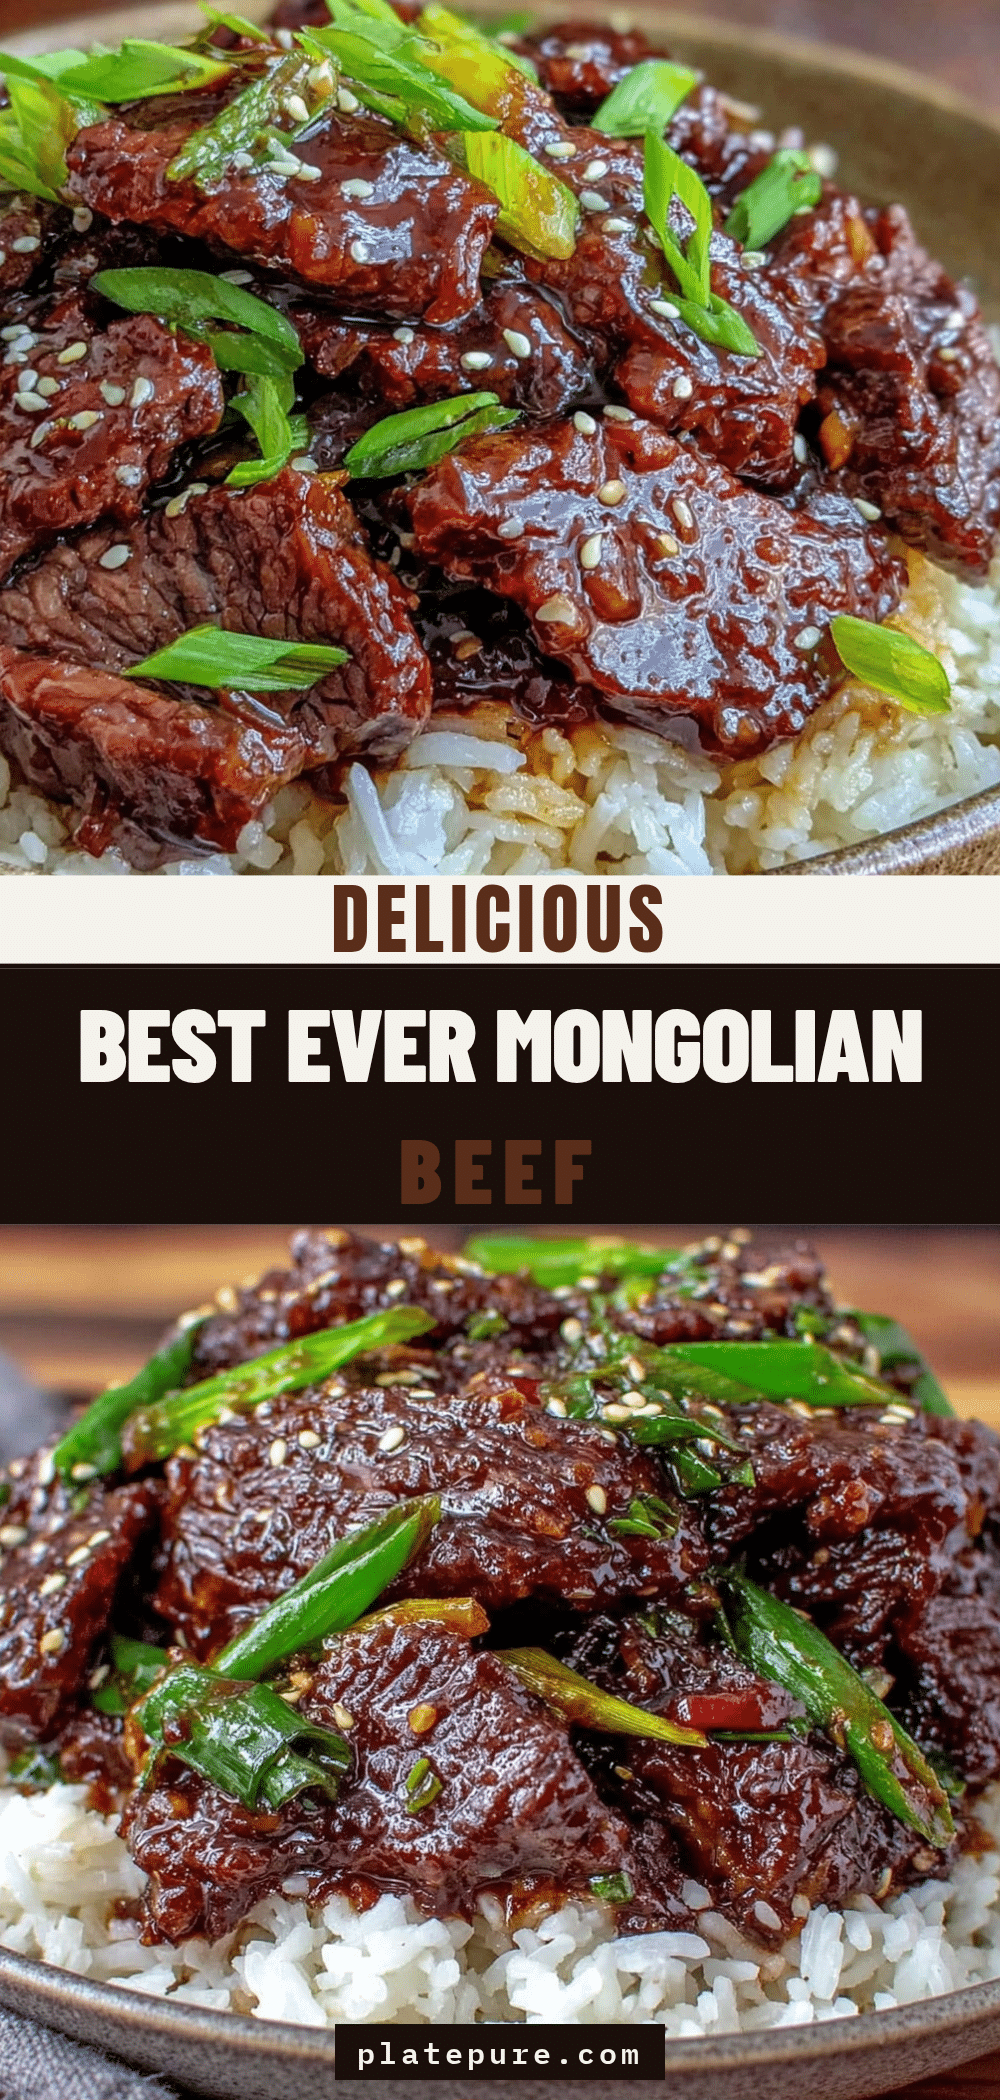
Best Ever Mongolian Beef: Easy 20-Minute Dinner
- Total Time: 20 minutes
- Yield: 4 servings 1x
Description
A quick and easy homemade version of classic Mongolian beef featuring crispy flank steak coated in a savory, sweet, and sticky soy-ginger sauce, ready in under 20 minutes.
Ingredients
- 1 pound flank steak, sliced thinly against the grain
- 2 tablespoons cornstarch
- 1 tablespoon vegetable oil
- ½ cup soy sauce
- ¼ cup packed brown sugar
- ½ cup water
- 1 tablespoon rice vinegar
- 4 cloves garlic, minced
- 1 tablespoon fresh ginger, grated
- 4 stalks green onions, chopped (whites and greens separated)
- ½ teaspoon red pepper flakes
Instructions
- Slice the flank steak thinly against the grain and place in a bowl. Sprinkle with cornstarch and toss until every piece is lightly coated.
- In a small bowl, whisk together soy sauce, brown sugar, water, rice vinegar, and red pepper flakes until the sugar is mostly dissolved. Set aside.
- Heat a large skillet or wok over medium-high heat. Add vegetable oil and heat until it shimmers.
- Add half of the beef to the pan in a single layer. Cook undisturbed for 1-2 minutes until golden brown and crispy, then flip and cook for another minute. Remove to a plate. Repeat with remaining beef.
- Add a tiny splash of oil if needed, then add minced garlic, grated ginger, and the white parts of the green onions. Stir constantly for 30-60 seconds until fragrant.
- Return all the crispy beef to the pan. Pour the sauce over the beef and toss vigorously. Cook for another minute until the sauce is glossy and coats the beef.
- Remove from heat, garnish with the green parts of the green onions, and serve immediately over steamed jasmine rice.
Notes
Slice beef against the grain for tenderness. Do not overcrowd the pan to ensure the beef fries rather than steams. If the sauce gets too thick, add a teaspoon of water. For a gluten-free version, use tamari or coconut aminos instead of regular soy sauce.
- Prep Time: 7 minutes
- Cook Time: 13 minutes
- Category: Main Course
- Cuisine: Chinese
Nutrition
- Serving Size: 1/4 of the recipe
- Calories: 450
- Sugar: 28
- Sodium: 1800
- Fat: 18
- Saturated Fat: 6
- Carbohydrates: 35
- Fiber: 1
- Protein: 32
Keywords: Mongolian Beef, Chinese Food, Quick Dinner, Beef Recipe, Stir Fry, Weeknight Dinner, Easy Recipe, 20 Minute Meals


