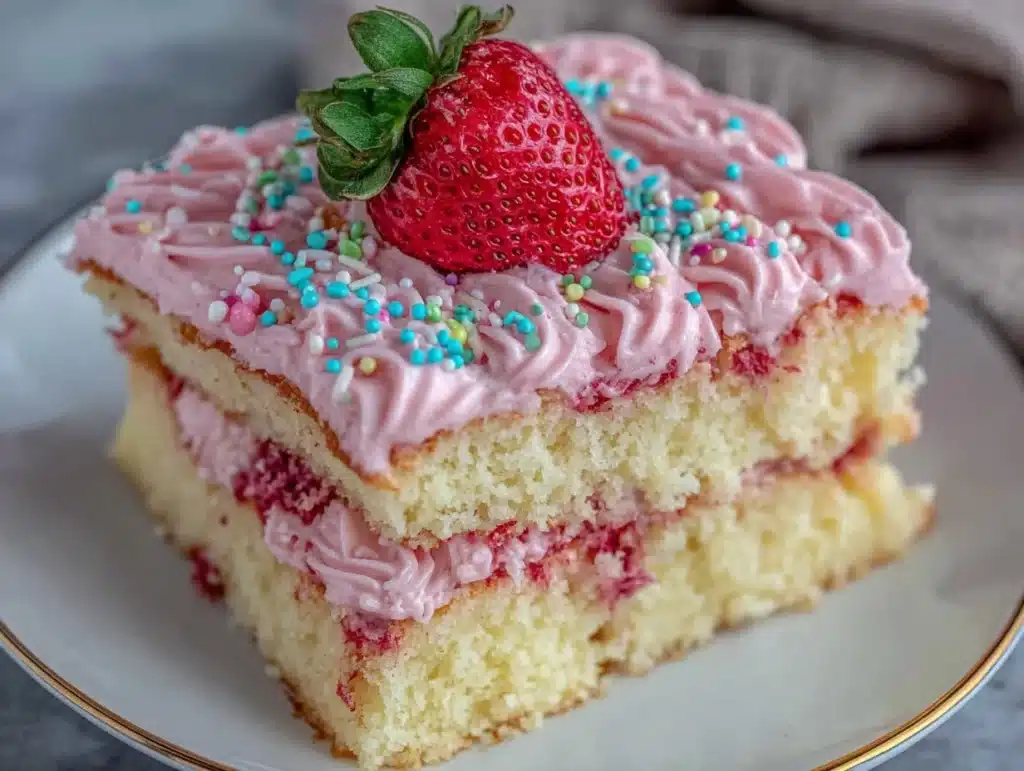
Let’s face it: most birthday cakes are dry, sweet, and completely forgettable. You know the type. It’s that sad, dense brick you get at the grocery store that tastes like cardboard and old sugar. I remember standing in front of a bakery display case as a kid, staring at a “moist” cake that looked more like a sponge than a celebration. It was a letdown, honestly. That memory stuck with me, and it’s exactly why I stopped buying store-bought cakes years ago. I wanted something that didn’t just sit heavy in your stomach, but actually woke up your palate.
This Ultimate Moist Birthday Cake is my answer to that childhood disappointment. It’s not just a recipe; it’s a vibe. I first tested this version during a chaotic Tuesday night when I needed to impress a last-minute guest who turned out to be a serious dessert snob. I was nervous, but I trusted the method. The result? Silence, followed by a second slice. That’s the power of proper technique and a finish that pops. Unlike heavy, butter-laden batters, this cake relies on a clever balance of acidity and fat to stay tender for days.
You might be wondering why this fits into my usual bold-flavor lineup. Here’s the thing: a cake isn’t complete without a kick. That’s where the “heat that finishes the dish” concept comes in. We’re talking about a hint of chili or a zesty citrus zest in the crumb that cuts through the sweetness. It’s subtle, but it changes everything. If you’ve ever tried my crispy BBQ side dishes, you know I love that bright, tangy finish. This cake brings that same energy to a classic celebration.
I’ve baked this over a dozen times to get the texture right. It’s reliable, it’s crowd-pleasing, and it’s honestly the best way to bring joy to any gathering. Whether you’re hosting a kids’ party or a sophisticated dinner, this cake delivers. It’s not just about being sweet; it’s about being memorable. Let’s get baking.
Why You’ll Love This Recipe
There’s a reason this recipe has become my go-to for every celebration, from birthdays to random Tuesday treat days. It’s not just about the flavor; it’s about the confidence you get when you pull it out of the oven. I’ve tested so many variations, and this one hits that perfect sweet spot between comfort and excitement. It’s the kind of bake that makes people close their eyes after the first bite, not because it’s heavy, but because it’s perfectly balanced.
- Unbelievably Moist: This isn’t just fluffy; it’s genuinely moist for days. The secret lies in using buttermilk and a touch of vinegar, which keeps the crumb tender even after it’s been sitting out for a few hours. No more dry crumbs stuck to the roof of your mouth.
- The Heat That Finishes the Dish: Most cakes are one-note sweet. This one has depth. A hint of cayenne or a splash of spicy syrup in the frosting adds a punch that wakes up your taste buds. It’s like the difference between a plain latte and a spiced chai—it adds warmth and complexity.
- Simple Ingredients: You don’t need fancy, hard-to-find items. I’m talking pantry staples like flour, sugar, eggs, and butter. If you have those, you can make this. It’s perfect for busy weeknights or when you realize you forgot to buy a cake for tomorrow’s party.
- Crowd-Pleaser Status: Kids love the sweetness, and adults appreciate the subtle spice and high-quality texture. It bridges the gap. I’ve served this at everything from elementary school parties to dinner parties with picky eaters, and it always disappears first.
- Party Ready: This cake holds up well. You can bake the layers a day ahead, wrap them, and frost them right before serving. It’s stress-free hosting at its finest. Plus, it looks stunning with its bright, vibrant frosting.
What makes this different from other “moist” cake recipes online is the attention to detail in the mixing process and the finishing touch. I don’t just mix everything together; I fold carefully to keep the air in. And that final zesty, spicy kick? It’s what makes you reach for another slice instead of just eating one and stopping. It’s comfort food, but with a twist that keeps it exciting.
What Ingredients You Will Need
This recipe relies on a few key players to create that signature moist texture and bright flavor profile. You don’t need a fancy grocery trip, but you do need to pick the right versions of these staples. The quality of your butter and the freshness of your leavening agents will make a big difference in the final rise and taste.
- All-Purpose Flour: 2 1/2 cups. This is the base. Don’t use cake flour unless you want a very different texture. All-purpose gives us that sturdy yet tender crumb. Sift it to remove lumps—it helps with a smooth batter.
- Granulated Sugar: 1 1/2 cups. Sugar isn’t just for sweetness; it retains moisture. Use standard white sugar. I prefer organic brands if I can find them, but regular works fine.
- Unsalted Butter: 1 cup (2 sticks), softened to room temperature. This is crucial. Cold butter won’t cream properly with the sugar, leading to a dense cake. Softened means it should yield to gentle pressure.
- Eggs: 4 large eggs, room temperature. Cold eggs can shock the butter and break the emulsion. Let them sit out for 30 minutes before you start. Large eggs provide the best structure.
- Buttermilk: 1 cup. This adds tang and tenderness. If you don’t have buttermilk, make a substitute by adding 1 tablespoon of white vinegar or lemon juice to a cup of milk and letting it sit for 10 minutes.
- Vanilla Extract: 2 teaspoons. Use real vanilla, not imitation. It makes a noticeable difference in the aroma and depth of flavor. Look for a dark, rich bottle.
- Baking Powder: 2 teaspoons. Ensure this is fresh. Old baking powder won’t give you the lift you need. Check the expiration date if you’re unsure.
- Baking Soda: 1/2 teaspoon. This reacts with the buttermilk to create bubbles. It works in tandem with the baking powder for a perfect rise.
- Salt: 1 teaspoon. Salt enhances all the other flavors. Don’t skip it. It balances the sweetness and brings out the vanilla.
- Cayenne Pepper or Chili Powder: 1/4 teaspoon. This is the secret weapon. It adds a subtle heat that complements the sweet frosting. Start with a pinch if you’re sensitive to spice.
- Citrus Zest (Optional): Zest of one lemon or orange. For extra brightness, add this to the batter. It pairs beautifully with the spicy kick.
For the frosting, you’ll need heavy cream, powdered sugar, vanilla, and your choice of heat element. I often use a chili-infused simple syrup or just a dash of hot sauce in the buttercream. It sounds wild, but it works. The dairy tames the heat, leaving just a warm, pleasant finish.
Equipment Needed
You don’t need a professional kitchen to make this cake, but having the right tools helps. A reliable electric mixer is your best friend here. Whether it’s a stand mixer or a hand mixer, you need something that can cream the butter and sugar properly. This step takes about 3-4 minutes, and doing it by hand is a workout you might not want to commit to.
I recommend using three 8-inch round cake pans. This size is standard and fits most home ovens evenly. Make sure they are light-colored; dark pans can over-brown the edges too quickly. If you only have 9-inch pans, you’ll need to adjust the baking time slightly, as the batter will be thinner. Line the bottoms with parchment paper for easy release. This saves you from digging cake out of the corners.
A digital kitchen scale is great for accuracy, especially with flour. Too much flour is the #1 cause of dry cake. If you don’t have a scale, use the spoon-and-level method. Don’t scoop directly from the bag, as that packs the flour down. A whisk is also essential for combining the dry ingredients evenly. A rubber spatula helps you fold in the eggs and buttermilk without deflating the batter. Keep it simple, keep it clean, and you’ll be fine.
Preparation Method
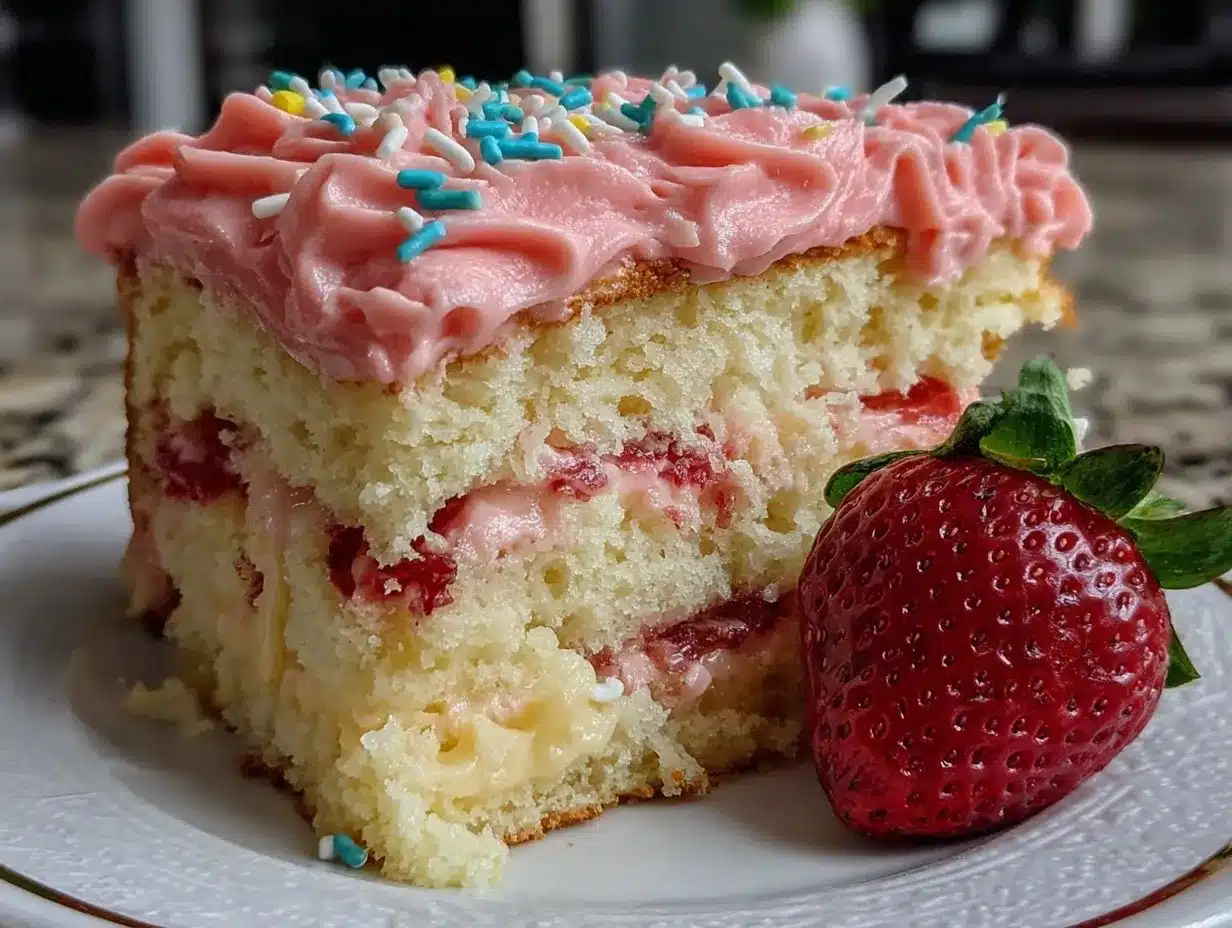
Let’s get into the nitty-gritty of making this cake. The process is straightforward, but precision matters. Follow these steps carefully for the best results.
- Prep Your Oven and Pans (5 minutes): Preheat your oven to 350°F (175°C). Grease your three 8-inch cake pans with butter or non-stick spray. Dust them with a little flour, tapping out the excess. Line the bottoms with parchment circles. This ensures your cakes don’t stick and you can get them out cleanly.
- Combine Dry Ingredients (2 minutes): In a medium bowl, whisk together the flour, baking powder, baking soda, salt, and cayenne pepper. Whisking aerates the flour and distributes the leavening agents evenly. This step prevents pockets of baking soda that can leave a bitter taste. Set this aside.
- Cream Butter and Sugar (4 minutes): In a large bowl, beat the softened butter and granulated sugar on medium-high speed. Beat for about 3-4 minutes until the mixture is light, fluffy, and pale yellow. This incorporates air, which is key for a tender crumb. Scrape down the sides of the bowl with a spatula to ensure everything is mixed.
- Add Eggs and Vanilla (3 minutes): Add the eggs one at a time, beating well after each addition. Add the vanilla extract here. The mixture might look slightly curdled at first; that’s normal. Keep mixing until it comes back together. If it looks too broken, add a spoonful of the flour mixture to stabilize it.
- Alternate Wet and Dry (4 minutes): Reduce the mixer speed to low. Add the dry ingredients in three parts, alternating with the buttermilk in two parts. Start and end with the dry ingredients. Mix just until combined. Do not overmix! Overmixing develops gluten, which makes the cake tough. The batter should be smooth but not stiff.
- Divide and Bake (25-30 minutes): Divide the batter evenly among the three prepared pans. Use a scale to ensure each pan has the same amount for even baking. Bake for 25-30 minutes. Test for doneness by inserting a toothpick into the center. It should come out clean or with a few moist crumbs, but no wet batter. The cakes should spring back when lightly touched.
- Cool Completely (1 hour): Let the cakes cool in the pans for 10 minutes. Then, turn them out onto a wire rack to cool completely. This is critical. If you try to frost a warm cake, the frosting will melt and slide off. Patience pays off here.
While the cakes cool, you can prepare your frosting. Make sure your bowl and beaters are clean and dry for whipping the cream. Once the cakes are cool to the touch, you’re ready to assemble. Level the tops if they have domes, using a serrated knife. This gives you a flat surface for stacking.
Cooking Tips & Techniques
I’ve made my fair share of baking mistakes, and some of them were pretty costly. One time, I rushed the cooling process and ended up with a soggy, melted mess. Don’t make that mistake. Let the cakes cool completely. Another common error is overmixing the batter. I used to mix until it looked perfect, but that meant dense cakes. Now, I stop as soon as the flour disappears. It’s a small change, but it makes a huge difference in texture.
Room temperature ingredients are non-negotiable. I know it’s tempting to grab cold eggs from the fridge, but it ruins the emulsion. If you forget, you can warm them by placing them in a bowl of warm water for 10 minutes. Similarly, soft butter is essential. If it’s too hard, the sugar won’t incorporate. If it’s melted, the cake will be greasy. Aim for that perfect softness.
For the spice element, start small. The heat should be a background note, not the main event. If you add too much cayenne, it will overpower the vanilla. You can always add more spice to the frosting later. Also, consider adding a citrus zest to the batter. It adds a brightness that cuts through the richness. I love using orange zest with the chili kick—it’s a classic combo for a reason.
When baking, rotate your pans halfway through the time. Ovens often have hot spots, and rotating ensures even browning. If one cake is done before the others, take it out early. Don’t let it sit in the hot pan. And remember, oven temperatures can vary. Use your toothpick test, not just the timer.
Variations & Adaptations
One of the best things about this recipe is how adaptable it is. You can tweak it to fit your taste or dietary needs without losing the core moisture and flavor.
Gluten-Free Option: You can substitute the all-purpose flour with a 1:1 gluten-free baking blend. Look for one that contains xanthan gum. If your blend doesn’t have it, add 1/2 teaspoon to help with structure. The texture might be slightly denser, but it will still be moist.
Dairy-Free Twist: Swap the butter for a high-quality vegan butter stick. Use almond milk or oat milk with vinegar for the buttermilk substitute. The flavor will be slightly different, but the texture remains tender. I’ve tried this for friends with allergies, and they loved it.
Flavor Variations: Instead of cayenne, try adding a teaspoon of cardamom or a pinch of nutmeg for a warm, spiced flavor. Or, go bold with a chipotle powder for a smoky heat. I once made a version with chipotle and honey in the frosting, and it was a hit at a dinner party.
Single Layer Cake: If you don’t want to bake three layers, divide the batter into two 9-inch pans. The baking time will be slightly longer, about 30-35 minutes. This makes a great two-layer cake for smaller gatherings.
Mini Cupcakes: Fill cupcake liners 2/3 full and bake for 18-20 minutes. This is perfect for parties where you want individual portions. The frosting ratio remains the same, but you’ll need less per cupcake.
Serving & Storage Suggestions
This cake is best served at room temperature. Cold cake tastes less flavorful, so take it out of the fridge 30 minutes before serving. For presentation, dust the top with powdered sugar or add fresh berries. The bright colors look stunning against the white frosting.
Store leftover cake in an airtight container at room temperature for up to 3 days. If your kitchen is very hot, refrigerate it. Let it come to room temperature before eating. For longer storage, freeze the unfrosted layers wrapped tightly in plastic wrap and foil. They’ll keep for up to 3 months. Thaw overnight in the fridge before frosting.
Reheating isn’t really necessary for cake, but if you prefer a warm slice, microwave it for 10-15 seconds. It brings back that fresh-baked moisture. The flavors develop over time, so day-old cake is often better than day-one cake. The spices have time to meld with the vanilla.
Nutritional Information & Benefits
While this cake is a treat, it’s made with quality ingredients that offer some benefits. Butter provides fat-soluble vitamins, and eggs are a great source of protein. The buttermilk adds calcium and probiotics, which are good for digestion. The spice element, like cayenne, can boost metabolism slightly and add antioxidants.
Each slice contains approximately 450 calories, with 20g of fat and 60g of carbohydrates. It’s not a low-calorie option, but it’s a balanced indulgence. The spice helps curb excessive sweetness cravings, so you might find yourself eating less than you would with a plain sugary cake. It’s about enjoying the moment without feeling guilty.
For those with dietary restrictions, the gluten-free and dairy-free variations make it accessible to more people. Always check labels for allergens, especially if buying pre-made blends. Moderation is key, but this cake is worth the occasional splurge.
Conclusion
This Ultimate Moist Birthday Cake is more than just a dessert; it’s a celebration of flavor and texture. It’s the kind of recipe that brings people together, whether it’s a small family gathering or a big party. The moisture, the spice, and the bright finish make it stand out from the rest. I hope you try it and find it as joyful to make as it is to eat.
Feel free to customize it to your liking. Add more spice, less sugar, or different fruits. Make it your own. And if you do, I’d love to hear about it. Leave a comment below with your variations or just tell me how it turned out. Share this recipe with a friend who needs a win in the kitchen. Happy baking!
FAQs
Can I make this cake ahead of time?
Yes! You can bake the layers up to 3 days in advance. Wrap them tightly in plastic wrap and store them at room temperature. Frost them the day you plan to serve them for the best texture.
Why is my cake dry?
Dry cake usually comes from overbaking or too much flour. Make sure you measure your flour correctly using the spoon-and-level method. Also, check your oven temperature with a thermometer, as ovens can be inaccurate.
Can I use chocolate chips in this cake?
Absolutely. Fold 1/2 cup of chocolate chips into the batter before baking. They add nice pockets of chocolate that pair well with the spicy frosting.
How do I make the frosting spicier?
Add more cayenne pepper or a dash of hot sauce to the buttercream. Start with a pinch and taste as you go. You can also infuse the cream with chili flakes before whipping.
What kind of frosting goes best with this cake?
Vanilla buttercream is classic, but a cream cheese frosting adds tang that complements the spice. Whipped cream frosting is lighter and lets the cake flavor shine. Any of these work well.
Pin This Recipe!
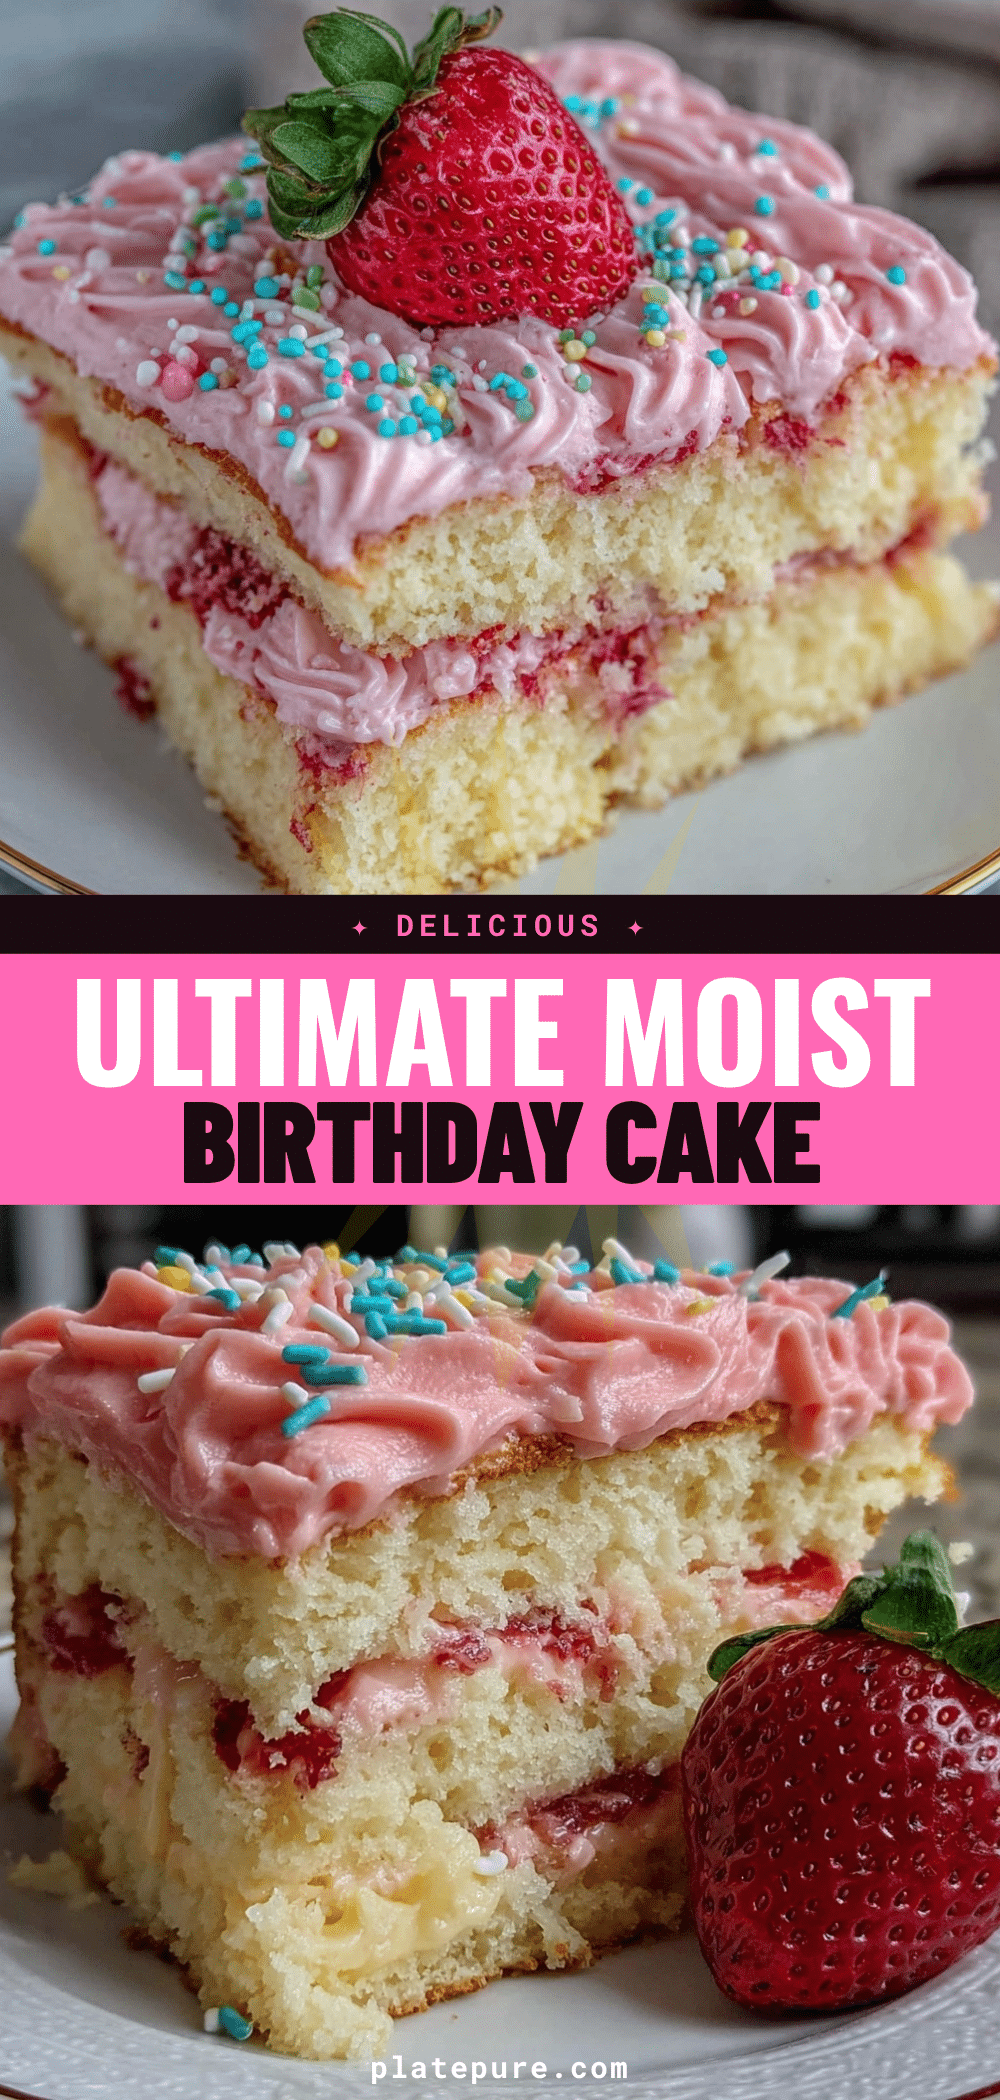

Ultimate Moist Birthday Cake: The Heat That Finishes The Dish
- Total Time: 50 minutes
- Yield: 12 servings 1x
Description
A rich, incredibly moist birthday cake that balances sweetness with a subtle kick of cayenne or chili, ensuring a tender crumb and complex flavor profile.
Ingredients
- 2 1/2 cups all-purpose flour
- 1 1/2 cups granulated sugar
- 1 cup unsalted butter, softened to room temperature
- 4 large eggs, room temperature
- 1 cup buttermilk
- 2 teaspoons vanilla extract
- 2 teaspoons baking powder
- 1/2 teaspoon baking soda
- 1 teaspoon salt
- 1/4 teaspoon cayenne pepper or chili powder
- Zest of one lemon or orange (optional)
- Heavy cream, powdered sugar, and vanilla for frosting
- Chili-infused simple syrup or hot sauce for frosting (optional)
Instructions
- Preheat oven to 350°F (175°C). Grease three 8-inch cake pans, dust with flour, and line bottoms with parchment paper.
- In a medium bowl, whisk together flour, baking powder, baking soda, salt, and cayenne pepper.
- In a large bowl, beat softened butter and granulated sugar on medium-high speed for 3-4 minutes until light and fluffy.
- Add eggs one at a time, beating well after each addition, then add vanilla extract.
- Reduce mixer speed to low. Add dry ingredients in three parts, alternating with buttermilk in two parts, starting and ending with dry ingredients. Mix just until combined.
- Divide batter evenly among prepared pans.
- Bake for 25-30 minutes, or until a toothpick inserted into the center comes out clean.
- Let cakes cool in pans for 10 minutes, then turn out onto a wire rack to cool completely.
- Level tops if necessary and frost with desired frosting (e.g., vanilla buttercream with a spicy kick) when cakes are completely cool.
Notes
Ensure all ingredients are at room temperature for best emulsion. Do not overmix the batter to avoid a tough texture. The spice should be subtle; start with a pinch of cayenne. Cakes can be baked a day ahead and stored wrapped at room temperature.
- Prep Time: 20 minutes
- Cook Time: 30 minutes
- Category: Dessert
- Cuisine: American
Nutrition
- Serving Size: 1 slice
- Calories: 450
- Sugar: 45
- Sodium: 350
- Fat: 20
- Saturated Fat: 12
- Carbohydrates: 60
- Fiber: 1
- Protein: 6
Keywords: birthday cake, moist cake, spicy cake, cayenne cake, homemade cake, celebration dessert, easy baking


