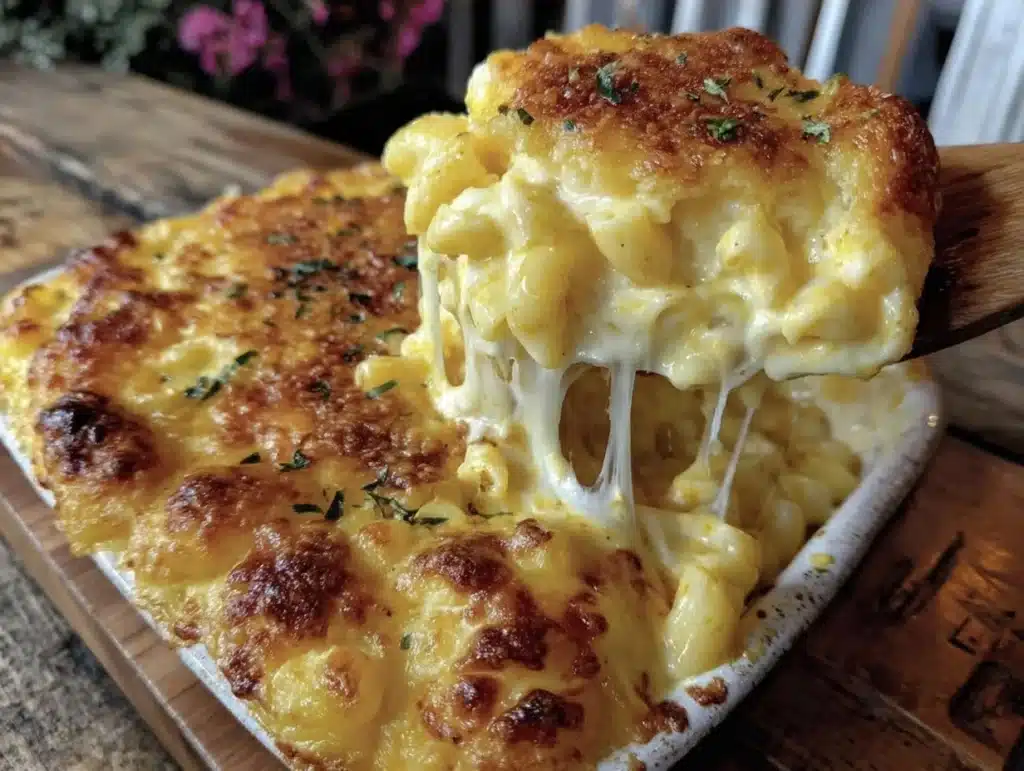
There is a specific kind of magic that happens when cheese bubbles, browns, and finally gives way to a creamy, gooey center. You know that feeling? It’s not just dinner; it’s a hug in a bowl. I remember the first time I made this baked mac n cheese during a particularly gray November week. I was craving something that felt like comfort but tasted like celebration. I wanted rid of the bland, boxed versions that taste like salt and regret. Instead, I wanted brightness. I wanted a finish that woke up your palate.
This recipe changed my Sunday routine forever. It started as a simple experiment with sharp cheddar and a splash of white wine, but it evolved into something much more vibrant. Honestly, the secret isn’t just the pasta; it’s the zesty finish. Most people think mac and cheese is all about heaviness. They are wrong. The best versions have a punch of acidity that cuts through the rich fat of the cheese sauce. It keeps every bite from feeling like a brick.
I’ve tested this baked mac n cheese recipe over a dozen times. I’ve swapped cheeses, changed pastas, and even tried adding spices. But the core remains the same: creamy, rich, and finished with a tangy kick. Whether you are feeding a picky toddler or hosting a dinner party, this dish delivers. It’s reliable, delicious, and surprisingly easy to make from scratch. Plus, it pairs beautifully with lighter sides like my spicy Asian cucumber salad to balance out the meal. Let’s face it, you deserve a pasta dish that doesn’t leave you feeling sluggish an hour later.
Why You’ll Love This Recipe
This isn’t just another white sauce on noodles. It’s a carefully balanced dish that respects both your taste buds and your time. I’ve spent years perfecting this baked mac n cheese because I believe comfort food should be exciting, not boring. Here is why this version stands out in the crowded world of pasta dishes:
- Quick & Easy: The sauce comes together in under 20 minutes. You aren’t making a complicated roux that lumps up if you look at it wrong. It’s smooth, fast, and forgiving.
- Simple Ingredients: You likely have most of this in your kitchen already. No obscure spices or hard-to-find cheeses. Just good, solid staples that you trust.
- Perfect for Game Day: This is the ultimate crowd-pleaser for football Sundays or tailgates. It travels well and stays warm. It’s also great alongside my crispy oven baked chicken wings for a full feast.
- Crowd-Pleaser: Kids love the cheese, adults love the flavor depth. It’s rare to find a dish that satisfies both generations without compromise.
- Unbelievably Delicious: The texture is next-level. Creamy but not heavy, rich but with a bright finish that makes you want another spoonful.
- The Zesty Finish: What makes this different is the finishing touch. A touch of lemon zest or a dash of hot sauce in the sauce elevates the entire dish. It’s not just good; it’s memorable.
This recipe is the kind that makes you close your eyes after the first bite. It’s comfort food reimagined—healthier in spirit, faster in prep, but with the same soul-soothing satisfaction. It’s perfect for impressing guests without stress, or turning a simple Tuesday meal into something special. You’ll find yourself making it again and again, always tweaking it slightly to keep it fresh.
What Ingredients You Will Need
This recipe uses simple, wholesome ingredients to deliver bold flavor and satisfying texture without the fuss. The key is quality over quantity. When you make cheese sauce from scratch, the difference in taste is night and day compared to powder packets. I recommend using block cheese rather than pre-shredded, as pre-shredded often contains anti-caking agents that prevent smooth melting.
- Elbow Macaroni: 1 pound of sturdy pasta. Elbows hold the sauce well. You can use cavatappi for a fun twist.
- Sharp Cheddar Cheese: 2 cups, freshly grated. Sharp cheddar provides the necessary punch. Mild cheddar is too bland for this zesty profile.
- Gruyère Cheese: 1 cup, grated. This adds a nutty, sophisticated depth that balances the sharp cheddar.
- Unsalted Butter: 4 tablespoons. Room temperature is best for melting into the roux smoothly.
- All-Purpose Flour: 1/4 cup. This thickens the sauce. Don’t skip it, or you’ll have cheese soup.
- Whole Milk: 2 cups. Cold milk works best to prevent lumps when adding to the hot roux.
- Heavy Cream: 1/2 cup. Adds richness and helps create that luxurious, velvety texture.
- Dijon Mustard: 1 teaspoon. This is the secret weapon. It adds tang without making the dish taste like mustard.
- Garlic Powder: 1/2 teaspoon. For a subtle savory base note.
- Smoked Paprika: 1/2 teaspoon. Adds a hint of warmth and color.
- Sea Salt and Black Pepper: To taste. Always season in layers.
- Breadcrumbs: 1 cup, panko style. Panko gives you a superior crunch compared to regular breadcrumbs.
- Melted Butter: 2 tablespoons. For tossing with the breadcrumbs to ensure they brown evenly.
- Lemon Zest: 1 teaspoon. The final brightness that ties the richness together.
I personally prefer cheesy jalapeno popper bites for an appetizer, but for the main event, nothing beats this classic with a twist. Look for firm, small-curd cheddar for the best melt. If you are dairy-free, you can substitute the milk and cream with oat milk and use a high-quality vegan cheese blend, though the texture will differ slightly.
Equipment Needed
You don’t need a fancy kitchen to make this, but having the right tools helps. A large pot is essential for boiling the pasta. I use a 6-quart stockpot because it prevents boiling over and gives the pasta room to move. A medium saucepan is needed for the cheese sauce. A non-stick or well-seasoned cast iron skillet works best here to prevent sticking.
A box grater is your best friend for the cheese. Grating your own cheese ensures it melts evenly. Pre-shredded cheese is a no-go for this level of creaminess. A 9×13 inch baking dish is standard for this recipe. Glass dishes heat evenly, but ceramic retains heat better for serving. I also recommend a wooden spoon or silicone spatula for stirring the sauce. It’s gentle on the pan and scrapes the bottom effectively.
For the topping, a small bowl and fork are enough to mix the breadcrumbs and butter. If you want extra crunch, a food processor can pulse the breadcrumbs to a finer texture, but hand-mixing is faster. I’ve found that a cheap, sturdy whisk is better than an expensive one for the roux. It breaks up lumps quickly. Keep your equipment simple and clean. A clean pan makes a cleaner flavor. If you are making this for a crowd, consider using two smaller baking dishes. They cook faster and stay hotter longer.
How Do I Prevent Lumps in My Cheese Sauce?
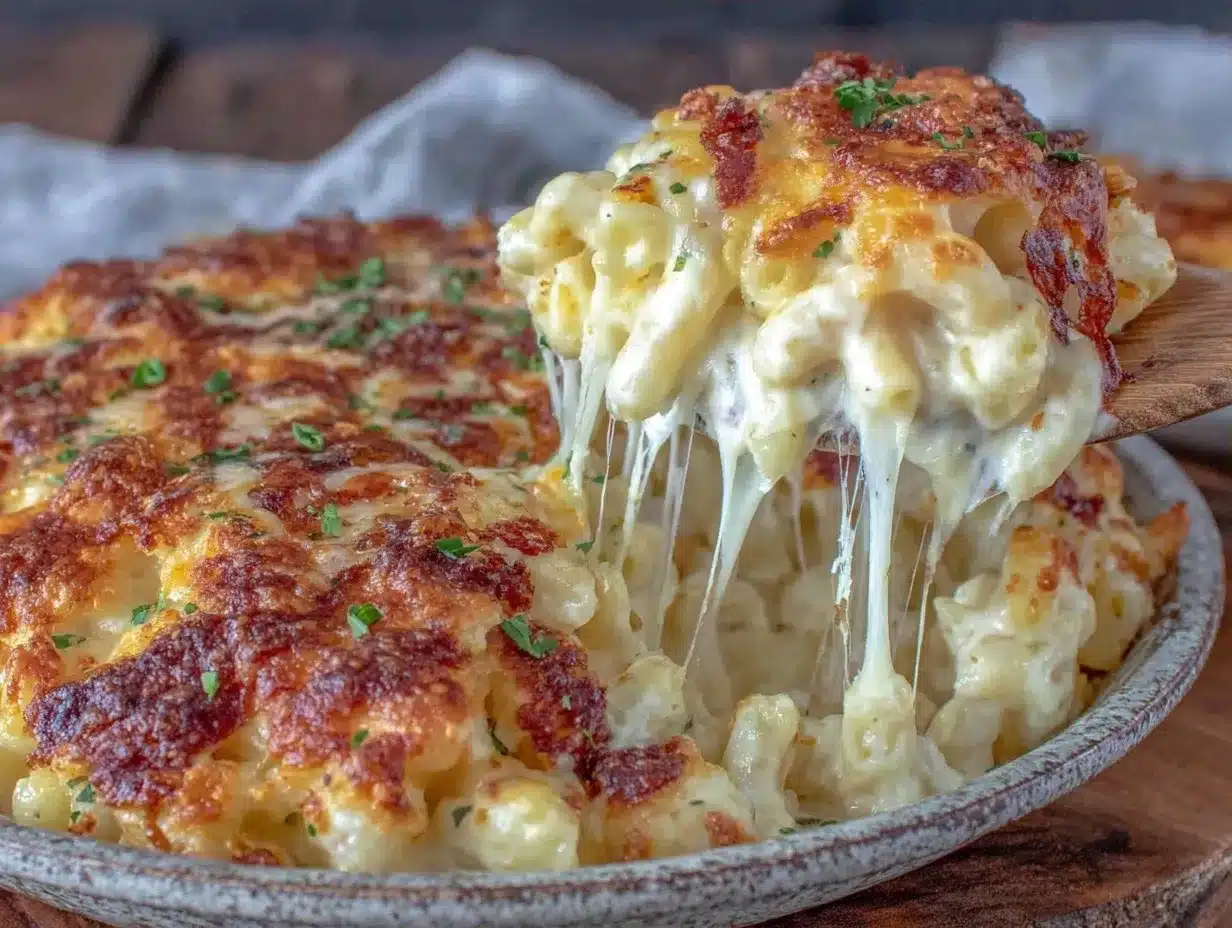
Whisk the flour and butter constantly while adding the milk slowly. Keep the heat medium-low. If lumps form, strain the sauce through a fine-mesh sieve before adding the cheese.
Can I Use Gluten-Free Pasta?
Yes, but cook it slightly less than package directions. Gluten-free pasta can get mushy. Rinse it briefly after draining to stop the cooking process.
What Type of Cheese Melts Best?
Aged cheddar and Gruyère are excellent. Avoid pre-shredded cheese as it contains cornstarch which can make the sauce grainy. Always grate your own.
How Do I Make the Topping Crunchier?
Toss the breadcrumbs with melted butter and bake them separately for 5 minutes before sprinkling on top. This ensures they stay crisp under the sauce.
Can I Freeze This Dish?
It’s best eaten fresh. Freezing can change the texture of the cheese sauce, making it slightly grainy upon reheating. If you must, freeze before baking and thaw overnight.
Preparation Method
- Preheat and Prep: Preheat your oven to 375°F (190°C). Bring a large pot of salted water to a boil. The water should taste like the sea. This seasons the pasta from the inside out.
- Boil the Pasta: Add the elbow macaroni to the boiling water. Cook for 1-2 minutes less than the package directions. You want it al dente because it will cook more in the oven. Drain the pasta and rinse with cool water to stop the cooking. Toss with a tiny bit of oil to prevent sticking.
- Make the Roux: In a medium saucepan, melt the butter over medium heat. Once foamy, whisk in the flour. Cook for 1-2 minutes, stirring constantly, until it smells slightly nutty. Do not let it brown. This cooks out the raw flour taste.
- Add Dairy: Gradually whisk in the cold milk and heavy cream. Keep whisking to prevent lumps. The mixture will thicken quickly. Simmer for 3-5 minutes until it coats the back of a spoon. This is your béchamel base.
- Season the Base: Remove the pan from heat. Stir in the Dijon mustard, garlic powder, smoked paprika, salt, and pepper. Taste it now. It should be seasoned well because the pasta and cheese will dilute the flavor slightly.
- Melt the Cheese: Gradually add the grated cheddar and Gruyère, a handful at a time. Stir until melted and smooth. Do not boil the sauce after adding cheese, or it may break. Keep it warm but not hot.
- Combine: Add the cooked pasta to the cheese sauce. Stir gently to coat every noodle. The mixture should be thick and glossy. If it’s too thick, add a splash of milk.
- Prepare Topping: In a small bowl, mix the panko breadcrumbs with melted butter and a pinch of paprika. This creates the crunchy crown.
- Assemble: Pour the pasta into your prepared 9×13 baking dish. Spread it evenly. Sprinkle the breadcrumb mixture over the top. Press it down slightly so it sticks.
- Bake: Bake for 20-25 minutes until the topping is golden brown and the sauce is bubbling. Let it rest for 5 minutes before serving. This allows the sauce to set slightly for easier scooping.
Cooking Tips & Techniques
The biggest mistake people make is using high heat for the cheese sauce. Low and slow is the rule. High heat causes the proteins in the cheese to tighten up, squeezing out fat and creating a greasy, grainy mess. Keep the heat medium-low when melting cheese.
Another common error is overcooking the pasta. Since it bakes in the oven, start with al dente pasta. If you boil it until soft, it will turn into mush in the dish. Undercooking by two minutes is your friend here.
I once tried adding the cheese all at once. Big mistake. It clumped and didn’t melt evenly. Add it gradually, stirring constantly. This ensures a smooth, uniform texture. Also, taste your sauce before adding the pasta. It should taste slightly too salty because the pasta will absorb some of the seasoning.
Multitasking is key. While the pasta boils, start the roux. While the roux simmers, grate your cheese. This makes the process feel faster. Keep your mise en place ready. Having everything measured and ready prevents panic.
For consistency, use a kitchen thermometer for the sauce. Aim for 160°F (70°C) before adding cheese. This ensures safety and optimal melting. Don’t rush the resting time. Letting the dish sit for 5 minutes allows the sauce to thicken slightly, making it easier to serve without sliding off the spoon.
Variations & Adaptations
This recipe is a canvas for creativity. Here are a few ways to tweak it:
- Spicy Kick: Add 1/2 teaspoon of cayenne pepper or a dash of hot sauce to the sauce. This pairs well with the zesty theme. It adds heat without overwhelming the cheese.
- Vegetable Boost: Stir in sautéed broccoli florets or caramelized onions. This adds texture and nutrition. Broccoli is a classic pairing with cheese.
- Protein Power: Add cooked bacon bits or shredded chicken. This turns it into a hearty main dish. Bacon adds a smoky crunch that complements the breadcrumbs.
- Dairy-Free Option: Use oat milk and vegan cheese shreds. Look for brands that melt well, like Daiya or Violife. The texture will be different but still delicious.
- Gluten-Free: Use gluten-free elbow pasta and almond flour for the roux. Ensure your breadcrumbs are gluten-free as well.
I often try adding a splash of white wine to the roux for a sophisticated flavor. It adds acidity and depth. If you are serving this with a one skillet cowboy stir fry, the rich mac and cheese provides a nice contrast to the savory stir fry.
Serving & Storage Suggestions
Serve this baked mac n cheese warm. It is best enjoyed straight from the oven when the cheese is still gooey. Pair it with a crisp green salad or roasted vegetables to cut the richness. A glass of crisp white wine or a classic southern sweet tea with a lemon twist works wonderfully.
Store leftovers in an airtight container in the refrigerator for up to 4 days. The sauce will thicken in the fridge. To reheat, add a splash of milk and microwave in intervals, stirring in between. This restores the creamy texture. For a crispier topping, reheat in the oven at 350°F for 15 minutes.
Flavors develop over time. The second day, the pasta absorbs more sauce, making it even creamier. Some people prefer it cold, straight from the fridge. It’s a different experience but still tasty. Avoid freezing if possible, as the texture changes. If you must freeze, freeze the unbaked dish for best results.
Nutritional Information & Benefits
This baked mac n cheese is rich in calcium and protein from the cheese and milk. It provides energy from the carbohydrates in the pasta. While it is indulgent, it is balanced with a touch of acid from the mustard and lemon zest, which aids digestion.
Each serving contains approximately 450 calories, 25g of fat, 40g of carbohydrates, and 18g of protein. These values vary based on specific cheese brands and pasta types. It is not low-carb or keto-friendly in its standard form. However, using cauliflower rice or zucchini noodles can reduce carbs significantly.
For those with dairy sensitivities, the vegan adaptations are a great option. Always check labels for allergens. This recipe is a comfort treat, best enjoyed in moderation. It’s a great way to use up leftover cheese and bread crumbs, reducing food waste.
Conclusion
This baked mac n cheese is more than just a side dish. It’s a celebration of simple ingredients transformed into something extraordinary. The creamy sauce, the crunchy topping, and the zesty finish make it a standout. I love this recipe because it brings people together. It’s nostalgic yet fresh, familiar yet exciting.
Don’t be afraid to experiment with the spices and cheeses. Make it your own. Add your favorite herbs or swap the pasta shape. The base recipe is flexible and forgiving. I hope this recipe becomes a staple in your kitchen, just as it has in mine.
Please share your creations with me! Tag me on social media or leave a comment below. I love seeing how you adapt the recipe. Let’s keep the conversation going about the best ways to enjoy comfort food. Happy cooking!
Frequently Asked Questions
Can I make this recipe ahead of time?
Yes, you can assemble the dish and refrigerate it for up to 24 hours before baking. Add 10 minutes to the baking time if cooking from cold.
Why is my cheese sauce grainy?
This usually happens if the heat was too high or if pre-shredded cheese was used. Always grate your own cheese and keep the heat low when melting.
What is the best pasta shape for this?
Elbows are classic, but cavatappi, shells, or rigatoni also work well. They hold the sauce in their curves effectively.
How do I make the topping extra crispy?
Toss the breadcrumbs in melted butter and bake them separately for 5 minutes before sprinkling on top. This prevents them from getting soggy.
Can I use milk instead of heavy cream?
You can use whole milk, but the sauce will be less rich and creamy. The heavy cream adds necessary body to the sauce.
Pin This Recipe!
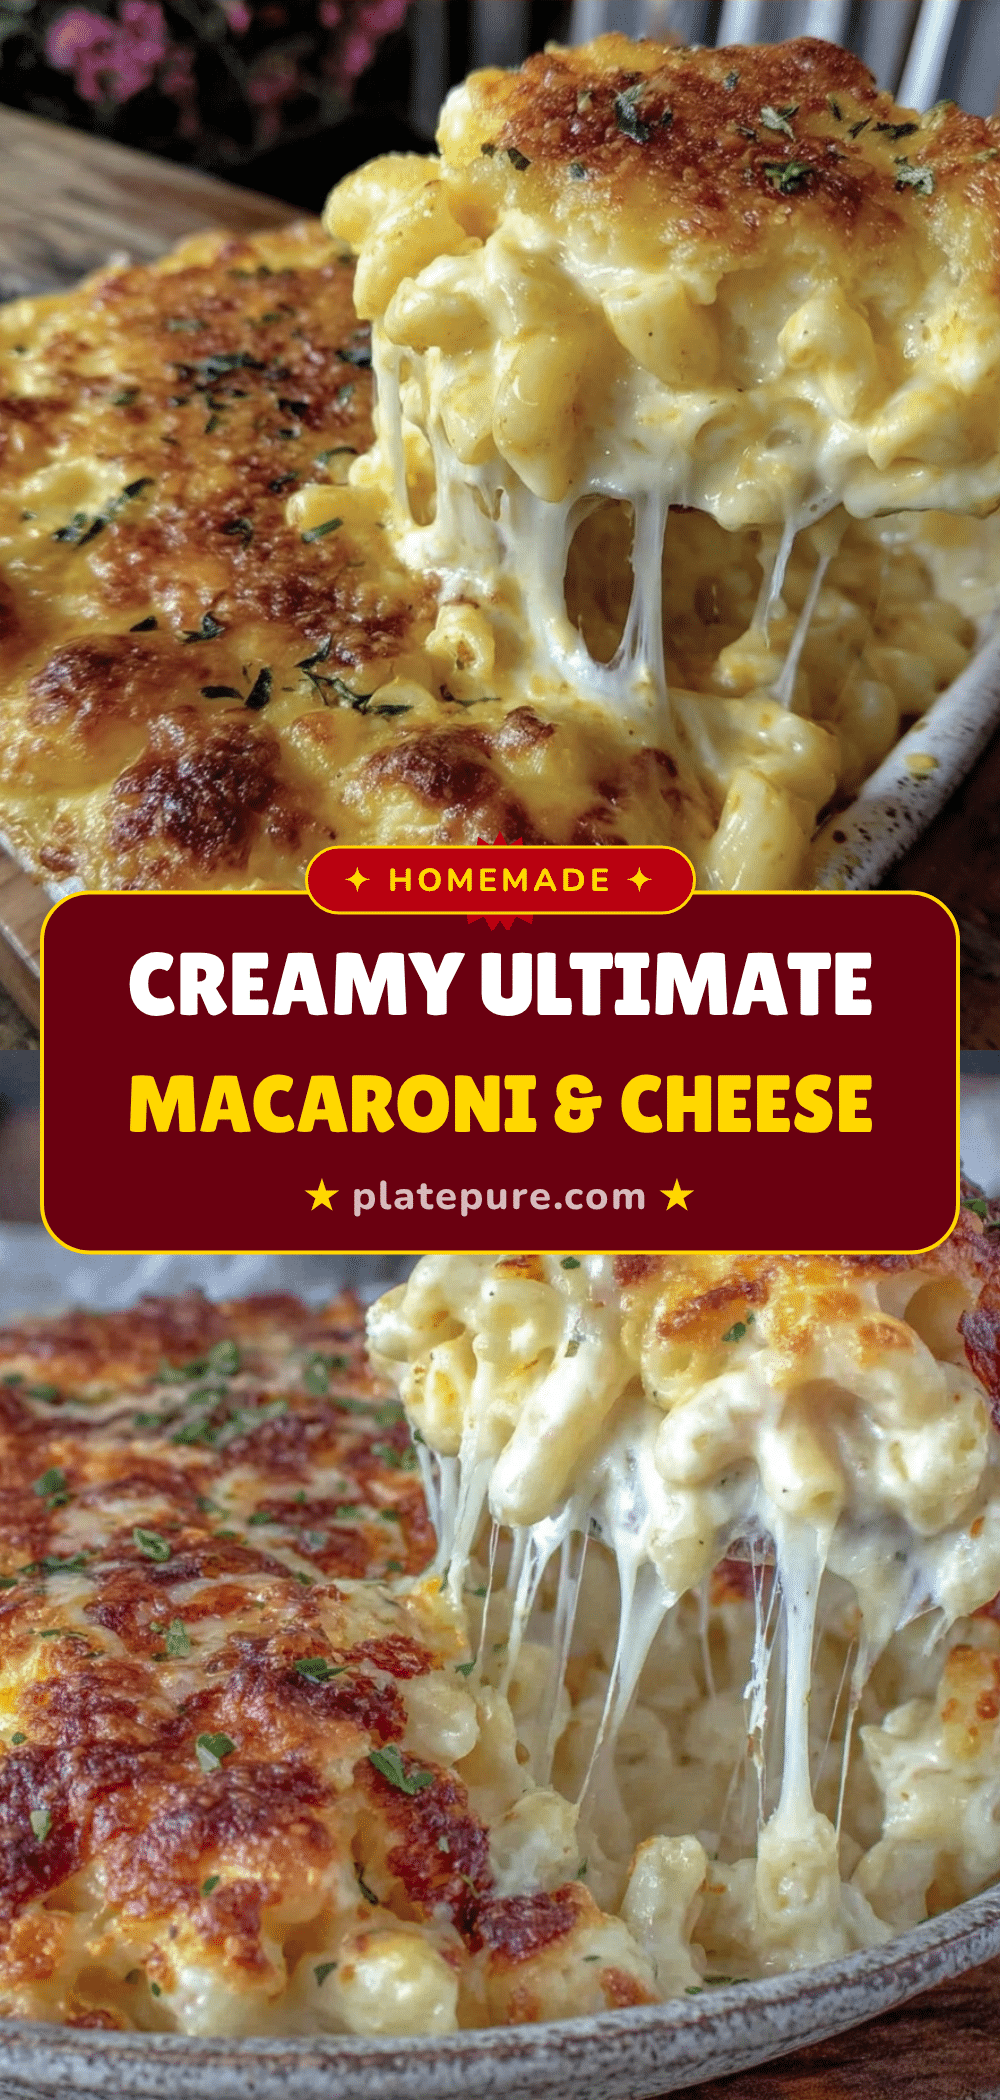

Baked Mac N Cheese: Creamy Zesty Finish
- Total Time: 45 minutes
- Yield: 6 servings 1x
Description
A creamy, rich baked macaroni and cheese with a zesty finish, featuring a smooth homemade cheese sauce and a crunchy panko topping.
Ingredients
- 1 pound elbow macaroni
- 2 cups sharp cheddar cheese, freshly grated
- 1 cup Gruyère cheese, grated
- 4 tablespoons unsalted butter, room temperature
- 1/4 cup all-purpose flour
- 2 cups whole milk, cold
- 1/2 cup heavy cream
- 1 teaspoon Dijon mustard
- 1/2 teaspoon garlic powder
- 1/2 teaspoon smoked paprika
- Sea salt and black pepper, to taste
- 1 cup panko breadcrumbs
- 2 tablespoons melted butter
- 1 teaspoon lemon zest
Instructions
- Preheat oven to 375°F (190°C). Bring a large pot of salted water to a boil.
- Cook elbow macaroni for 1-2 minutes less than package directions until al dente. Drain and rinse with cool water. Toss with a tiny bit of oil to prevent sticking.
- In a medium saucepan, melt 4 tablespoons butter over medium heat. Whisk in flour and cook for 1-2 minutes until slightly nutty, without browning.
- Gradually whisk in cold milk and heavy cream. Whisk constantly to prevent lumps. Simmer for 3-5 minutes until the mixture coats the back of a spoon.
- Remove pan from heat. Stir in Dijon mustard, garlic powder, smoked paprika, salt, and pepper.
- Gradually add grated cheddar and Gruyère cheese, a handful at a time, stirring until melted and smooth. Do not boil after adding cheese.
- Add cooked pasta to the cheese sauce and stir gently to coat. If too thick, add a splash of milk.
- In a small bowl, mix panko breadcrumbs with 2 tablespoons melted butter and a pinch of paprika.
- Pour pasta into a 9×13 inch baking dish. Spread evenly and sprinkle breadcrumb mixture on top, pressing down slightly.
- Bake for 20-25 minutes until topping is golden brown and sauce is bubbling. Let rest for 5 minutes before serving.
Notes
Use block cheese rather than pre-shredded to ensure smooth melting. Cook pasta al dente as it will continue to cook in the oven. Keep heat low when melting cheese to prevent a grainy texture. For a dairy-free version, substitute milk and cream with oat milk and use vegan cheese.
- Prep Time: 20 minutes
- Cook Time: 25 minutes
- Category: Main Course
- Cuisine: American
Nutrition
- Serving Size: 1 serving
- Calories: 450
- Sugar: 6
- Sodium: 600
- Fat: 25
- Saturated Fat: 15
- Carbohydrates: 40
- Fiber: 2
- Protein: 18
Keywords: baked mac and cheese, creamy macaroni, zesty finish, comfort food, dinner recipe, cheesy pasta, panko topping