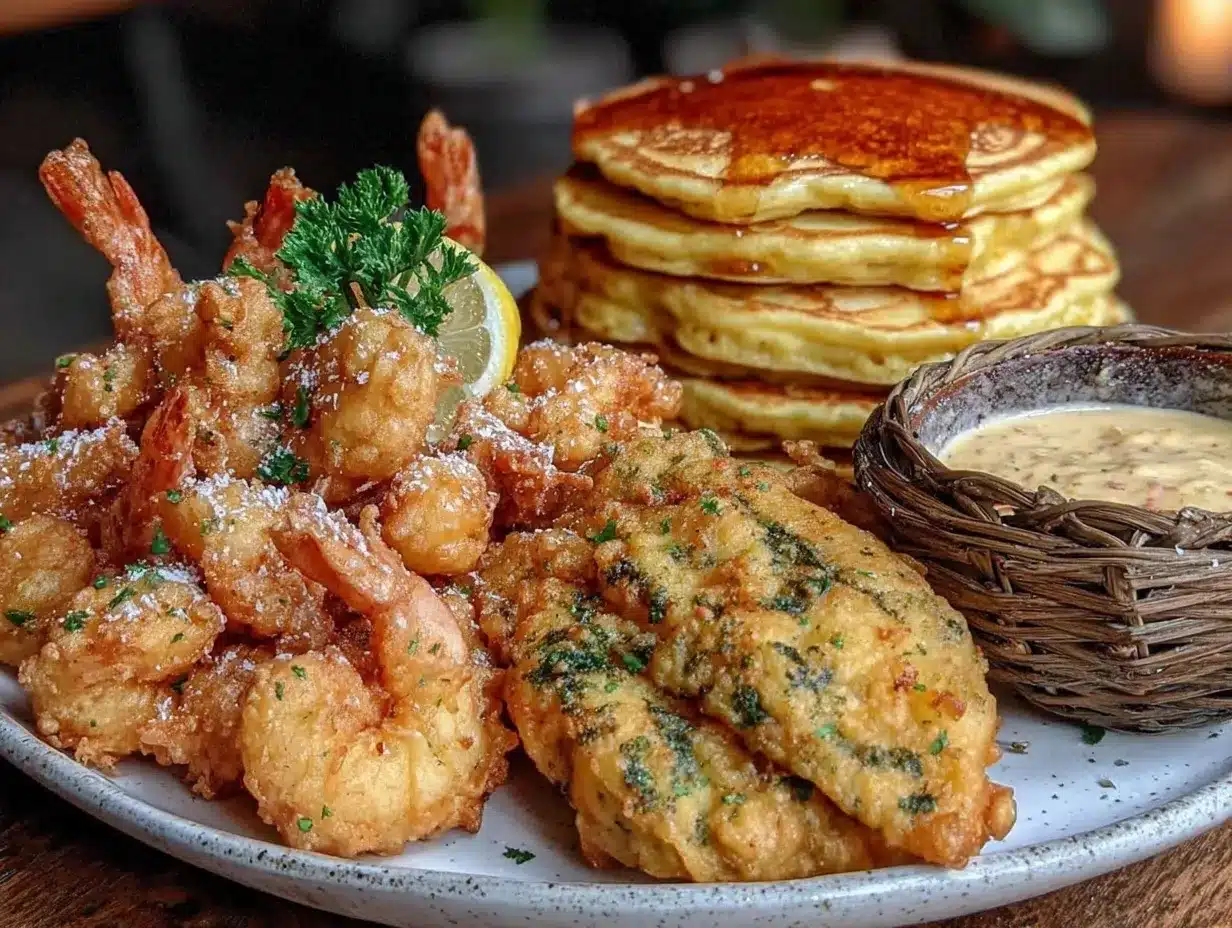
Let’s face it, we’ve all had that one bad fry. You know the kind. It’s soggy, greasy, and leaves an oily residue on your fingers that you spend the next hour trying to scrub off with soap. I had that experience early on in my cooking journey, standing over a sputtering pan of oil, realizing my “crispy” chicken was more like a rubbery sponge. It was humbling, honestly. But it taught me a crucial lesson: the secret isn’t the oil, and it isn’t even the heat. It’s the batter.
There is a massive difference between a heavy, doughy coating and a light, airy, shattering crispness. I’ve spent years testing batters for everything from tempura shrimp to my Sunday morning pancakes, and I’ve learned that getting the chemistry right changes everything. Today, I’m sharing my three favorite batter formulas. These aren’t just recipes; they are tools for your kitchen arsenal. Whether you want the delicate, lacy crisp of Japanese tempura, the fluffy comfort of a pancake, or the sturdy crunch of a classic fry, I’ve got you covered.
What makes these specific batters stand out? It’s the balance of texture and flavor. I always like to finish dishes with a little brightness, maybe a squeeze of lemon or a dash of chili crisp, because heavy batters need that punch to keep things interesting. If you’ve ever wondered why your fried foods taste better than your home-cooked versions, it’s likely because they use a specific type of batter for the job. Let’s break down exactly how to make each one, why they work, and how to get that perfect golden crust every single time.
Why You’ll Love This Recipe
Mastering these three batters is like unlocking a cheat code in the kitchen. Once you understand the difference between them, you’ll never be stuck with a boring, flat dinner again. I’ve tested these recipes dozens of times, tweaking the ratios and temperatures, to ensure they work for home cooks who don’t have a professional deep fryer. Here is why these specific formulas are worth your time:
- Texture Transformation: Each batter serves a distinct purpose. Tempura gives you that ethereal, glass-like crunch. Pancake batter creates a cloud-like interior that melts in your mouth. And the fry batter provides a sturdy, savory shell that holds up to heavy sauces or spicy glazes.
- Versatility on a Plate: These aren’t just for one type of food. You can use the fry batter for vegetables, the tempura batter for delicate seafood, and the pancake batter for sweet breakfasts or even savory fritters. It’s three recipes in one that expand your culinary range.
- Quick & Easy Prep: None of these require hours of resting or complex techniques. You can mix them up in under five minutes. This is perfect for busy weeknights when you want something homemade but don’t have all day.
- Customizable Heat: I love adding a kick to my batters. You can easily adjust the spice level in the fry batter to match your taste. Pair it with something like my crispy rosemary dijon chicken for a zesty squeeze that cuts through the richness.
- Restaurant Quality at Home: The secret to restaurant food is often just a well-made batter. By using cold liquids and proper mixing techniques, you’ll get results that rival your favorite local spot. It’s the heat that finishes the dish, but the batter gets it there.
These batters are also forgiving. If you overmix slightly, it’s not the end of the world. If your oil is a few degrees off, you can adjust. They are designed for real life, not just perfect studio conditions. Plus, they pair beautifully with bright, acidic sides. Think about dipping your tempura in a spicy soy glaze or serving your pancakes with a dirty strawberry soda to keep the meal light and refreshing.
What Ingredients You Will Need
The beauty of these batters lies in their simplicity. You likely have most of these ingredients in your pantry already. The key is quality and temperature. For tempura, ice-cold liquid is non-negotiable. For pancakes, room temperature eggs help the emulsion stay stable. And for frying, a neutral oil with a high smoke point is your best friend. Let’s look at what goes into each bowl.
For the Tempura Batter
- Low-protein flour: Cake flour or specific tempura flour is ideal because it creates a lighter crust. All-purpose flour works in a pinch, but it will be slightly denser. I prefer using a brand with a fine texture for the best results.
- Ice-cold water: This is the most critical ingredient. The cold shock prevents gluten from forming, keeping the batter crispy. Keep a bowl of ice water ready to chill your mixing bowl and water before you start.
- Egg yolk: Just the yolk adds richness and helps the batter adhere to the seafood or vegetables without making it tough. Use large eggs for consistency.
- Neutral oil: A teaspoon of oil in the batter itself can help with browning and crispiness.
For the Pancake Batter
- All-purpose flour: This provides the structure. Don’t swap this for almond flour unless you want dense cakes. You need that gluten development for fluffiness.
- Baking powder: Fresh baking powder is essential for the rise. If it’s old, your pancakes will be flat. Check the date on your box.
- Milk: Whole milk gives the best flavor and richness. Buttermilk is even better if you have it, adding a tangy brightness that balances the sweetness.
- Egg: Whole egg for structure and color.
- Butter: Melted butter adds flavor and tenderness. Let it cool slightly before mixing so it doesn’t cook the eggs.
- Sugar: A tablespoon helps with browning and adds a subtle sweetness.
For the Fry Batter
- All-purpose flour: The base for a sturdy crust.
- Cornstarch: This is the secret weapon. It creates a shatteringly crisp exterior that stays crunchy longer than flour alone. It also absorbs less oil.
- Beer or sparkling water: Carbonation creates bubbles in the batter, leading to a lighter, airier crust. I prefer a light lager for the fry batter, but sparkling water works for a non-alcoholic version.
- Egg: Adds binding power.
- Seasonings: Salt, black pepper, paprika, and garlic powder. Adjust these to taste. For a spicy kick, add some cayenne or chili flakes, similar to what you might find in my beef and veggie stir-fry sauce.
Equipment Needed
You don’t need a fancy kitchen to make these batters. Here is what you’ll need to get the job done efficiently.
- Mixing bowls: One medium bowl for each batter type. If you are making just one at a time, one bowl is fine, but rinse it between uses.
- Whisk: A standard wire whisk is perfect for incorporating air into the pancakes and tempura. For the fry batter, a fork or spoon works well to avoid overmixing.
- Deep fryer or heavy-bottomed pot: A cast-iron Dutch oven is ideal because it holds heat well. A deep fryer is convenient if you have one, but a pot works just as well.
- Candy or deep-fry thermometer: This is crucial. You want your oil to be between 350°F and 375°F (175°C-190°C). Guessing leads to soggy food.
- Slotted spoon or spider strainer: For removing food from the oil without draining it too slowly.
- Wire rack and paper towels: Place a wire rack over a baking sheet to drain fried items. This keeps them crispy. Paper towels can make the bottom soggy if you leave them too long.
I recommend investing in a good thermometer. It pays for itself in wasted food alone. Also, keep your oil clean. Old oil breaks down and creates off-flavors. If you are frying multiple batches, let the oil cool and strain it if you plan to reuse it.
Preparation Method
Now, let’s get into the nitty-gritty. The order of operations matters here. We will tackle each batter type separately, as they have different requirements.
Step 1: Making the Tempura Batter
- Chill everything: Place your mixing bowl and water in the fridge for 15 minutes. You want them ice cold.
- Mix the dry ingredients: In a large bowl, sift together 1 cup of low-protein flour and 1 teaspoon of baking powder. Sifting removes lumps and aerates the flour, which is key for lightness.
- Prepare the wet ingredients: In a separate small bowl, whisk one egg yolk with 1 cup of ice-cold water and 1 teaspoon of neutral oil. Keep this mixture cold.
- Combine gently: Pour the wet mixture into the dry ingredients. Stir with a fork or chopsticks just until combined. Warning: Do not overmix. Lumps are good. The batter should be thin and watery, like heavy cream. If you mix too much, the gluten develops, and your tempura becomes tough.
- Keep it cold: Keep the batter in the fridge until the moment you are ready to fry. Warm batter makes greasy tempura.
Step 2: Making the Pancake Batter
- Whisk dry ingredients: In a medium bowl, combine 1 ½ cups of all-purpose flour, 3 ½ teaspoons of baking powder, 1 teaspoon of salt, and 1 tablespoon of sugar. Whisk to distribute the leavening agents evenly.
- Mix wet ingredients: In another bowl, whisk together 1 ¼ cups of milk, 1 egg, 3 tablespoons of melted butter, and 1 teaspoon of vanilla extract. Ensure the butter is not hot.
- Combine: Pour the wet ingredients into the dry ingredients. Stir gently with a spatula or spoon until just combined. It is okay if there are a few lumps. Overmixing leads to dense, rubbery pancakes.
- Rest the batter: Let the batter sit for 5-10 minutes. This allows the flour to hydrate and the baking powder to start working, resulting in fluffier pancakes.
Step 3: Making the Fry Batter
- Prepare the dry mix: In a large bowl, whisk together 1 cup of all-purpose flour, ½ cup of cornstarch, 1 teaspoon of salt, 1 teaspoon of paprika, ½ teaspoon of garlic powder, and ¼ teaspoon of black pepper.
- Add liquid: Slowly pour in 1 cup of cold beer or sparkling water while whisking continuously. The carbonation is vital here. You want a smooth, lump-free batter that is slightly thicker than tempura batter but thinner than pancake batter.
- Add egg: Whisk in one egg until fully incorporated. The batter should coat the back of a spoon.
- Season to taste: Taste the batter (raw flour is safe if cooked immediately, but be careful). Adjust salt and spices as needed. This is your base for crispy, zesty bites.
Step 4: Frying Techniques
- Heat the oil: Fill your pot with 2-3 inches of oil. Heat to 350°F-375°F (175°C-190°C).
- Test the oil: Drop a small piece of food into the oil. If it sizzles immediately and rises to the top, the oil is ready.
- Dip and drop: Dip your ingredients (shrimp, veggies, chicken) into the batter, letting excess drip off. Gently lower them into the oil.
- Fry until golden: Cook for 2-4 minutes, turning occasionally, until golden brown and crispy. Do not overcrowd the pan, as this drops the oil temperature.
- Drain: Remove with a slotted spoon and place on a wire rack. Serve immediately.
Cooking Tips & Techniques
I’ve made my share of mistakes in the kitchen, so you don’t have to. Here are some pro tips to ensure your batters turn out perfectly.
- Temperature is King: For tempura, the colder the batter, the crispier the result. The cold water creates steam when it hits the hot oil, puffing up the batter into a light, airy crust. If your batter warms up, add more ice water.
- Don’t Overmix: This is the golden rule for all batters. Overmixing develops gluten, which makes your food tough. For pancakes, lumps are your friend. For tempura, mix until just combined.
- Oil Management: If your oil smokes, it’s too hot. Lower the heat immediately. If your food is absorbing too much oil, the oil is too cool. Increase the heat. Keep a thermometer handy.
- Double Fry for Extra Crisp: For the fry batter, try double frying. Fry once at a lower temperature to cook the inside, then remove and let rest. Fry again at a higher temperature to crisp up the exterior. This technique is great for crispy avocado toast toppings or fried chicken.
- Season the Batter: Don’t just salt the food after frying. Season the batter itself. This ensures every bite has flavor. Add chili flakes or citrus zest to the batter for a bright punch.
Another common mistake is frying too many items at once. This drops the oil temperature significantly, leading to soggy, greasy food. Fry in small batches. It takes longer, but the quality is worth it.
Variations & Adaptations
These batters are incredibly versatile. Here are some ways to adapt them to your taste or dietary needs.
- Gluten-Free Tempura: Use rice flour or a gluten-free flour blend for the tempura batter. The texture will be slightly different but still crispy. Add a little arrowroot powder for extra crunch.
- Vegan Pancakes: Swap the milk for almond or oat milk and the egg for a “flax egg” (1 tablespoon ground flaxseed mixed with 3 tablespoons water). You can also use coconut sugar for a lower glycemic index.
- Spicy Fry Batter: Add cayenne pepper, chili powder, or smoked paprika to the fry batter. This pairs well with seafood or chicken. For a unique twist, try adding a little zest from a lemon or lime to cut the richness.
- Savory Pancakes: Skip the sugar and vanilla. Add chopped chives, grated cheese, and cooked bacon bits to the pancake batter for a savory brunch option.
- Vegetable Tempura: While shrimp is classic, try tempura with broccoli, sweet potato, or shishito peppers. The light batter highlights the natural sweetness of the vegetables.
I recently tried adding a bit of matcha powder to my tempura batter for a green tea version. It was earthy and surprisingly delicious, especially with a dipping sauce made from soy and mirin. It’s a great way to experiment with flavors.
Serving & Storage Suggestions
How you serve these batters matters as much as how you make them. For tempura, serve immediately with a dipping sauce (tentsuyu) and freshly grated daikon radish. The contrast of hot, crispy tempura and cool, crisp radish is amazing.
For pancakes, serve warm with butter and maple syrup. But for a brighter twist, try topping them with fresh berries and a spicy Asian cucumber salad on the side. The acidity of the cucumbers cuts through the sweetness of the pancakes perfectly.
For fried items, serve with a zesty dipping sauce. A chili-lime aioli or a spicy soy glaze works wonders. I love pairing my fried chicken with a side of Thai peanut chicken wraps for a meal that has both crunch and freshness.
Storage: These batters are best made fresh. Leftover cooked food can be stored in an airtight container in the refrigerator for up to 2 days. To reheat, use an air fryer or oven at 375°F to restore crispiness. Avoid the microwave, as it will make the batter soggy.
Nutritional Information & Benefits
While fried foods are indulgent, understanding the nutritional profile helps you enjoy them mindfully. Tempura batter is relatively light, with fewer calories than a heavy beer batter. The use of egg yolk adds healthy fats and protein. Pancake batter provides carbohydrates for energy, but be mindful of added sugars. Using whole wheat flour or adding oats can increase the fiber content. The fry batter, with cornstarch, creates a crispy texture with less oil absorption than traditional flour batters, making it slightly lighter. Always pair these with plenty of vegetables or a fresh salad to balance the meal. I try to keep my batters simple and avoid excessive additives, focusing on whole ingredients for the best health outcomes.
Conclusion
Mastering these three types of batter—tempura, pancake, and fry—opens up a world of culinary possibilities. You’ll never be bored with dinner or breakfast again. Whether you’re craving the delicate crunch of tempura shrimp, the fluffy comfort of pancakes, or the hearty bite of fried chicken, you now have the tools to make it at home. Remember, the key is temperature, gentle mixing, and fresh ingredients. Don’t be afraid to experiment with flavors and spices to make these recipes your own. And don’t forget to finish your dish with a bright, zesty element to keep things lively. I’d love to hear how these batters work for you. Try them out, share your creations, and let me know which one is your favorite. Happy cooking!
Frequently Asked Questions
Can I use self-rising flour for the pancake batter?
Yes, you can, but you need to adjust the recipe. If you use self-rising flour, omit the baking powder and salt in the recipe. Self-rising flour already contains these leavening agents. Just make sure the flour is fresh for the best rise.
Why is my tempura batter soggy?
This usually happens if the oil temperature is too low or if the batter is overmixed. Ensure your oil is between 350°F and 375°F. Also, keep the batter ice-cold and mix it as little as possible. Lumps are okay!
Can I make the batter ahead of time?
Tempura batter is best made fresh because the carbonation and cold temperature are crucial. Pancake batter can be made up to 24 hours in advance and stored in the fridge. Fry batter is best made fresh, but you can mix the dry ingredients ahead of time and add the wet ingredients right before frying.
What oil is best for frying?
Use a neutral oil with a high smoke point, such as vegetable oil, canola oil, peanut oil, or sunflower oil. These oils won’t impart a strong flavor and can handle the high temperatures needed for frying.
How do I know when the pancakes are done?
Look for bubbles forming on the surface of the pancake and popping. The edges should look set and dry. Flip the pancake, and it should cook for another 1-2 minutes until golden brown. If the outside is burning but the inside is raw, lower the heat.
Pin This Recipe!
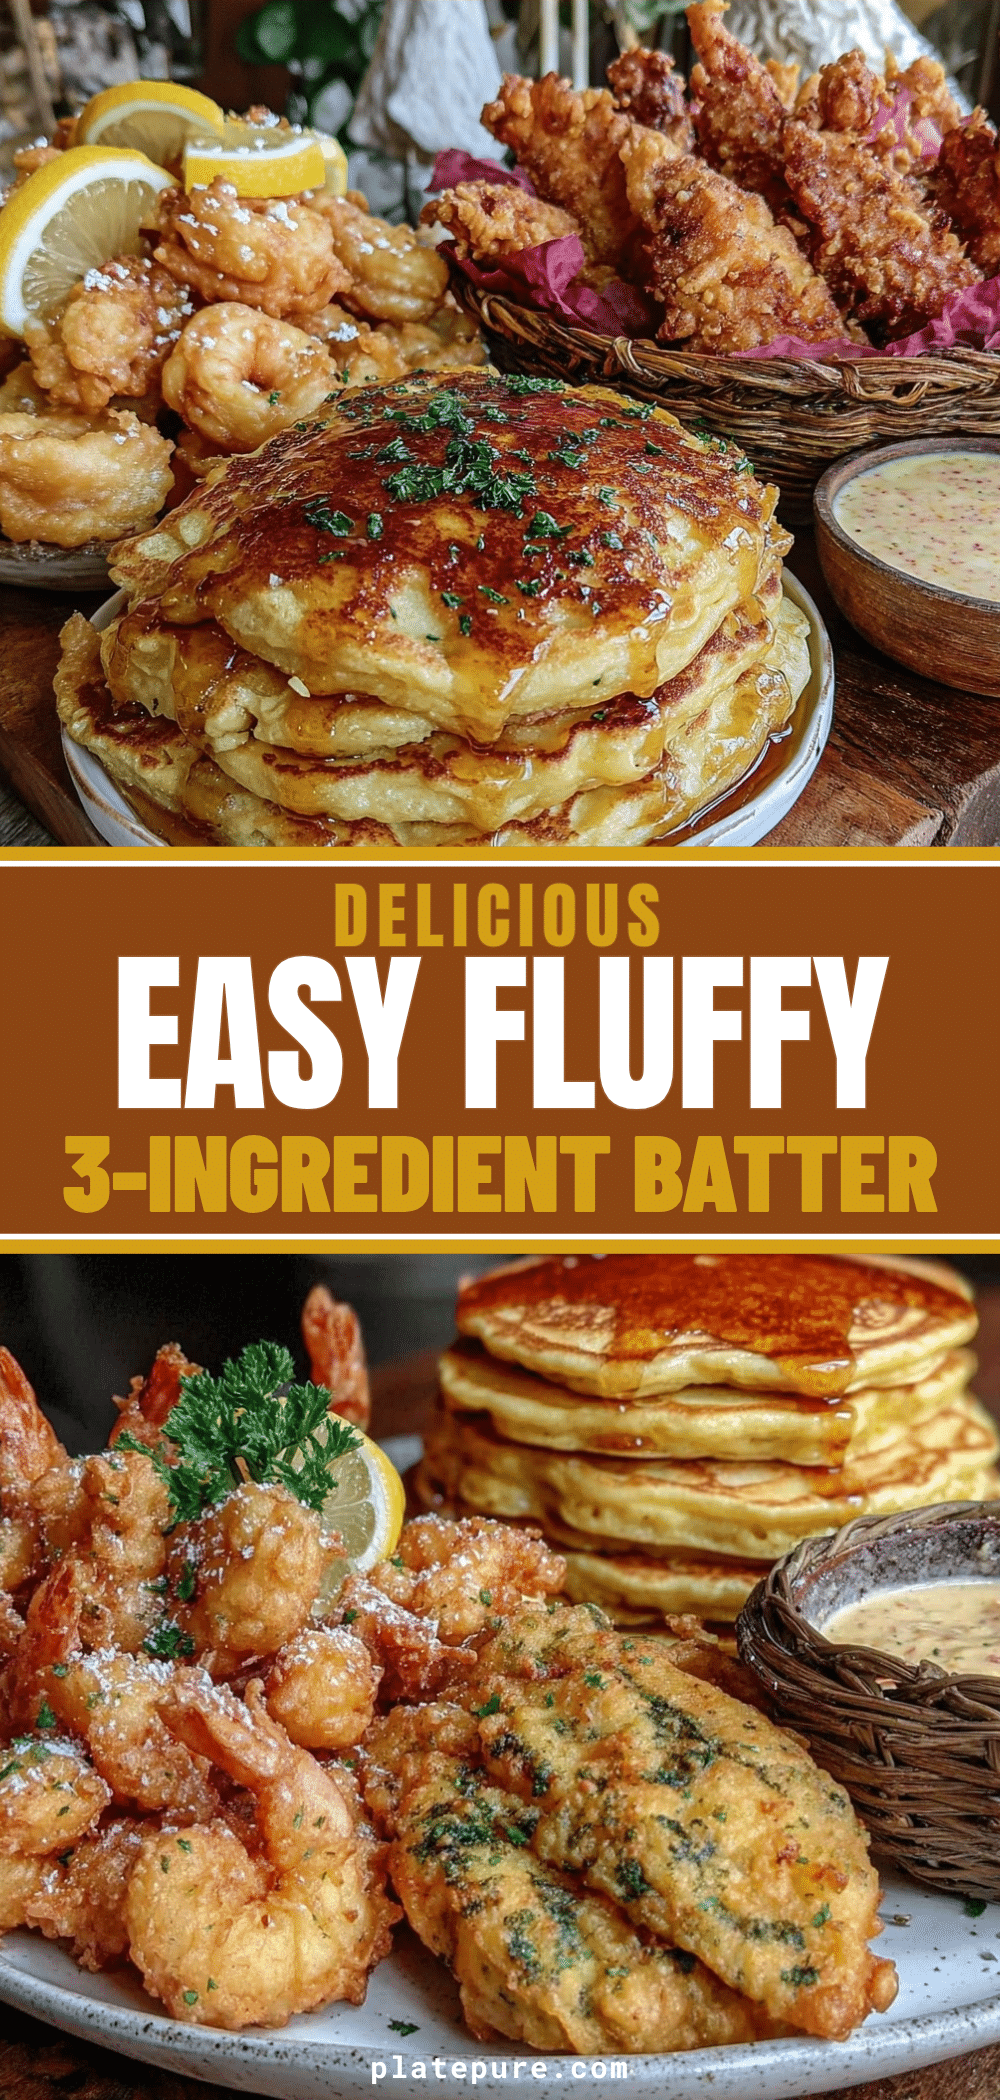

3 Types of Batter: Best Tempura, Pancake & Fry
- Total Time: 25 minutes
- Yield: 4 servings 1x
Description
Master three essential batters for perfect results: a light, airy tempura for delicate seafood, a fluffy pancake batter for breakfast, and a sturdy, crispy fry batter for vegetables and meats.
Ingredients
- 1 cup low-protein flour (cake or tempura flour)
- 1 teaspoon baking powder
- 1 cup ice-cold water
- 1 egg yolk
- 1 teaspoon neutral oil
- 1 ½ cups all-purpose flour
- 3 ½ teaspoons baking powder
- 1 teaspoon salt
- 1 tablespoon sugar
- 1 ¼ cups milk
- 1 egg
- 3 tablespoons melted butter
- 1 teaspoon vanilla extract
- 1 cup all-purpose flour
- ½ cup cornstarch
- 1 teaspoon salt
- 1 teaspoon paprika
- ½ teaspoon garlic powder
- ¼ teaspoon black pepper
- 1 cup cold beer or sparkling water
- 1 egg
Instructions
- Chill mixing bowl and water in the fridge for 15 minutes for tempura.
- Sift low-protein flour and baking powder into a bowl.
- Whisk egg yolk, ice-cold water, and neutral oil in a separate bowl.
- Pour wet mixture into dry ingredients and stir gently with a fork until just combined; do not overmix.
- Keep tempura batter cold until frying.
- Whisk all-purpose flour, baking powder, salt, and sugar in a medium bowl.
- Whisk milk, egg, melted butter, and vanilla extract in another bowl.
- Pour wet ingredients into dry ingredients and stir gently until just combined; let rest for 5-10 minutes.
- Whisk all-purpose flour, cornstarch, salt, paprika, garlic powder, and black pepper in a large bowl.
- Slowly pour in cold beer or sparkling water while whisking to create a smooth batter.
- Whisk in one egg until incorporated.
- Heat oil in a heavy-bottomed pot or deep fryer to 350°F-375°F (175°C-190°C).
- Dip ingredients into batter, letting excess drip off, and gently lower into hot oil.
- Fry for 2-4 minutes until golden brown and crispy, turning occasionally.
- Remove with a slotted spoon and drain on a wire rack.
Notes
Keep tempura batter ice-cold to prevent gluten formation. Do not overmix any batter to ensure a light texture. Fry in small batches to maintain oil temperature. For extra crispiness, try double-frying the fry batter items.
- Prep Time: 15 minutes
- Cook Time: 10 minutes
- Category: Main Course
- Cuisine: Japanese, American
Nutrition
- Serving Size: Varies by batter typ
- Calories: 350
- Sugar: 6
- Sodium: 450
- Fat: 18
- Saturated Fat: 5
- Carbohydrates: 35
- Fiber: 2
- Protein: 8
Keywords: tempura batter, pancake batter, fry batter, crispy chicken, homemade batter, deep frying tips, gluten-free tempura, vegan pancakes