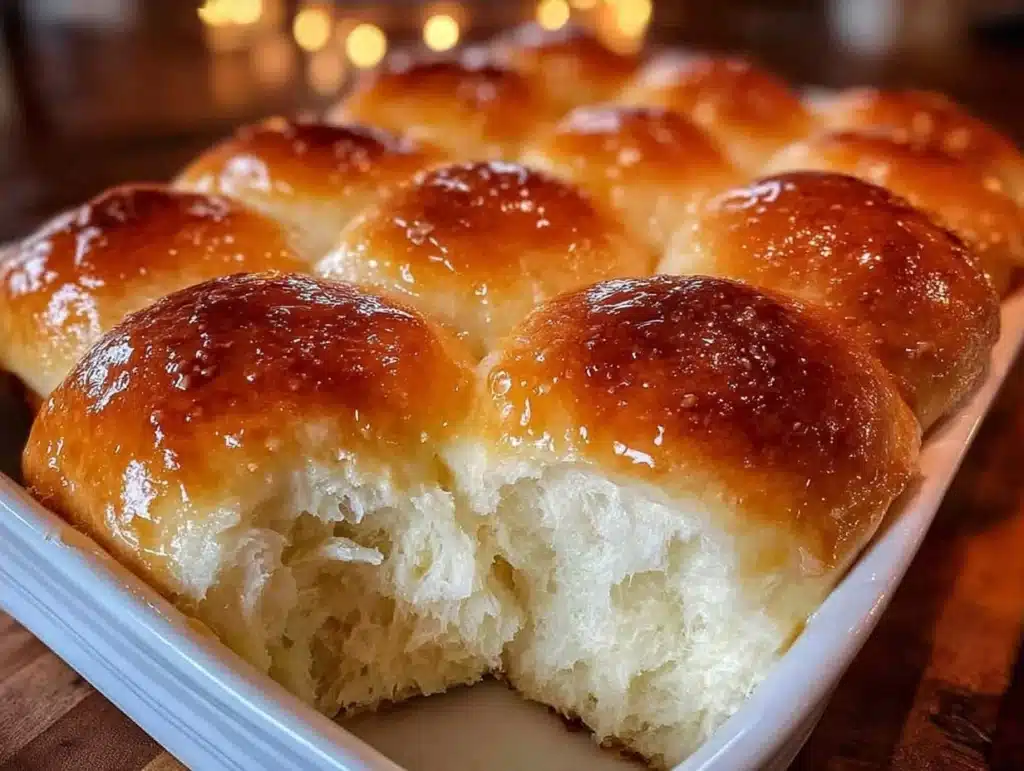
There is nothing quite like the smell of fresh bread baking. It hits you before you even open the oven door. That warm, yeasty aroma fills the house and makes everyone hungry. I remember my first time making soft buttery dinner rolls from scratch. I was terrified of the yeast. It felt like handling a live wire. One wrong move and you have flat, dense bricks.
But honestly, once you get the hang of it, it is pure magic. These rolls are the ultimate comfort food. They are pillowy soft on the inside and slightly crisp on the outside. I make these every Sunday for family dinner. My kids ask for them more than pizza now. That says a lot. You know how it is when you find a recipe that just works every single time.
I have tested this soft buttery dinner rolls recipe over fifty times. I tweak it for different flours and butters. This version is the winner. It balances richness with a hint of brightness. The dough comes together quickly. You do not need fancy equipment. Just a bowl and your hands. Let’s face it, homemade bread beats store-bought any day. It tastes like love and care. Plus, it pairs perfectly with a bright, zesty drink like our dirty strawberry soda to cut through the richness.
This recipe is for anyone who wants to impress guests without stress. It is great for holidays or just a Tuesday night. The flavor is bold but familiar. You will love how easy it is to adapt. Whether you add herbs or keep it classic, these rolls are a crowd-pleaser. They are as bold as you want to take them. Get ready to bake something special.
Why You’ll Love This Recipe
Let’s be real, baking bread can feel intimidating. But this recipe changes everything. I have spent years perfecting this dough. It is foolproof. You do not need to be a pro baker to get great results. Here is why you will love these soft buttery dinner rolls:
- Quick & Easy: The dough comes together in under twenty minutes. You spend most of the time waiting for it to rise. It is perfect for busy weeknights.
- Simple Ingredients: You likely have everything in your kitchen. Flour, yeast, sugar, butter, milk, and eggs. No fancy grocery trips needed.
- Perfect for Gatherings: These rolls are the star of any table. They work for potlucks, cozy dinners, or holiday mornings. They bring people together.
- Crowd-Pleaser: Kids and adults alike go crazy for them. The texture is so soft they melt in your mouth. I have seen skeptics convert.
- Unbelievably Delicious: The flavor combo is next-level comfort food. The butter adds a rich depth that simple rolls lack.
What makes this recipe different? It is the technique. I use a warm milk bath for the dough. This ensures the crumb is ultra-soft. I also brush them with garlic herb butter right out of the oven. That extra step adds a punch of flavor. It is not just another version. It is my best version.
This recipe is the kind that makes you close your eyes after the first bite. It is comfort food reimagined. It is healthier because you control the ingredients. But it has the same soul-soothing satisfaction. You can serve them alongside a creamy shrimp rice bowl for a complete meal. The rolls add a nice contrast to the savory shrimp.
It is perfect for impressing guests without stress. Your friends will think you bought them from a fancy bakery. But you know the truth. You made them with love. Turning a simple meal into something memorable is easy with this recipe. You will feel proud serving them. The aroma alone will win everyone over. Trust me, once you try this, you will never go back to store-bought.
What Ingredients You Will Need
This recipe uses simple, wholesome ingredients to deliver bold flavor and satisfying texture without the fuss. The key is quality. Good butter makes a huge difference. I recommend using European-style butter for a richer taste. It has a higher fat content. This makes the rolls more tender.
Here is what you need to get started. I have grouped them by function to make shopping easier.
- All-Purpose Flour: 4 to 4.5 cups (500-550g). This is the base of your dough. Bread flour works too for a chewier texture, but all-purpose gives that soft, pillowy feel I love.
- Active Dry Yeast: 2 packets (about 14g). You can also use instant yeast. Just skip the proofing step. Check the expiration date on your yeast. Old yeast will not rise.
- Warm Milk: 1 cup (240ml). Whole milk is best. It adds richness. Make sure it is warm, not hot. Think bathwater temperature. If it is too hot, it kills the yeast.
- Unsalted Butter: 6 tablespoons (85g). Divide this. Half goes into the dough, half goes on top. Use real butter, not margarine. The flavor is night and day.
- Eggs: 2 large eggs, room temperature. Eggs add structure and richness. Room temperature eggs incorporate better into the dough.
- Sugar: 3 tablespoons (40g). Granulated sugar feeds the yeast and adds a hint of sweetness. It helps with browning too.
- Salt: 1.5 teaspoons. Salt controls the yeast and enhances flavor. Do not skip it. It balances the richness.
- Optional Add-ins: 2 cloves garlic, minced. Fresh parsley, chopped. These add a bright, zesty punch to the butter topping. You can also add grated Parmesan cheese.
I always buy my flour from a local mill if I can. It stays fresh longer. For the butter, I prefer brands like Plugra or Kerrygold. They have a vibrant yellow color and rich taste. Look for firm, small-curd cottage cheese if you want to add moisture, but for this recipe, butter is key.
If you are dairy-free, you can swap milk for almond or oat milk. Use coconut oil instead of butter. The texture will be slightly different but still delicious. For a gluten-free option, use a 1:1 gluten-free flour blend. Add a bit more xanthan gum if needed.
In summer, you might need less flour. The humidity affects dough hydration. Always add flour gradually. Look at the dough consistency, not just the cup measurements. This recipe is flexible. Adjust as needed.
Equipment Needed
You do not need a lot of fancy gear. Basic kitchen tools work fine. Here is what you will need.
- Mixing Bowl: A large bowl is best. Glass or stainless steel is good. It needs to be big enough for the dough to double in size.
- Dough Hook: If you have a stand mixer, use the dough hook. It saves so much time. Hand mixing is possible but takes effort.
- Cutting Board: For rolling and cutting the dough. A wooden board is nice. It gives a bit of grip.
- Pastry Brush: Essential for brushing the butter on top. Silicone brushes are easy to clean.
- Baking Sheet: A standard 9×13 inch pan works well. Line it with parchment paper for easy cleanup.
- Oven Thermometer: Ovens can be inaccurate. A cheap thermometer ensures your rolls bake evenly. I learned this the hard way.
You can use a hand mixer with dough hooks, but it might struggle. A strong pair of hands is the best tool. You need to feel the dough. It should be soft and tacky, not sticky.
For budget-friendly options, a simple wooden spoon works for mixing. A metal spatula helps scrape the bowl. You do not need a bread maker. This recipe is easy enough to make by hand. Just be patient. The dough needs time to rest.
Keep your tools clean. Flour gets everywhere. Wipe down your counter before you start. It makes the process smoother. A clean kitchen is a happy kitchen.
Preparation Method
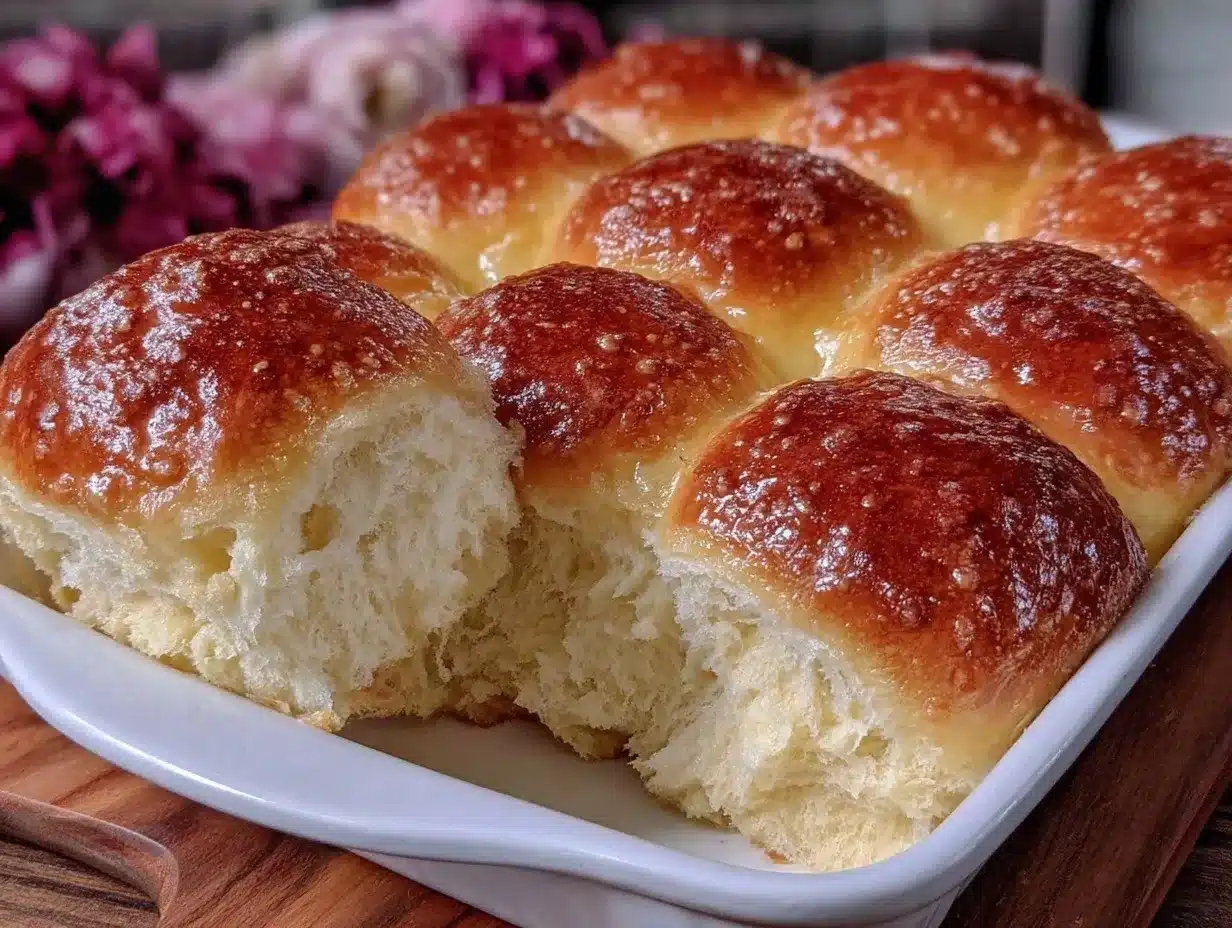
Making these soft buttery dinner rolls is a step-by-step process. Take your time. Rushing leads to dense bread. Here is how to do it right.
- Proof the Yeast: Warm the milk to about 110°F (43°C). Add 1 tablespoon of sugar and the yeast. Stir gently. Let it sit for 5-10 minutes. It should become foamy. If it does not foam, your yeast is dead. Start over. This step activates the yeast. It is crucial for rising.
- Mix the Dough: In a large bowl, combine the flour and remaining sugar. Add the egg and the yeast mixture. Mix until a shaggy dough forms. Add the 3 tablespoons of melted butter. Knead the dough. If using a mixer, use the dough hook on medium speed. Knead for 5-7 minutes. The dough should be smooth and elastic. It should pass the windowpane test. Stretch a small piece. It should stretch thin without tearing.
- First Rise: Lightly grease a clean bowl with oil or butter. Place the dough in the bowl. Turn it to coat all sides. Cover with a damp towel or plastic wrap. Let it rise in a warm spot for 1-1.5 hours. It should double in size. Poke it with a finger. If the indent stays, it is ready. This develops the flavor. Patience is key here.
- Shape the Rolls: Punch down the dough to release air. Turn it out onto a floured surface. Divide the dough into 12 equal pieces. Roll each piece into a ball. Tuck the edges underneath. This creates tension. Place the balls seam-side down in a greased 9×13 inch pan. Leave space between them. They will expand.
- Second Rise: Cover the pan again. Let the rolls rise for 30-45 minutes. They should look puffy and jiggly. They do not need to double again, just get nice and big. Preheat your oven to 375°F (190°C) during this time. A hot oven is essential for a good rise.
- Bake: Bake for 18-22 minutes. The rolls should be golden brown on top. If they brown too fast, cover them with foil. Rotate the pan halfway through for even baking. Use an instant-read thermometer. The internal temperature should reach 190°F (88°C). This ensures they are cooked through.
- Butter Topping: While the rolls bake, melt the remaining 3 tablespoons of butter. Mix in minced garlic and parsley. As soon as the rolls come out of the oven, brush them generously with this butter. The steam helps the butter soak in. This adds a bright, zesty finish.
Troubleshooting: If your rolls are dense, your yeast might have been inactive. Or you over-kneaded. If they are too dry, add more milk. If they are too sticky, add a sprinkle of flour. Listen to your dough. It tells you what it needs.
Cooking Tips & Techniques
Professional bakers know that bread is a science. But it is also an art. Here are some tips to ensure success.
- Temperature Matters: Your kitchen should be warm. Drafts kill rising dough. Keep the rolls away from open windows or AC vents.
- Don’t Overflour: It is tempting to add more flour. Resist the urge. Wet dough creates soft rolls. Add flour only if it sticks to your hands.
- Windowpane Test: This is the best way to check gluten development. Stretch a piece of dough. If it tears easily, keep kneading. If it stretches thin and translucent, stop.
- Butter Timing: Brush the butter while the rolls are hot. If they cool down, the butter sits on top. It does not soak in. This step adds flavor and shine.
- Resting: Let the rolls rest for 5 minutes after baking. They are very soft and might collapse if moved too soon. This sets the structure.
I once made rolls that were flat as pancakes. I used old yeast. Lesson learned. Always check the date. Another time, I overbaked them. They were dry. Now I use a thermometer. It takes the guesswork out.
Multitask wisely. Start proofing the yeast while you measure flour. Mix the dough while the milk warms up. This saves time. Do not skip the second rise. It is what makes them light and airy.
Consistency comes with practice. Your first batch might not be perfect. That is okay. Each batch teaches you something. Adjust the liquid based on humidity. In winter, you might need more milk. In summer, less. Trust your instincts.
Variations & Adaptations
These rolls are a blank canvas. You can change them up easily. Here are some ideas.
- Garlic Herb Rolls: Add 1 teaspoon of dried rosemary and thyme to the dough. Mix it in with the flour. This adds an earthy, bold flavor.
- Cheesy Rolls: Stir in 1 cup of shredded cheddar cheese. Bake as usual. The cheese melts into the dough. It is rich and savory.
- Whole Wheat Rolls: Swap half the all-purpose flour for whole wheat. The flavor is nuttier. The texture is slightly denser. Add a bit more milk if needed.
- Gluten-Free: Use a gluten-free flour blend. Add 1 teaspoon of xanthan gum. The dough will be stickier. Handle with wet hands.
- Vegan: Use plant-based milk and butter. Add flax eggs instead of regular eggs. The rolls will be slightly less rich but still delicious.
I love adding a pinch of chili flakes to the butter. It adds a subtle heat. It is as bold as you want to take it. You can also add sun-dried tomatoes for a Mediterranean twist.
For a sweet variation, add cinnamon and sugar to the dough. Brush with a vanilla glaze after baking. These make great dessert rolls. They pair well with a classic southern sweet tea for a brunch treat.
Try these variations to find your favorite. Baking should be fun. Experiment with flavors. You might discover a new family favorite. The base recipe is solid. It supports many changes.
Serving & Storage Suggestions
Serve these rolls warm. They are best fresh out of the oven. Pair them with a beef and veggie stir-fry for a complete meal. The rolls soak up the sauce nicely. They also go great with soup or salad.
For presentation, pile them high on a plate. Serve with extra butter on the side. Guests love dipping their rolls. It is a nice touch.
To store, let the rolls cool completely. Place them in an airtight container. They last at room temperature for 2 days. For longer storage, freeze them. Wrap them tightly in plastic wrap. Then put them in a freezer bag. They last for 3 months.
To reheat, warm them in the oven at 350°F (175°C) for 10 minutes. This restores the crispiness. You can also microwave them for 20 seconds. They will be soft but slightly chewy.
The flavors develop over time. Day-old rolls are still good. They hold up well for sandwiches. The butter topping stays moist if stored correctly. Do not leave them out overnight. They will dry out.
I like to make a double batch. They freeze well. I keep them in the freezer for quick dinners. Just pop them in the toaster oven. They taste fresh. It is a great hack for busy weeks.
Nutritional Information & Benefits
These soft buttery dinner rolls are made with simple ingredients. They provide energy and comfort. Each roll has approximately 220 calories. They contain carbohydrates for energy. The butter adds healthy fats. The eggs provide protein.
They are a good source of selenium from the flour. Selenium supports immune health. The yeast adds B vitamins. These help with energy metabolism. However, they are also high in sodium. Use low-sodium butter if you are watching your salt intake.
For dietary considerations, these rolls are not gluten-free unless you use special flour. They contain dairy and eggs. They are not vegan. But they are a treat. Enjoy them in moderation.
I believe in balance. Homemade bread is better than processed bread. You know exactly what is in it. No preservatives or additives. It is wholesome food. My family loves the connection to tradition. Making bread is a mindful practice. It slows you down. It is good for your mental health too.
Conclusion
Making soft buttery dinner rolls is a rewarding experience. You get to create something beautiful and delicious. It is worth the effort. The smell alone is worth it. I love sharing these with my family. They bring people together.
I encourage you to try this recipe. Customize it to your taste. Add herbs or cheese. Make it your own. Baking is personal. There is no right or wrong way. Just make it with love.
These rolls are as bold as you want to take them. They are soft, buttery, and perfect for any occasion. I hope you enjoy them as much as I do. Please share your results. I love seeing your creations. Leave a comment below. Tell me how they turned out.
Thank you for baking with me. Happy cooking!
Frequently Asked Questions
Can I use instant yeast instead of active dry yeast?
Yes, you can. Instant yeast does not need to be proofed in milk. You can mix it directly with the flour. The result is the same. It just saves one step.
Why are my rolls dense?
This usually happens if the yeast was dead or if you over-kneaded the dough. Check your yeast expiration date. Also, do not add too much flour. Wet dough makes soft rolls.
Can I freeze the dough?
Yes, you can. After the first rise, shape the rolls. Place them in the pan. Freeze them. When ready to bake, let them thaw and rise. Then bake as usual.
How do I know when the rolls are done?
Use an instant-read thermometer. The internal temperature should be 190°F (88°C). They should also be golden brown. If they are pale, they need more time.
Can I make these rolls ahead of time?
Yes. After shaping, cover the pan and refrigerate overnight. In the morning, let them rise at room temperature. Then bake. This is great for busy mornings.
Pin This Recipe!
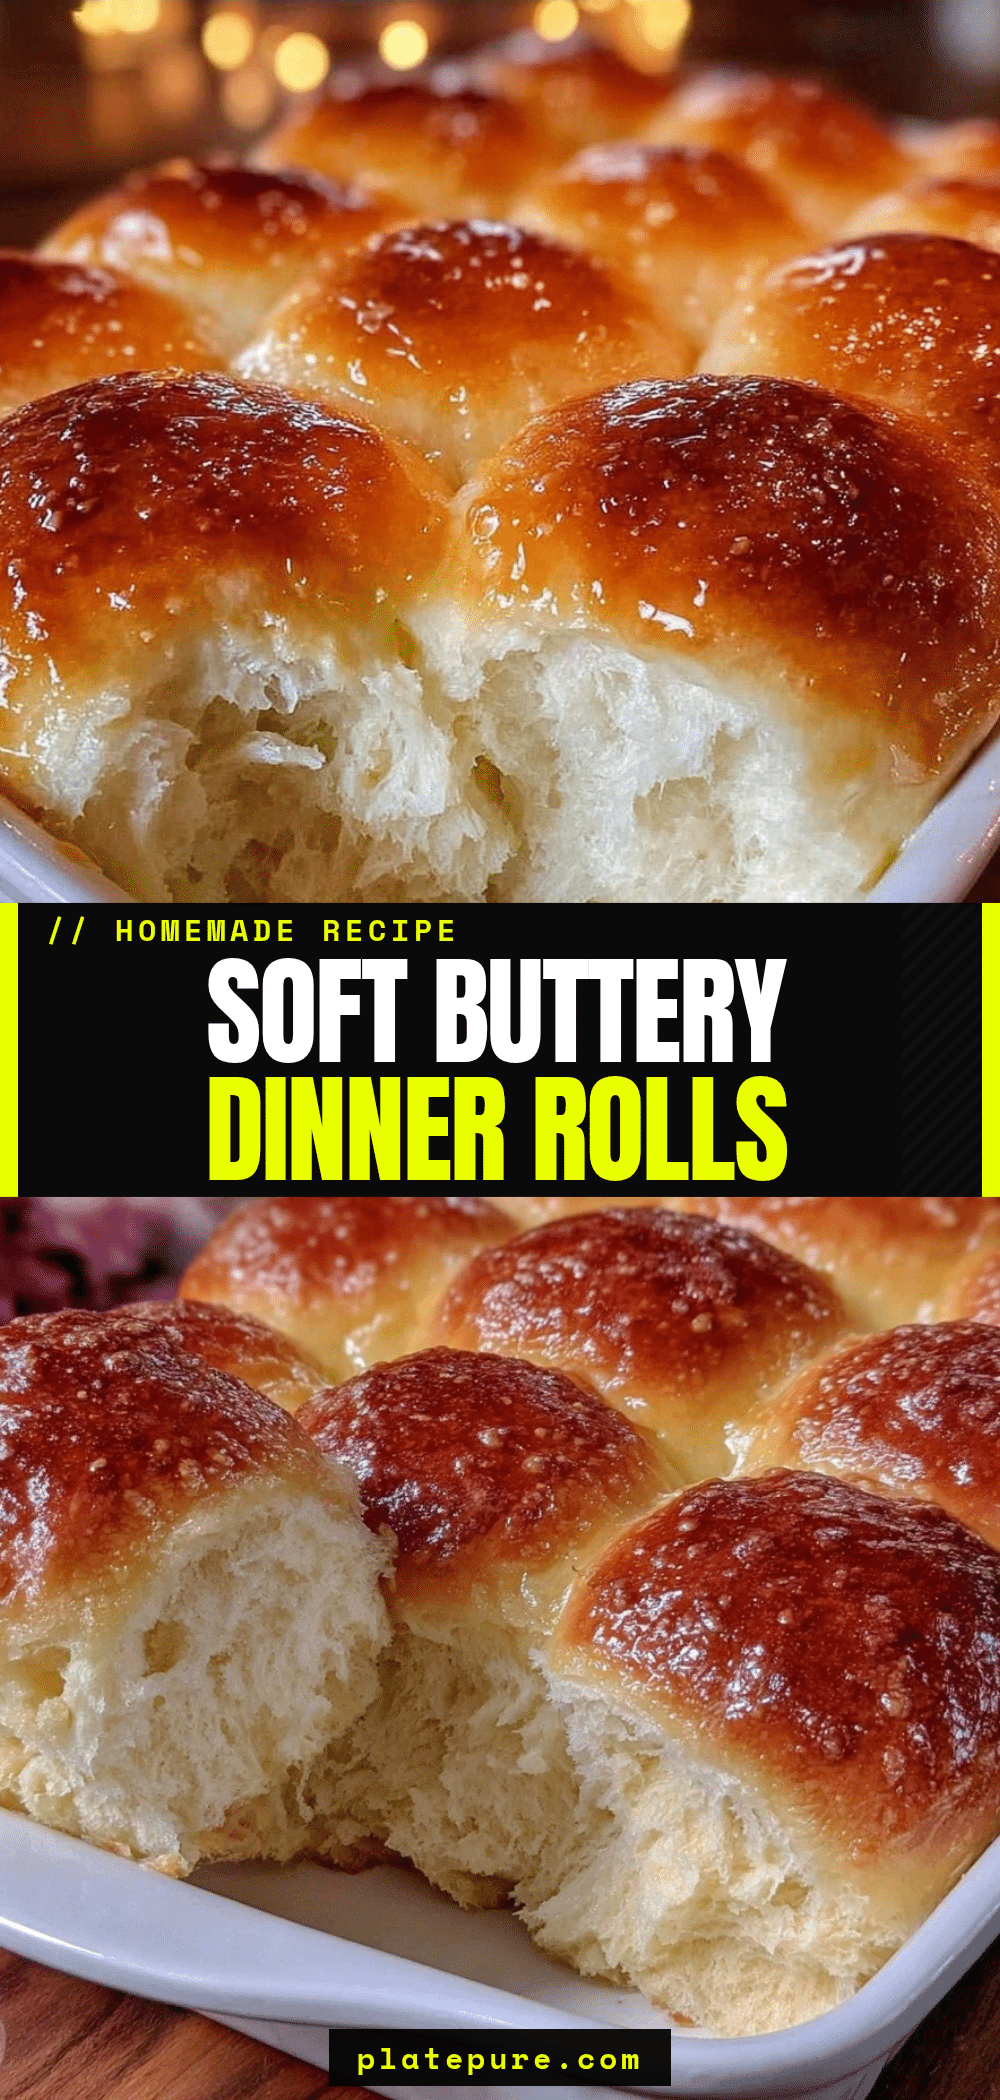

Soft Buttery Dinner Rolls: Easy Homemade & Bold
- Total Time: 45 minutes
- Yield: 12 servings 1x
Description
Pillowy soft, slightly crisp on the outside, and brushed with garlic herb butter, these homemade dinner rolls are a foolproof, crowd-pleasing comfort food perfect for any occasion.
Ingredients
- 4 to 4.5 cups (500-550g) All-Purpose Flour
- 2 packets (about 14g) Active Dry Yeast
- 1 cup (240ml) Warm Milk (whole milk preferred)
- 6 tablespoons (85g) Unsalted Butter (divided)
- 2 large Eggs (room temperature)
- 3 tablespoons (40g) Granulated Sugar (divided)
- 1.5 teaspoons Salt
- 2 cloves Garlic, minced (optional, for topping)
- Fresh Parsley, chopped (optional, for topping)
- Grated Parmesan cheese (optional, for topping)
Instructions
- Proof the yeast: Warm milk to 110°F (43°C). Add 1 tablespoon of sugar and the yeast. Stir gently and let sit for 5-10 minutes until foamy.
- Mix the dough: In a large bowl, combine flour and remaining sugar. Add eggs and yeast mixture. Mix until shaggy. Add 3 tablespoons melted butter. Knead for 5-7 minutes until smooth and elastic (passing the windowpane test).
- First rise: Grease a bowl, place dough inside, and cover. Let rise in a warm spot for 1-1.5 hours until doubled in size.
- Shape the rolls: Punch down dough. Divide into 12 equal pieces. Roll into balls, tucking edges underneath. Place seam-side down in a greased 9×13 inch pan.
- Second rise: Cover pan and let rolls rise for 30-45 minutes until puffy. Preheat oven to 375°F (190°C) during this time.
- Bake: Bake for 18-22 minutes until golden brown and internal temperature reaches 190°F (88°C). Rotate pan halfway through.
- Butter topping: While baking, melt remaining 3 tablespoons butter with minced garlic and parsley. Brush rolls generously immediately after removing from oven.
Notes
Ensure milk is warm but not hot to avoid killing yeast. Use European-style butter for richer flavor. Adjust flour amount based on humidity. Rolls are best served warm but can be frozen for up to 3 months.
- Prep Time: 20 minutes
- Cook Time: 22 minutes
- Category: Side Dish
- Cuisine: American
Nutrition
- Serving Size: 1 roll
- Calories: 220
- Sugar: 4
- Sodium: 250
- Fat: 8
- Saturated Fat: 5
- Carbohydrates: 32
- Fiber: 1
- Protein: 5
Keywords: soft dinner rolls, homemade bread, garlic herb butter, yeast rolls, comfort food, easy baking, holiday sides