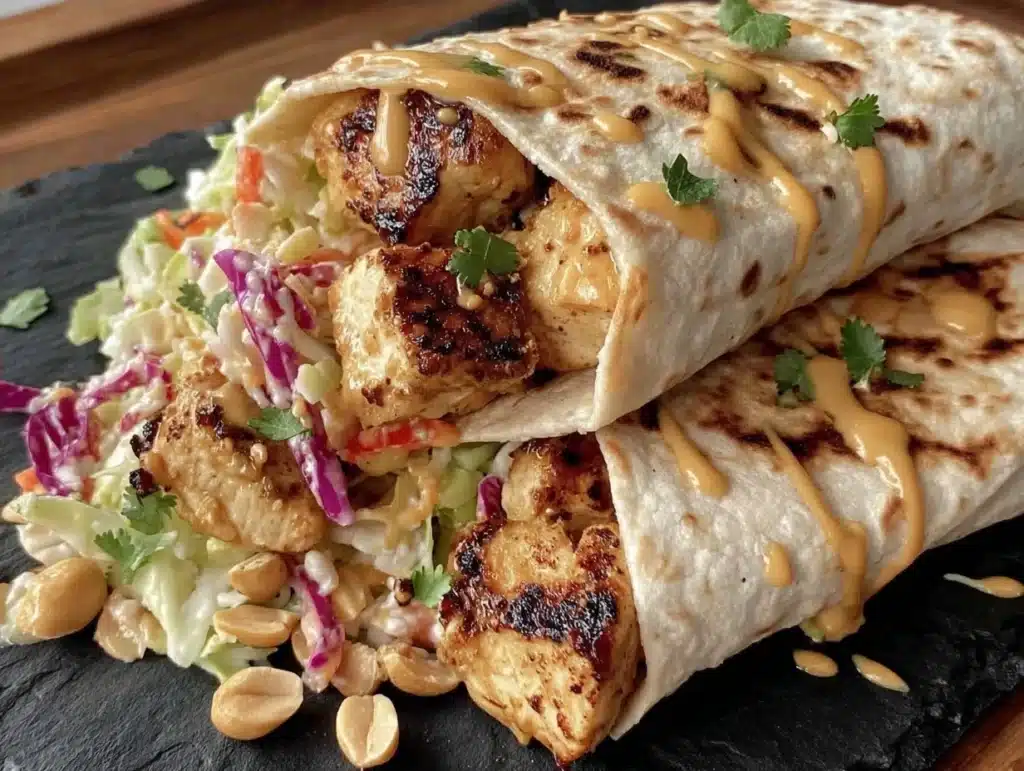
Let’s be honest for a second. There is nothing worse than that 2:00 PM slump. You’re staring at your screen, your stomach is growling, and the only thing in your fridge is a sad container of leftover rice and some wilting spinach. I’ve been there. Honestly, it’s happened more times than I care to admit. But then I discovered Thai Peanut Chicken Wraps, and suddenly, lunch wasn’t a chore—it was a rescue mission.
These wraps are my secret weapon. They come together in about 20 minutes, which is barely enough time to boil water, let alone cook a full meal. But here’s the thing that keeps me coming back: the sauce. It’s not just creamy and nutty. It’s got this sharp, tangy punch from rice vinegar and lime that cuts right through the richness of the peanut butter. It wakes up your taste buds. You know that feeling when you eat something and it’s so bright you actually forget to scroll on your phone for a minute? That’s this recipe.
I first made these during a particularly chaotic week when I was trying to meal prep without losing my mind. I needed something portable, something that didn’t get soggy in my bag, and something that didn’t taste like cardboard by 3 PM. These Thai Peanut Chicken Wraps checked every single box. The acid in the dressing balances the fat, creating this perfect harmony that feels indulgent but is actually pretty reasonable for a weekday lunch.
If you’re tired of dry turkey sandwiches or bland salads, you need to try this. It’s the kind of lunch that makes you look forward to the midday break. Plus, it pairs perfectly with other quick meals like crispy salmon onigiri bowl if you want to switch things up later in the week. It’s reliable, it’s delicious, and it’s going to become your new go-to.
Why You’ll Love This Recipe
After testing this recipe over a dozen times (yes, I really did that), I can tell you this isn’t just another chicken wrap. It’s the kind of dish that makes you close your eyes after the first bite. It’s comfort food reimagined—healthier, faster, but with the same soul-soothing satisfaction. Here is why this recipe stands out from the crowd.
- Quick & Easy: You can have this on the table in under 20 minutes. It’s perfect for busy weeknights or last-minute cravings when you don’t have hours to spare. The chicken cooks fast, and the sauce whisks up in seconds.
- Simple Ingredients: No fancy grocery trips needed. You likely already have peanut butter, soy sauce, and lime in your kitchen. It’s pantry-friendly comfort food that doesn’t require a special trip to an Asian market.
- The Acid Punch: This is the game-changer. Most peanut sauces are too sweet or too heavy. By adding rice vinegar and a squeeze of lime, you create a balance that cuts through the richness. It’s the acid that cuts through and balances it all, leaving you feeling refreshed instead of sluggish.
- Crowd-Pleaser: Whether you have picky eaters or foodie friends, this works. Kids love the creamy peanut flavor, and adults appreciate the complex spice profile. It’s always a hit at potlucks or quick family dinners.
- Meal-Prep Friendly: Unlike other wraps that get soggy, these hold up well. The chicken stays juicy, and the tortilla doesn’t turn into a mushy mess if you store them correctly. It’s the ultimate lunchbox hero.
What makes this different is that specific balance of textures. You’ve got the crunch of fresh veggies, the tender chew of the chicken, and the silky sauce coating everything. It’s not just good—it’s the kind of meal that makes you feel like a good adult who knows what they’re doing. It’s perfect for impressing guests without stress, or turning a simple meal into something memorable.
What Ingredients You Will Need
This recipe uses simple, wholesome ingredients to deliver bold flavor and satisfying texture without the fuss. The magic really lies in the sauce, so getting the ratio right is key. You don’t need anything exotic, just high-quality basics that you can trust. Here is what you’ll need to make this happen.
- Chicken Breast: 1 lb, boneless and skinless. I prefer using chicken thighs for more flavor, but breast works great for a leaner option. Look for fresh, pink meat, not that pale, processed stuff. Pound them to an even thickness for consistent cooking.
- Peanut Butter: 1/2 cup, natural or creamy. I recommend SunButter or a classic brand like Smucker’s Natural for the best texture. Avoid the kind with added sugar and hydrogenated oils. You want pure peanuts.
- Soy Sauce: 3 tablespoons, low-sodium. This adds the salty umami base. If you are watching your sodium, this is the first thing to adjust. Coconut aminos work well as a substitute for a gluten-free version.
- Rice Vinegar: 2 tablespoons. This is non-negotiable. It provides that sharp, clean acidity that cuts through the thick peanut butter. Do not substitute with white vinegar; it’s too harsh. Unseasoned rice vinegar is best.
- Lime Juice: 1 tablespoon, fresh squeezed. Bottled juice just doesn’t have that bright, zesty punch. It adds a floral note that elevates the entire dish. Squeeze it yourself, please.
- Garlic: 2 cloves, minced. Fresh garlic is essential. Powdered garlic will make this taste like a takeout box. Mince it finely so it dissolves into the sauce.
- Ginger: 1 teaspoon, freshly grated. If you don’t have fresh ginger, 1/4 teaspoon of ground ginger works in a pinch. It adds a warm, spicy kick that complements the peanuts perfectly.
- Sriracha or Chili Paste: 1 teaspoon, optional. For those who like heat. I like to add a bit for a little kick, but skip it if you prefer mild flavors. It adds depth, not just spice.
- Honey or Maple Syrup: 1 tablespoon. This balances the salt and acid. Use pure maple syrup for a vegan option. It helps emulsify the sauce, making it smoother.
- Warm Water: 2-3 tablespoons. This thins the sauce to a drizzle-able consistency. Adjust as needed depending on how thick your peanut butter is.
- Large Flour Tortillas: 4 to 6 sheets. Burrito-sized wraps work best. They need to be pliable enough to roll without cracking. Warm them slightly in the microwave for better rolling.
- Shredded Carrots: 1 cup. Adds crunch and sweetness. Pre-shredded bags are fine, but julienning your own is fresher.
- Cucumber: 1/2, julienned or thinly sliced. Provides a cool, crisp contrast to the warm chicken and rich sauce. Remove the seeds if they are watery.
- Cilantro: 1/4 cup, chopped. Fresh herbs are crucial. They add a burst of freshness. If you hate cilantro, parsley is a boring but acceptable substitute.
- Red Onion: 1/4, thinly sliced. Adds a sharp bite. Soak in ice water for 10 minutes to mellow the flavor if you find raw onions too harsh.
Equipment Needed
You don’t need a fancy kitchen to make this. A few basic tools will do the trick. A large skillet is essential for cooking the chicken evenly. I use a non-stick pan because it makes cleanup so much easier. If you don’t have one, a cast iron skillet works, but you’ll need more oil to prevent sticking.
A whisk is your best friend here for mixing the sauce. It breaks up the clumps in the peanut butter and ensures everything is smooth. If you don’t have a whisk, a fork works, but it takes a bit more arm strength. A small bowl for the sauce and another for the chicken marinade (if you choose to marinate) are helpful.
For cutting the veggies, a sharp chef’s knife is ideal. If your knife is dull, you’ll crush the cucumber instead of slicing it cleanly. Keep your knives sharp—it makes the prep work faster and safer. A measuring cup set is useful for the sauce ingredients, though I often eyeball it once I’ve made it enough times.
Lastly, a microwave or a dry skillet for warming the tortillas. Cold tortillas crack when you roll them. Warming them for 10 seconds makes them pliable and easy to work with. It’s a small step that makes a big difference in the final presentation.
Preparation Method
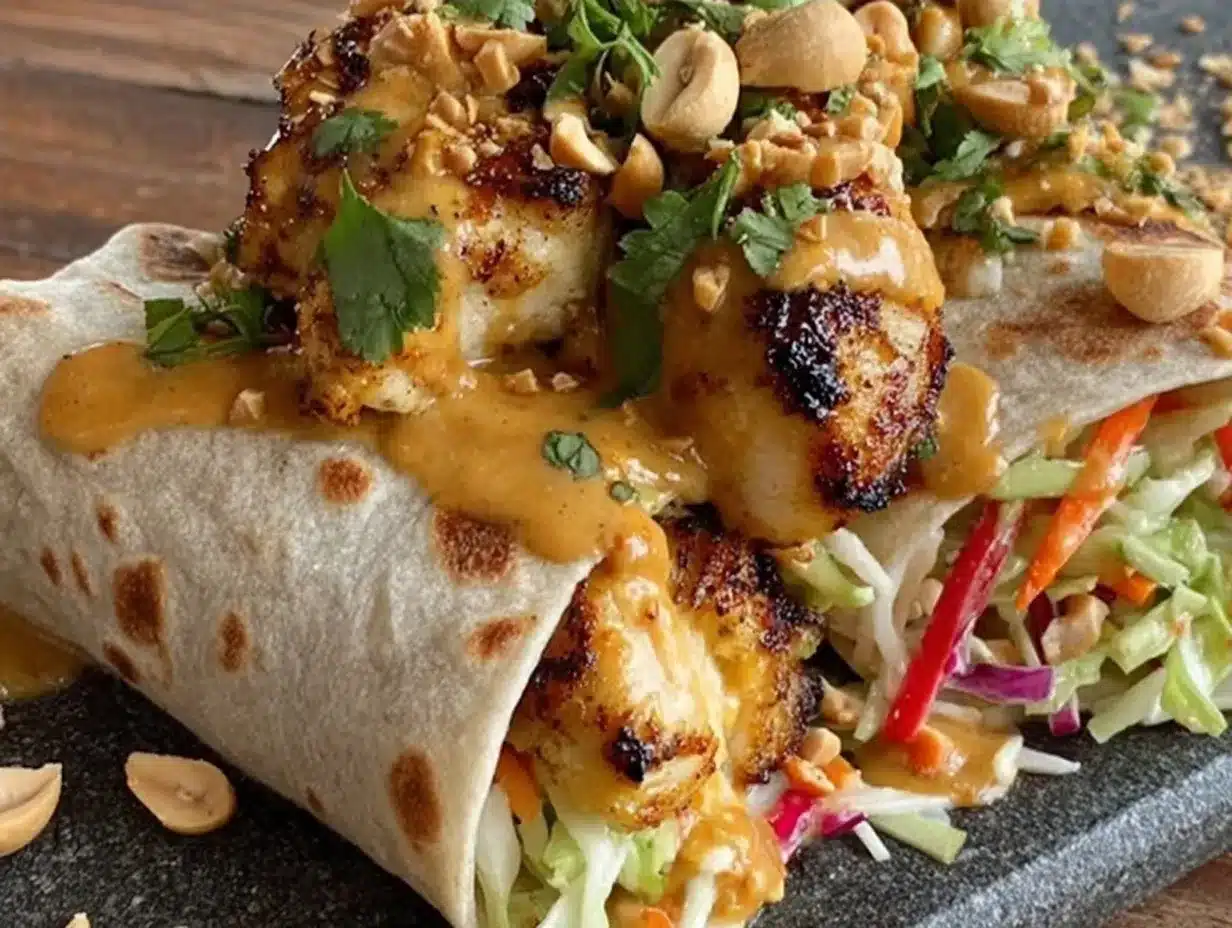
Let’s get cooking. This part is straightforward, but attention to detail makes all the difference. Follow these steps for the best results.
- Prep the Chicken: Pat the chicken breasts dry with paper towels. This helps them sear better instead of steaming. Season them generously with salt and pepper on both sides. If you have time, let them sit at room temperature for 10 minutes while you prep the other ingredients. This ensures even cooking.
- Cook the Chicken: Heat a large skillet over medium-high heat with a tablespoon of oil. Once the oil shimmers, add the chicken. Cook for 5-6 minutes per side, or until golden brown and cooked through (165°F internal temperature). Do not move the chicken around too much; let it develop a nice crust. Remove from the pan and let it rest for 5 minutes. This keeps the juices inside. Slice it thinly against the grain for tender bites.
- Make the Sauce: While the chicken rests, grab a medium bowl. Add the peanut butter, soy sauce, rice vinegar, lime juice, minced garlic, grated ginger, and sriracha. Whisk vigorously. The mixture will look thick and clumpy at first. Slowly add warm water, one tablespoon at a time, whisking constantly until you reach a smooth, drizzle-able consistency. Taste and adjust. Need more salt? Add soy sauce. Need more tang? Add lime. It should taste balanced.
- Prep the Veggies: While the sauce is whisking, get your veggies ready. Julienne the cucumber and carrots. Thinly slice the red onion. Chop the cilantro. Having everything prepped before you assemble makes the process smooth and stress-free. This is called mise en place, and it’s a pro tip for busy cooks.
- Warm the Tortillas: Wrap the tortillas in a damp paper towel and microwave for 15-20 seconds. Or, heat them briefly in a dry skillet. They should be soft and pliable. This prevents cracking when you roll them up.
- Assemble the Wraps: Lay a tortilla flat. Spoon a generous amount of sauce on the bottom third, leaving room for the filling. Add a layer of shredded carrots and cucumber slices. Top with the sliced chicken. Sprinkle with red onion and cilantro. Drizzle a little more sauce on top for extra flavor.
- Roll It Up: Fold the sides of the tortilla in towards the center. Then, fold the bottom up and over the filling, rolling tightly towards the top. Tuck it in as you go to keep it compact. Wrap in parchment paper or foil if packing for lunch to hold its shape.
If the sauce seems too thick, don’t worry. It will thin out slightly as it sits with the warm chicken. If it’s too thin, add a bit more peanut butter. Trust your eyes and your taste buds.
Cooking Tips & Techniques
I’ve made a few mistakes along the way, so you don’t have to. Here are some tips to ensure your wraps are perfect every time.
First, don’t skip the resting step for the chicken. If you cut into it immediately, all the juices run out onto your cutting board, and the meat becomes dry. Letting it rest allows the fibers to relax and reabsorb the juices. It’s a small step that prevents dry chicken.
Second, balance is everything in the sauce. Peanut butter can be heavy. If you taste the sauce and it feels too rich or one-dimensional, add more acid. A splash of lime or rice vinegar will brighten it up instantly. I learned this the hard way when I made a batch that was too sweet and thick. It was edible, but not enjoyable. Now, I always err on the side of tangy.
Third, keep your veggies dry. If your cucumber or carrots are wet, they’ll make the tortilla soggy. Pat them dry after washing. Moisture is the enemy of a good wrap. It’s a simple thing, but it makes a huge difference in texture.
Finally, don’t overstuff the wrap. It’s tempting to pile on as much chicken as possible, but if it’s too full, it will burst open when you bite into it. Moderate portions ensure a clean roll and a better eating experience. It’s about quality, not quantity.
Variations & Adaptations
This recipe is versatile. Feel free to tweak it to suit your taste or dietary needs. Here are some ideas.
For a vegan version, swap the chicken for grilled tofu or tempeh. Marinate the tofu in soy sauce and ginger before grilling. You can also use chickpeas for a protein-packed option. The sauce remains the same, and it’s just as delicious.
For a gluten-free option, use tamari instead of soy sauce and ensure your tortillas are gluten-free. Many corn tortillas work well, though they are smaller, so you may need to use two per wrap. Check the label to be sure.
If you want more heat, add more sriracha or use chili crisp instead of smooth peanut butter. Chili crisp adds texture and flavor. It’s a game-changer for spice lovers. You can also add sliced jalapeños for fresh heat.
For a lower-carb version, skip the tortilla and serve the mixture over a bed of greens or in a lettuce cup. It’s like a deconstructed wrap. It’s refreshing and light, perfect for a low-carb lunch. I often do this when I’m trying to eat lighter.
I once tried adding shredded cabbage for extra crunch, and it worked surprisingly well. It holds up better than lettuce and adds a nice texture. Feel free to experiment with different veggies. The sauce pairs well with almost any crisp vegetable.
Serving & Storage Suggestions
These wraps are best served fresh, but they store well too. For lunch, wrap them tightly in parchment paper or foil. This keeps them fresh and prevents the tortilla from drying out. They can sit in the fridge for up to 3 days.
If you’re meal prepping, store the sauce separately if you plan to eat them later in the week. This prevents the tortilla from getting soggy. Assemble them just before eating. It’s a bit more work, but the texture is worth it.
To reheat, you can microwave them for 30 seconds, but they are best eaten cold or at room temperature. The flavors meld together nicely as they sit. I actually prefer them the next day, as the sauce has had time to soak in.
Pair these with a side of air fryer pineapple for a sweet and tangy contrast. The acidity of the pineapple complements the peanut sauce perfectly. It’s a unique combination that works better than you’d think.
For a complete meal, serve with a simple green salad or some steamed broccoli. The simplicity of the sides lets the wrap shine. Don’t overcomplicate it. The wrap is the star.
Nutritional Information & Benefits
These wraps are not just tasty; they’re also pretty good for you. Chicken breast is a lean source of protein, which helps keep you full and satisfied. Peanut butter provides healthy fats and protein, which are great for energy. The veggies add fiber, vitamins, and minerals.
Each wrap contains roughly 400-500 calories, depending on the size of the tortilla and the amount of sauce. It’s a balanced meal with carbs, protein, and fats. It’s perfect for keeping your energy levels stable throughout the afternoon. No more sugar crashes.
For those watching sodium, use low-sodium soy sauce and control the amount of sauce you use. You can also reduce the peanut butter slightly to lower the calorie count. It’s still flavorful and satisfying.
The healthy fats in the peanut butter are heart-healthy and help absorb fat-soluble vitamins from the veggies. It’s a nutrient-dense meal that supports overall wellness. I love that I can feel good about what I’m eating.
Conclusion
Thai Peanut Chicken Wraps are more than just a lunch; they’re a solution. They solve the problem of midday hunger with flavor, texture, and balance. I hope you try this recipe and find it as useful as I have. It’s become a staple in my kitchen for a reason.
Feel free to customize it with your favorite veggies or proteins. Make it your own. And if you do, I’d love to hear how it turns out. Leave a comment below with your variations or tips. Sharing is caring, right?
Happy cooking! Let’s make lunch exciting again.
FAQs
Can I use leftover rotisserie chicken?
Absolutely. Shredded rotisserie chicken is a great shortcut. Just toss it with the sauce or layer it in the wrap. It saves time and adds flavor.
Why is my peanut sauce too thick?
Peanut butter varies in thickness. Add warm water one tablespoon at a time until it reaches your desired consistency. It should coat the back of a spoon.
Can I freeze these wraps?
It’s not recommended. The tortillas can become soggy or tough after freezing and thawing. It’s best to make them fresh or store them in the fridge for a few days.
What if I don’t have rice vinegar?
You can use apple cider vinegar or white wine vinegar in a pinch. They are sharper, so use a little less and taste as you go. Lime juice can also help balance it.
How do I keep the wrap from falling apart?
Don’t overstuff it. Use a moderate amount of filling. Also, ensure the tortilla is warm and pliable before rolling. Roll tightly, tucking in the sides as you go.
Pin This Recipe!
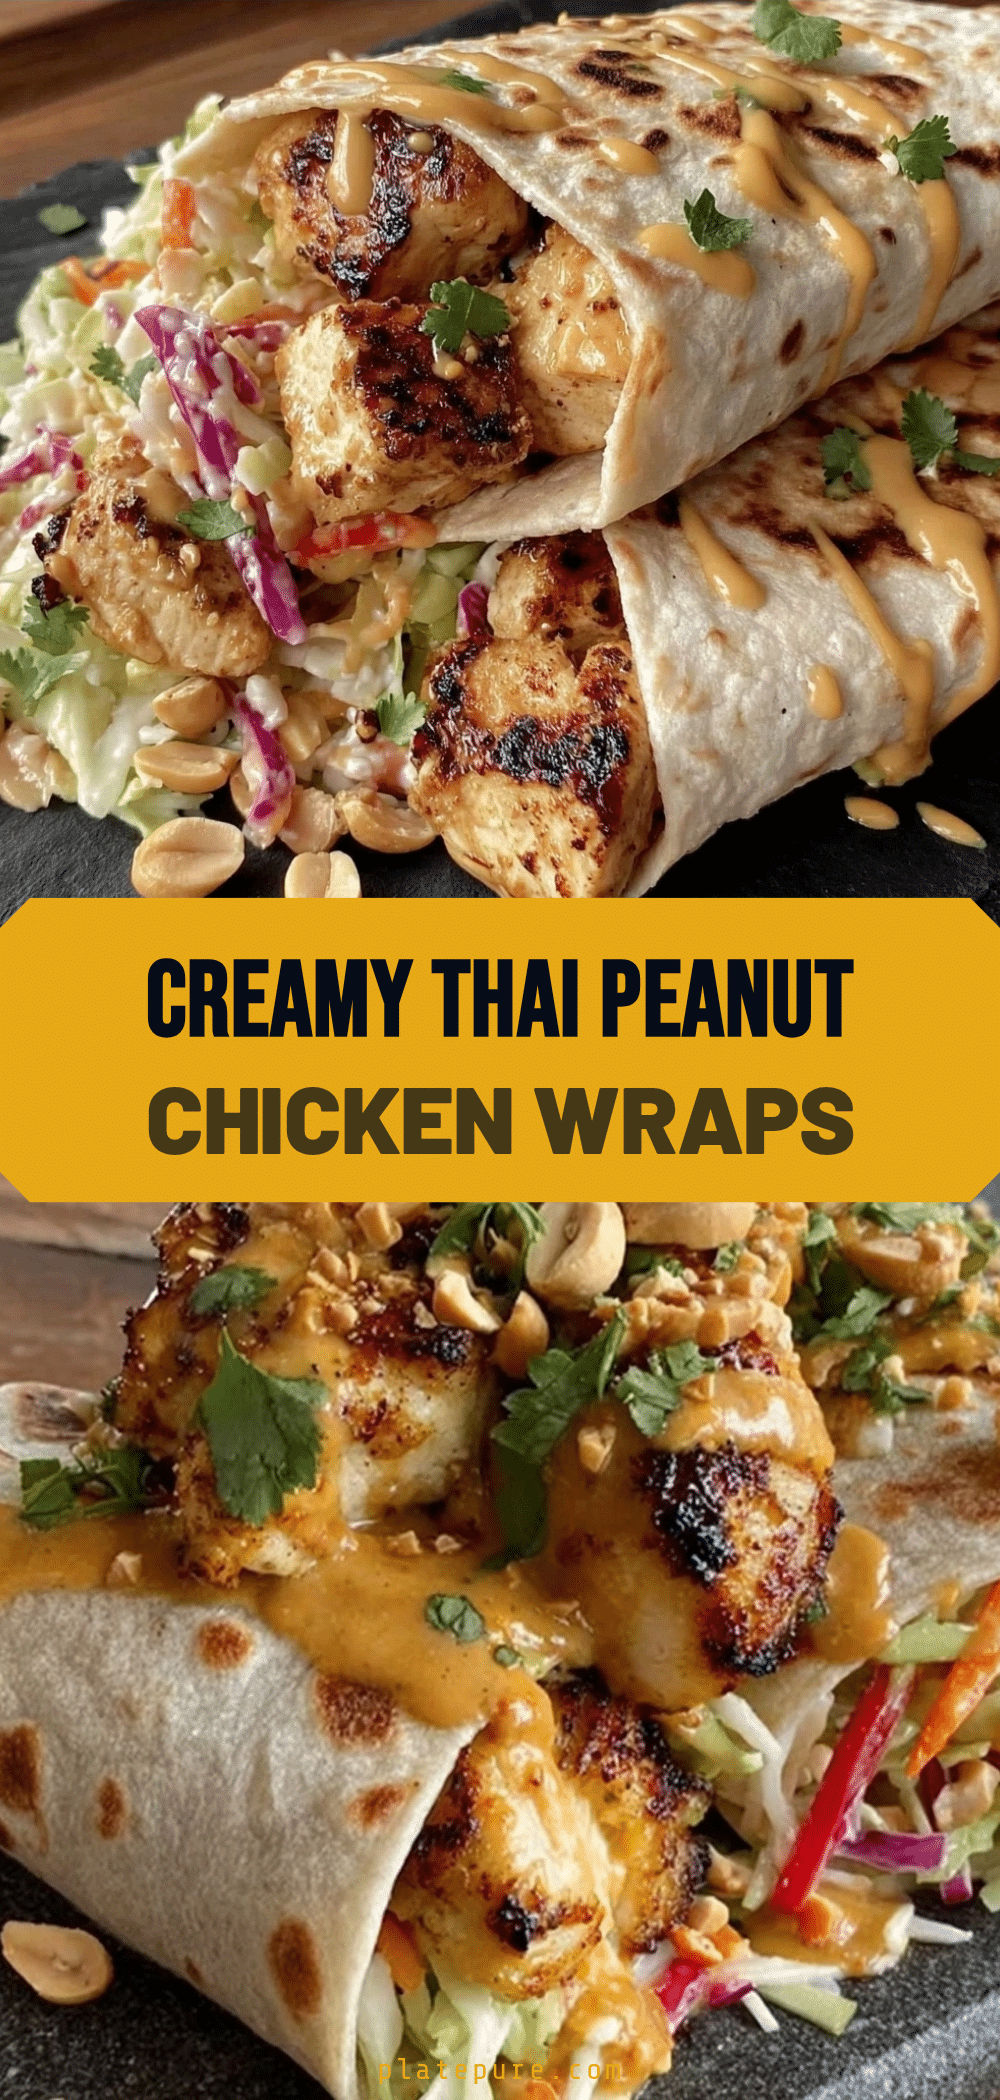

Thai Peanut Chicken Wraps: 3-Step Acid Punch
- Total Time: 20 minutes
- Yield: 4 servings 1x
Description
A quick and flavorful lunch solution featuring tender chicken, fresh veggies, and a tangy peanut sauce that balances richness with acid. Ready in under 20 minutes.
Ingredients
- 1 lb boneless, skinless chicken breast
- 1/2 cup natural or creamy peanut butter
- 3 tablespoons low-sodium soy sauce
- 2 tablespoons unseasoned rice vinegar
- 1 tablespoon fresh lime juice
- 2 cloves garlic, minced
- 1 teaspoon freshly grated ginger
- 1 teaspoon sriracha or chili paste (optional)
- 1 tablespoon honey or maple syrup
- 2–3 tablespoons warm water
- 4–6 large flour tortillas
- 1 cup shredded carrots
- 1/2 cucumber, julienned or thinly sliced
- 1/4 cup chopped cilantro
- 1/4 red onion, thinly sliced
- Salt and pepper to taste
- 1 tablespoon oil for cooking
Instructions
- Pat chicken breasts dry and season generously with salt and pepper. Let sit at room temperature for 10 minutes.
- Heat a large skillet over medium-high heat with oil. Cook chicken for 5-6 minutes per side until golden brown and internal temperature reaches 165°F.
- Remove chicken from pan and let rest for 5 minutes, then slice thinly against the grain.
- In a medium bowl, whisk together peanut butter, soy sauce, rice vinegar, lime juice, garlic, ginger, and sriracha.
- Slowly add warm water, one tablespoon at a time, whisking until the sauce is smooth and drizzle-able. Adjust seasoning to taste.
- Julienne cucumber and carrots, slice red onion, and chop cilantro.
- Warm tortillas in the microwave (wrapped in damp paper towel) or a dry skillet until pliable.
- Assemble wraps by spooning sauce on the bottom third of the tortilla, adding veggies, sliced chicken, red onion, and cilantro.
- Fold sides in, then roll tightly from the bottom up. Wrap in parchment paper or foil if packing for lunch.
Notes
For a vegan version, swap chicken for grilled tofu or tempeh. For gluten-free, use tamari and gluten-free tortillas. Keep veggies dry to prevent soggy wraps. Do not freeze as tortillas may become tough.
- Prep Time: 10 minutes
- Cook Time: 10 minutes
- Category: Lunch
- Cuisine: Thai
Nutrition
- Serving Size: 1 wrap
- Calories: 450
- Sugar: 8
- Sodium: 600
- Fat: 18
- Saturated Fat: 3
- Carbohydrates: 40
- Fiber: 4
- Protein: 30
Keywords: Thai Peanut Chicken Wraps, quick lunch, meal prep, healthy wraps, peanut sauce, acid punch, 20 minute meals


