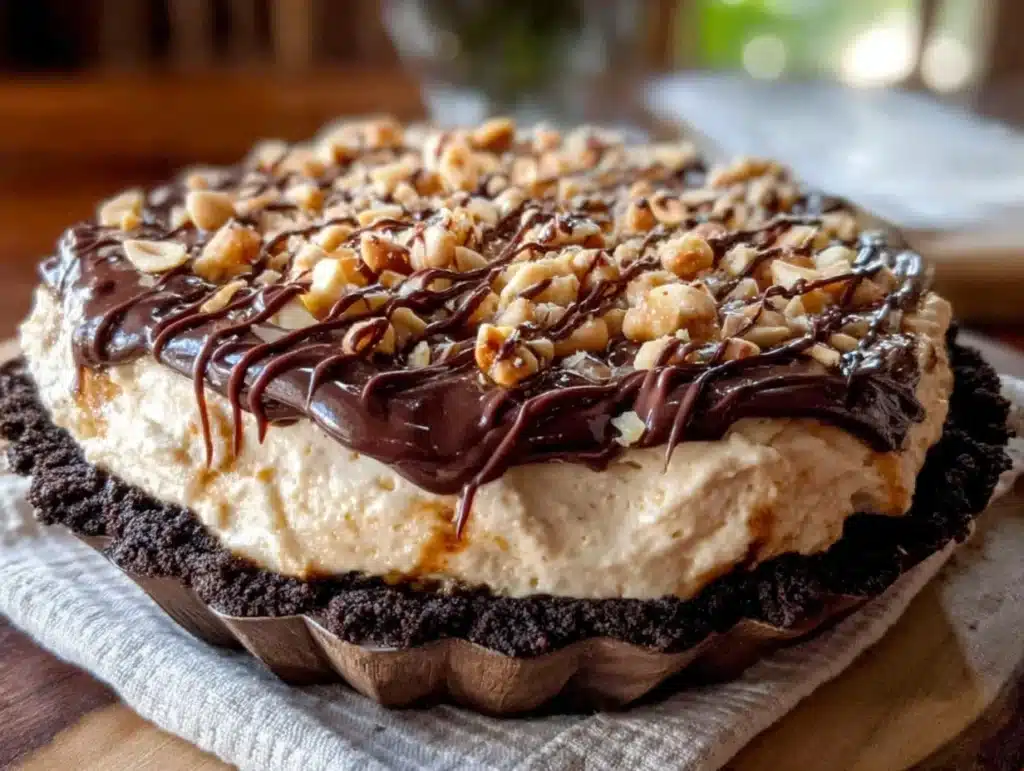
The smell of roasted peanuts and cool cream cheese hits you before you even cut into the pie. It’s that specific, nostalgic scent that takes me straight back to Sunday dinners at my grandmother’s house. She always had something cooling on the counter, something that promised comfort without the oven heat.
I’ve made this no bake peanut butter pie over a dozen times. Honestly, it started as a lazy summer experiment when I was too hot to turn on the stove. Now, it’s the go-to dessert for every gathering. It’s creamy, rich, and surprisingly light for something so indulgent.
People think peanut butter desserts are heavy or cloying. This recipe proves them wrong. It’s all about balance. You get the deep, savory nuttiness of the peanut butter, but it’s cut by the brightness of the whipped topping. It’s rich meets bright, and bright wins the last bite.
If you’ve been hunting for a dessert that tastes like a gourmet cheesecake but takes ten minutes to mix, this is it. I tested it with different brands of peanut butter to find the perfect consistency. This version is foolproof. You don’t need to be a baker to pull this off.
It’s perfect for busy weeknights when you need a sweet treat but zero drama. It’s also great if you’re hosting a potluck and need a dish that travels well. Just grab a spoon and dig in. You won’t regret it.
Why You’ll Love This Recipe
After years of testing desserts in my own kitchen, I can tell you this no bake peanut butter pie stands out. It’s not just another copycat attempt. It’s my best version, refined through trial and error. I wanted something that felt luxurious but didn’t require a thermometer or a water bath.
- Quick & Easy: This comes together in under 15 minutes of active time. No baking, no waiting for crusts to cool. Just mix, chill, and eat. Perfect for those last-minute cravings.
- Simple Ingredients: You likely have everything in your pantry right now. Four main ingredients, really. No fancy grocery trips needed for obscure items.
- Perfect for Summer: When the heat is on, the last thing you want is a hot oven. This recipe keeps your kitchen cool and your dessert chilled.
- Crowd-Pleaser: Kids love the peanut butter flavor. Adults love the smooth texture. It always gets rave reviews, whether it’s a family dinner or a party.
- Unbelievably Delicious: The texture is next-level. It’s airy yet dense with flavor. It’s comfort food reimagined—healthier, faster, but with the same soul-soothing satisfaction.
What makes this different from other peanut butter pies? It’s the ratio. Most recipes are too sweet or too dense. I adjusted the cream cheese to whipped topping ratio to create a cloud-like consistency. The peanut butter isn’t just a swirl; it’s folded in to create ribbons of flavor throughout.
It’s the kind of dessert that makes you close your eyes after the first bite. It’s rich, yes, but the cool temperature and airy texture keep it from feeling heavy. It’s perfect for impressing guests without stress. You spend five minutes mixing, and then you let the fridge do the work.
I remember making this for a friend who was skeptical about no-bake desserts. She took one bite and asked for the recipe immediately. That’s the power of this pie. It’s simple, but it delivers on flavor every single time.
What Ingredients You Will Need
This recipe uses simple, wholesome ingredients to deliver bold flavor and satisfying texture without the fuss. You don’t need specialty stores or hard-to-find items. Everything is available at your local grocery store. The key is quality. Since there are only a few ingredients, each one matters.
For the Filling
- Cream Cheese: 16 oz block, softened to room temperature. This is the base. I recommend using a full-fat block rather than tub spread. Tub spreads have more air and water, which can make the pie runny. Block cream cheese gives you that dense, cheesecake-like structure.
- Peanut Butter: 1 cup. Use creamy, natural peanut butter if you can. It has a deeper roasted flavor. If you use standard processed peanut butter (like Jif or Skippy), it works too, but the flavor is sweeter. Make sure it’s smooth. Chunky peanut butter will create uneven bites unless you blend it first.
- Whipped Topping: 1 container (8 oz), thawed. Cool Whip or a generic brand works fine. The thawed topping is crucial. If it’s still frozen, it won’t fold in smoothly. This ingredient provides the light, airy texture that defines this pie.
For the Crust
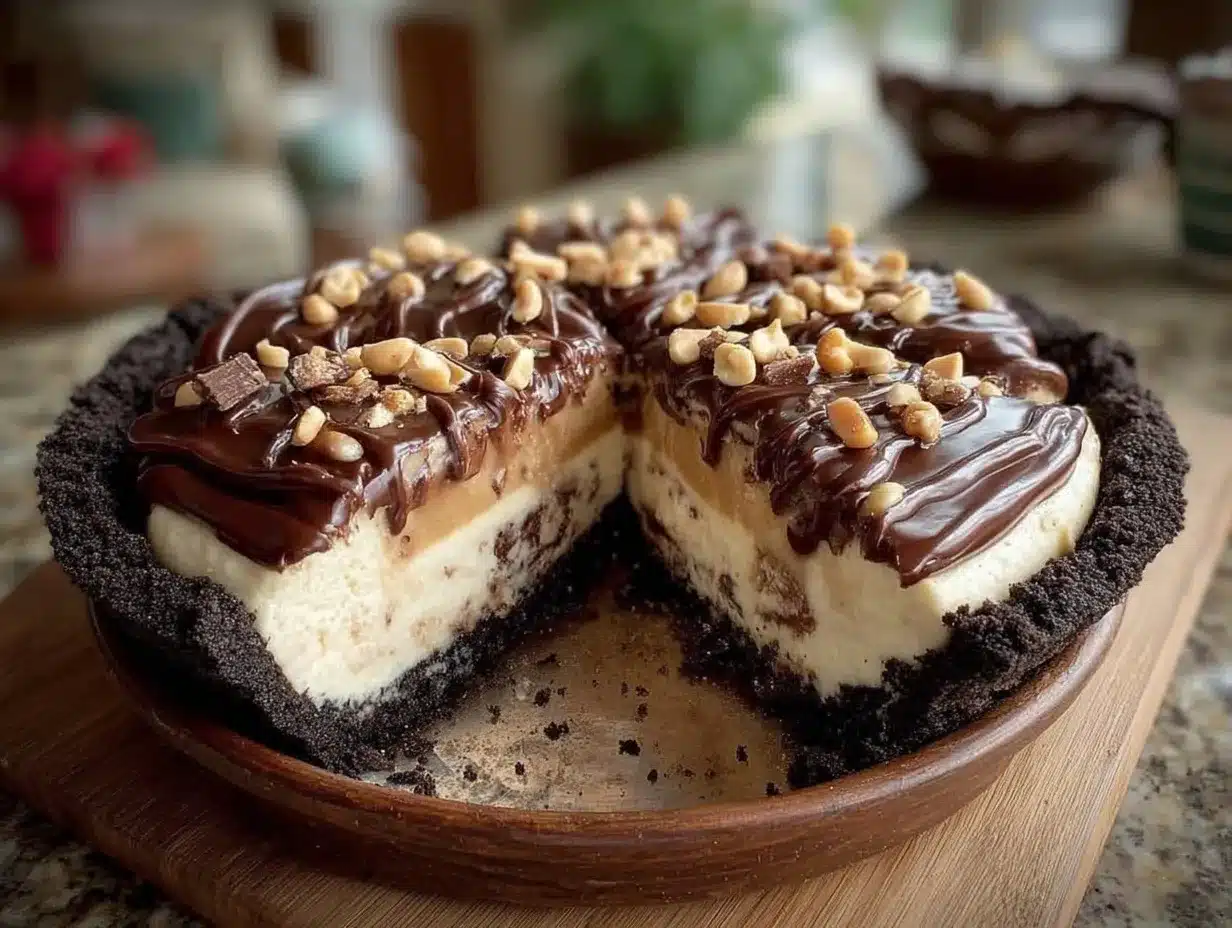
- Crushed Cookies: 1 ½ cups. Oreo cookies are the classic choice. They add a chocolate contrast to the peanut butter. Graham crackers work too, but they make it more like a traditional pie crust. Oreos add a bit of sweetness and a dark color contrast.
- Melted Butter: 4 tablespoons. This binds the crumbs together. Use unsalted butter so you can control the saltiness. Melt it completely so it coats every crumb evenly.
I’ve tried using graham cracker crumbs with honey, but the texture was too dry. Butter gives it that crisp, shortbread-like snap when you press it into the pan. Look for firm, high-quality peanut butter for best texture. If it’s too oily, you might need to chill it slightly before mixing.
For substitutions, you can use dairy-free cream cheese if needed, but the texture will be softer. Almond flour can replace the cookie crust for a low-carb option, though it won’t have that classic snap. Keep it simple and let the flavors shine.
Equipment Needed
You don’t need a fancy kitchen to make this pie. A few basic tools are all you need. The most important item is a mixing bowl. A large, wide bowl makes folding the whipped topping much easier. If the bowl is too small, you’ll end up deflating the air you worked so hard to incorporate.
A hand mixer or a sturdy whisk is essential for the cream cheese and peanut butter. They are dense. Mixing them by hand takes effort and time. A mixer ensures they are smooth and lump-free. If you don’t have an electric mixer, a strong arm and a good whisk will work, but it will take longer.
A 9-inch pie dish is standard. Glass or ceramic dishes work best because they conduct cold evenly. This helps the pie set firmly. You can also use a springform pan if you want to unmold it for a cleaner presentation. Just remember to line it with parchment paper for easy removal.
For the crust, you’ll need a food processor or a zip-top bag and a rolling pin. If you crush the cookies by hand, it takes forever. A food processor gives you uniform crumbs quickly. If you use a bag, crush them until they are fine sand. Large chunks will make the crust uneven.
A rubber spatula is your best friend here. Use it to scrape the sides of the bowl and to fold the ingredients gently. This preserves the airy texture. Don’t skip the spatula. Metal spoons can deflate the mixture if you’re not careful.
Budget-friendly tip: You don’t need a high-end mixer. A $20 hand mixer works perfectly. The quality of your tools doesn’t matter as much as the technique. Focus on the folding and mixing steps for the best results.
Preparation Method
Let’s get started. This process is straightforward, but attention to detail makes all the difference. Follow these steps carefully for the best texture.
Step 1: Prepare the Crust (5 minutes)
First, crush your cookies. If using Oreos, remove the cream filling if you want a less sweet crust, or leave it in for extra sweetness. Place the cookies in a food processor and pulse until they resemble fine sand. If you don’t have a processor, put them in a heavy zip-top bag and crush them with a rolling pin. Be thorough. You want fine crumbs, not chunks.
Melt the 4 tablespoons of butter in the microwave. It should be liquid, not browned. Pour the melted butter over the cookie crumbs. Stir until every crumb is coated. It should look like wet sand. Press this mixture firmly into the bottom and slightly up the sides of your 9-inch pie dish. Use the bottom of a glass to pack it down tightly. A loose crust will crumble when you slice it. Chill this in the fridge while you make the filling.
Step 2: Mix the Base (3 minutes)
In your large mixing bowl, combine the softened cream cheese and the peanut butter. If using an electric mixer, beat them on medium speed until completely smooth. This should take about two minutes. Scrape down the sides of the bowl to ensure there are no lumps. If you’re mixing by hand, whisk vigorously until the mixture is pale and smooth. The goal is a homogeneous, creamy base. If there are lumps of cream cheese, they will remain in the final pie.
Step 3: Fold in the Whipped Topping (2 minutes)
This is the most critical step. Add the thawed whipped topping to the cream cheese mixture. Use a rubber spatula. Fold the topping in gently. Do not stir or beat. You want to keep the air in the topping. Fold from the bottom up, turning the bowl as you go. Stop as soon as the white topping is incorporated. Over-mixing will deflate the pie and make it dense. It should look light and fluffy.
Step 4: Assemble and Chill (4 hours minimum)
Pour the filling into the prepared crust. Smooth the top with your spatula. Cover the pie with plastic wrap or foil. Place it in the refrigerator. You need at least 4 hours for it to set. Overnight is even better. The cold time allows the flavors to meld and the texture to firm up. If you cut it too soon, it will be soft and messy.
Step 5: Slice and Serve
When you’re ready to serve, use a sharp knife dipped in hot water for clean slices. Wipe the knife between cuts. This keeps the layers distinct. Garnish with extra peanut butter drizzle or crushed peanuts if you like. Enjoy immediately.
Cooking Tips & Techniques
There are a few tricks I’ve learned over time that make this pie perfect. First, temperature control is key. Your cream cheese must be fully softened. If it’s cold, you’ll get lumps. Leave it on the counter for an hour before you start. If you’re in a hurry, microwave it in 10-second bursts, but be careful not to melt it.
Don’t skip the chilling time for the crust. If you add the filling to a warm crust, it will slide around. The cold crust helps set the bottom layer. Also, make sure your whipped topping is fully thawed. If there are ice crystals, they will melt and make the pie watery. Thaw it in the fridge overnight.
I once made this pie with chunky peanut butter and regretted it. The chunks created uneven textures that were hard to slice. Always use smooth peanut butter. If you love crunch, add chopped peanuts on top as a garnish instead of mixing them in.
Folding is an art. Be gentle. Think of it as incorporating, not mixing. If you see streaks of white, keep folding. But if the mixture looks like it’s losing volume, stop. It’s better to have a few streaks than a dense brick. The visual cue is a pale yellow, fluffy mixture.
For consistency, use a kitchen scale. Measuring by volume can be inaccurate, especially with peanut butter. 1 cup of peanut butter can vary in weight. Weighing it ensures the ratio of peanut butter to cream cheese is correct. This balance is what makes the flavor pop.
Variations & Adaptations
This recipe is a blank canvas. You can tweak it to suit your tastes or dietary needs. Here are a few variations I’ve tried.
Chocolate Swirl: Melt ½ cup of chocolate chips and drizzle it over the filling before chilling. Use a toothpick to swirl it in. This adds a marbled effect and a chocolate-peanut butter combo that is irresistible.
Gluten-Free: Use gluten-free cookie crumbs for the crust. Most major brands make gluten-free Oreos or graham crackers. The rest of the recipe is naturally gluten-free, but check your peanut butter and whipped topping labels to be sure.
Dairy-Free: Substitute the cream cheese with a dairy-free block alternative. Use coconut whipped topping instead of Cool Whip. The flavor will be slightly coconutty, which pairs well with peanut butter. It’s lighter but still delicious.
Low-Carb: Use almond flour and erythritol for the crust. Skip the sugar in the whipped topping or use a sugar-free version. The peanut butter should be unsweetened. This version is denser but fits into a keto lifestyle.
I also tried adding a layer of caramel sauce in the middle. It was too sweet. Stick to the simple version. The contrast between the salty peanut butter and sweet cream is enough. Sometimes less is more.
Serving & Storage Suggestions
This pie is best served cold. Straight from the fridge. It’s firm, cool, and refreshing. Garnish with a drizzle of peanut butter and a sprinkle of sea salt. The salt enhances the peanut flavor and adds a nice crunch.
It pairs well with a hot cup of coffee or a cold glass of milk. The contrast of temperatures is satisfying. It also goes well with fresh berries on the side. The acidity of the berries cuts through the richness of the pie.
Store leftovers in the refrigerator. Cover tightly with plastic wrap to prevent it from absorbing other fridge odors. It will keep for up to 4 days. The texture might soften slightly after the first day, but the flavor remains strong.
Do not freeze this pie. The whipped topping will separate and become grainy when thawed. It’s best enjoyed fresh. If you have too much leftover, consider sharing it. It disappears fast.
The flavors develop over time. The peanut butter melds with the cream cheese, becoming more cohesive. By day two, it tastes even better than day one. It’s a pie that improves with patience.
Nutritional Information & Benefits
This pie is rich in protein and healthy fats. Peanut butter is a great source of plant-based protein and monounsaturated fats. Cream cheese provides calcium and protein. While it is a dessert, it offers more nutritional value than a standard sponge cake.
Each slice contains approximately 350 calories. It has about 12 grams of protein and 20 grams of fat. The carbohydrate content comes mainly from the cookies and whipped topping. It’s not a low-carb dish unless you use the adaptations mentioned above.
For those with dietary restrictions, note that this contains dairy, nuts, and gluten. Use the substitutions provided if you have allergies. Always check labels for hidden allergens.
From a wellness perspective, I enjoy this as an occasional treat. It satisfies sweet cravings without leaving you feeling sluggish. The protein helps keep you full. It’s a balanced indulgence.
Remember, moderation is key. One or two slices are plenty. Pair it with a salad or veggies for a balanced meal. Don’t let the dessert aspect fool you; it can fit into a healthy lifestyle if planned well.
Conclusion
This no bake peanut butter pie is a winner. It’s easy, delicious, and always a crowd-pleaser. I love how simple it is. You don’t need to be a pro baker to make it. Just mix, chill, and enjoy.
Try customizing it with your favorite toppings. Add chocolate chips, nuts, or caramel. Make it your own. I love making this for summer gatherings because it’s cool and refreshing. It’s a recipe I come back to again and again.
Please try it and let me know what you think. Leave a comment below with your variations. Share your photos on social media and tag me. I love seeing how you make this recipe your own.
Happy baking, or should I say, happy no-baking! Enjoy every bite.
Frequently Asked Questions
Can I use crunchy peanut butter?
Yes, you can, but it will change the texture. The pie won’t be as smooth. If you use crunchy peanut butter, consider blending it first to break up the chunks. Or, save the crunch for the topping.
How long does it take to set?
It needs at least 4 hours in the fridge. Overnight is best for a firm, sliceable texture. If you rush it, the filling will be soft and difficult to cut cleanly.
Can I freeze this pie?
I don’t recommend freezing it. The whipped topping can separate and become grainy when thawed. It’s best eaten fresh from the refrigerator.
What kind of crust works best?
Oreo crumbs are the most popular choice because they add a chocolate flavor that contrasts with the peanut butter. Graham cracker crumbs work too, but they are milder. You can use any cookie you like.
Can I make this dairy-free?
Yes. Use dairy-free cream cheese and coconut whipped topping. The flavor will be slightly different, but it will still be creamy and delicious. Just ensure your peanut butter is also dairy-free.
Pin This Recipe!
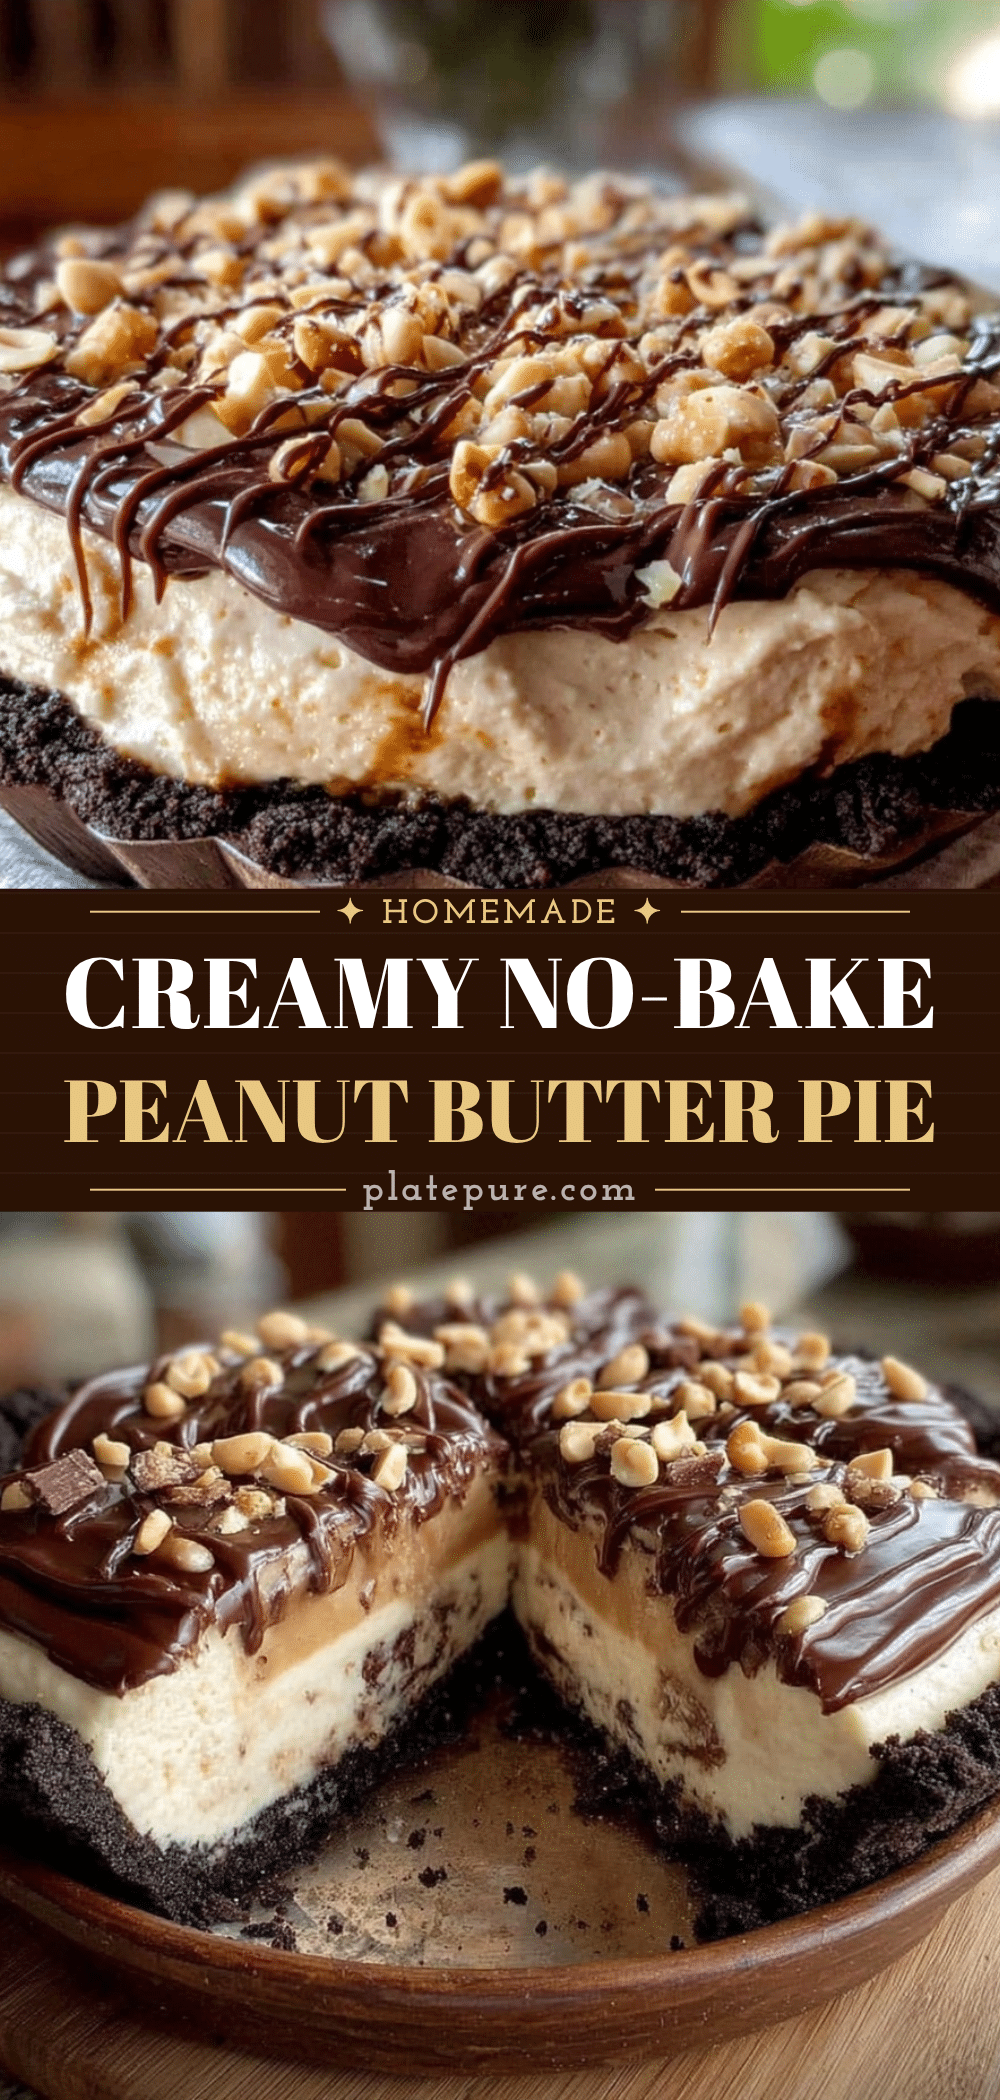

No Bake Peanut Butter Pie: Easy 4-Ingredient Recipe
- Total Time: 4 hours 15 minutes
- Yield: 8 servings 1x
Description
A creamy, rich, and light no-bake dessert that combines cream cheese, peanut butter, and whipped topping on a cookie crust. It requires only four main ingredients and minimal active time, making it perfect for summer gatherings or busy weeknights.
Ingredients
- 16 oz block cream cheese, softened to room temperature
- 1 cup creamy peanut butter
- 1 container (8 oz) whipped topping, thawed
- 1 ½ cups crushed cookies (such as Oreos)
- 4 tablespoons unsalted butter, melted
Instructions
- Crush the cookies into fine crumbs using a food processor or a zip-top bag with a rolling pin.
- Melt the butter and mix it with the cookie crumbs until the texture resembles wet sand.
- Press the crust mixture firmly into the bottom and slightly up the sides of a 9-inch pie dish. Chill in the refrigerator.
- In a large mixing bowl, beat the softened cream cheese and peanut butter together until completely smooth and lump-free.
- Gently fold the thawed whipped topping into the cream cheese mixture using a rubber spatula until just incorporated, being careful not to deflate the air.
- Pour the filling into the prepared crust and smooth the top.
- Cover the pie and refrigerate for at least 4 hours, or overnight, until set.
- Slice with a sharp knife dipped in hot water for clean cuts. Garnish with extra peanut butter or crushed peanuts if desired.
Notes
Ensure cream cheese is fully softened to avoid lumps. Use smooth peanut butter for the best texture; chunky peanut butter should be blended first. Do not freeze this pie as the whipped topping may separate and become grainy. For a gluten-free option, use gluten-free cookie crumbs. For a dairy-free option, use dairy-free cream cheese and coconut whipped topping.
- Prep Time: 15 minutes
- Cook Time: 0 minutes
- Category: Dessert
- Cuisine: American
Nutrition
- Serving Size: 1 slice
- Calories: 350
- Sugar: 25
- Sodium: 250
- Fat: 20
- Saturated Fat: 8
- Carbohydrates: 35
- Fiber: 2
- Protein: 12
Keywords: no bake, peanut butter pie, easy dessert, summer dessert, 4 ingredient recipe, cream cheese dessert, cookie crust


