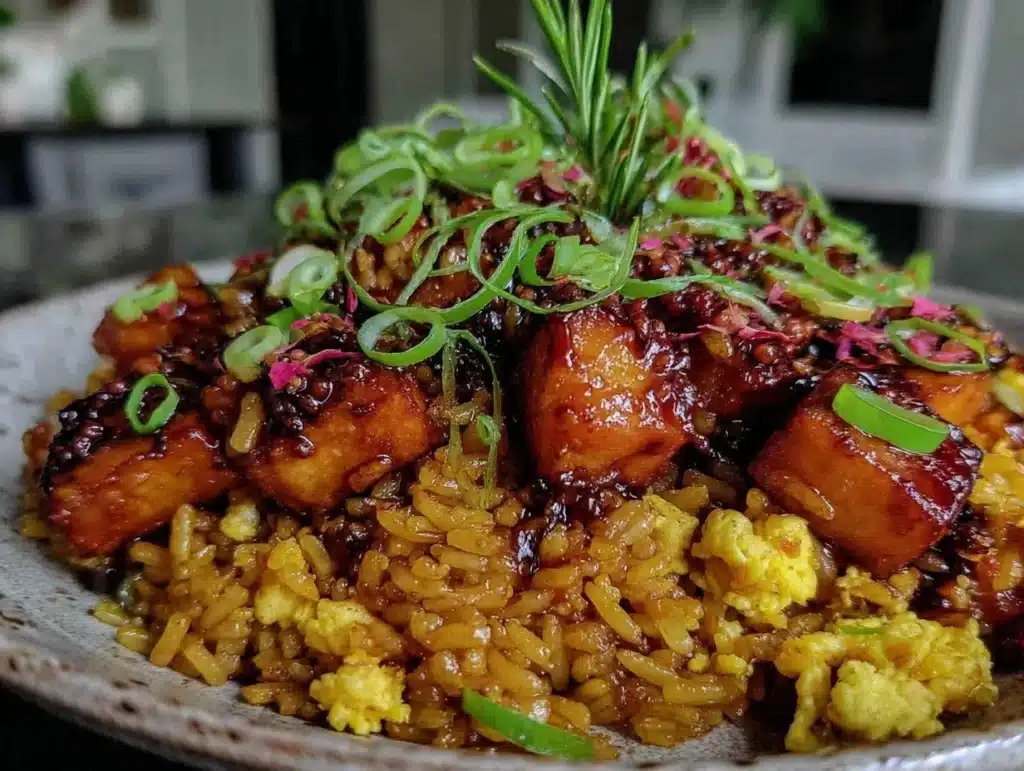
There is nothing quite like the sound of sizzling oil hitting cold rice in a hot wok. It’s a noise that instantly signals dinner is about to get serious. I remember standing in my tiny apartment kitchen in Seattle, rain hammering against the window, when I first decided to tackle fried rice. I was tired. Takeout was too expensive, and I only had half a cup of rice left in the fridge. It wasn’t much, but it was all I had. That single bowl of crispy fried rice changed how I view leftovers forever.
Most people think fried rice is just scrambled eggs and peas. They are wrong. The secret isn’t the ingredients; it’s the texture. You know that feeling when you take a bite and hear a faint crunch? That is the holy grail. It’s not soggy. It’s not mushy. It’s distinct, separate grains that pack a punch of savory flavor. I’ve tested this recipe over a dozen times, adjusting heat levels and oil ratios until I got it right.
As someone who has spent years in professional kitchens, I’ve learned that technique beats fancy ingredients every time. You don’t need truffle oil or wagyu beef. You just need patience and a very hot pan. This Best Crispy Fried Rice recipe is designed for real life. It uses ingredients you probably already have in your pantry. It’s perfect for busy weeknights when you’re too tired to cook something complicated. It’s also great for using up that leftover veggie drawer from your fridge.
What makes this version special is the focus on the “crispy” part. Many recipes skip this step, resulting in bland, soft rice. Not here. We’re going to get those golden, caramelized bits that cling to the bottom of the pan. It’s messy, it’s delicious, and it’s totally worth the effort. Honestly, once you try it this way, you’ll never go back to soggy takeout again. Let’s get cooking.
Why You’ll Love This Recipe
Let’s face it, fried rice can be hit or miss. Sometimes it’s dry, sometimes it’s greasy, and often it just tastes like nothing. I’ve been there. I’ve burned garlic and overcooked my eggs until they were rubbery. But after refining this method, I’ve found a balance that works every single time. This isn’t just another fried rice recipe; it’s the result of trial, error, and a lot of tasting.
- Unbelievably Crispy Texture: The key is using day-old rice and letting it sit in the hot oil. You get those delightful, crunchy bits that make every bite interesting. It’s comfort food reimagined with a serious crunch.
- Quick & Easy: This comes together in under 20 minutes. It’s perfect for those nights when you’re starving but don’t have the energy to chop a dozen vegetables. It’s fast, efficient, and satisfying.
- Simple Ingredients: You likely already have everything in your kitchen. Soy sauce, sesame oil, eggs, and rice. No fancy grocery trips needed. It’s humble food elevated by technique.
- Crowd-Pleaser: Kids love the crunch, and adults love the savory depth. It’s great for potlucks or cozy dinners. Everyone will ask for the recipe.
- Zero Waste: This is the ultimate way to use up leftover rice, wilting veggies, and odd bits of protein. It turns scraps into a feast.
What makes this recipe different is the attention to heat management. Most home cooks burn their rice because their pan isn’t hot enough or they overcrowd it. I’ve learned to cook in batches if needed. This ensures every grain gets that golden sear. It’s not just good; it’s the kind of meal that makes you close your eyes after the first bite. It’s soul-soothing and deeply satisfying.
What Ingredients You Will Need
This recipe relies on the quality of your base ingredients. Since there aren’t many of them, each one plays a crucial role in the final flavor profile. You want wholesome, reliable staples that deliver bold flavor without the fuss. Here is what you need to gather before you start cooking.
- Rice (3 cups cooked and cooled): Jasmine rice is my top choice for its fragrant aroma and slightly sticky texture that holds together well. Short-grain rice works too, but jasmine gives that classic restaurant feel. Crucial: The rice must be cold and dry. Refrigerated overnight is best.
- Eggs (2 large): Room temperature eggs scramble faster and more evenly. I recommend free-range eggs for richer yolks, which add a lovely color and depth to the rice.
- Vegetables (1 cup mixed): Frozen peas and carrots are convenient and work perfectly. If you have fresh corn or diced bell peppers, those are great too. I like to add a handful of chopped scallions for a fresh bite.
- Soy Sauce (3 tablespoons): Use a high-quality soy sauce like Kikkoman for balanced saltiness. Dark soy sauce can be added for color, but regular soy sauce provides the main flavor.
- Sesame Oil (1 tablespoon): Toasted sesame oil adds that signature nutty aroma. Add this at the end of cooking to preserve its flavor. Don’t use raw sesame oil for cooking.
- Vegetable Oil (2-3 tablespoons): You need an oil with a high smoke point. Vegetable, canola, or peanut oil work well. Avocado oil is a great healthy alternative.
- Garlic (2 cloves, minced): Fresh garlic is non-negotiable. Jarred garlic lacks the punch needed here. Mince it finely so it distributes evenly.
- White Pepper (1/2 teaspoon): This is the secret ingredient in many Chinese restaurants. It adds a subtle, earthy heat that black pepper can’t replicate.
I’ve found that using low-sodium soy sauce allows you to control the saltiness better. Taste as you go. If your rice is bland, a splash of oyster sauce can add umami depth, though it’s optional. Keep it simple to let the rice shine.
Equipment Needed
You don’t need a professional kitchen to make this, but having the right tools helps. The most important piece of equipment is a wok or a large skillet. A carbon steel wok is ideal because it heats up quickly and retains heat well. If you don’t have one, a large non-stick skillet works fine. Just make sure it’s big enough to spread the rice out in a single layer.
A wooden spatula or a wide metal turner is essential for tossing the rice. You need to be able to flip the rice vigorously without breaking the grains too much. I prefer a spatula with a slight curve to get under the crispy bits at the bottom.
You will also need a large mixing bowl for your eggs and a small bowl for your sauce mixture. Having everything prepped before you turn on the heat is vital. Fried rice cooks fast, and you won’t have time to measure things while the pan is smoking hot. Keep your prep organized. It makes the whole process smoother and less stressful.
Preparation Method
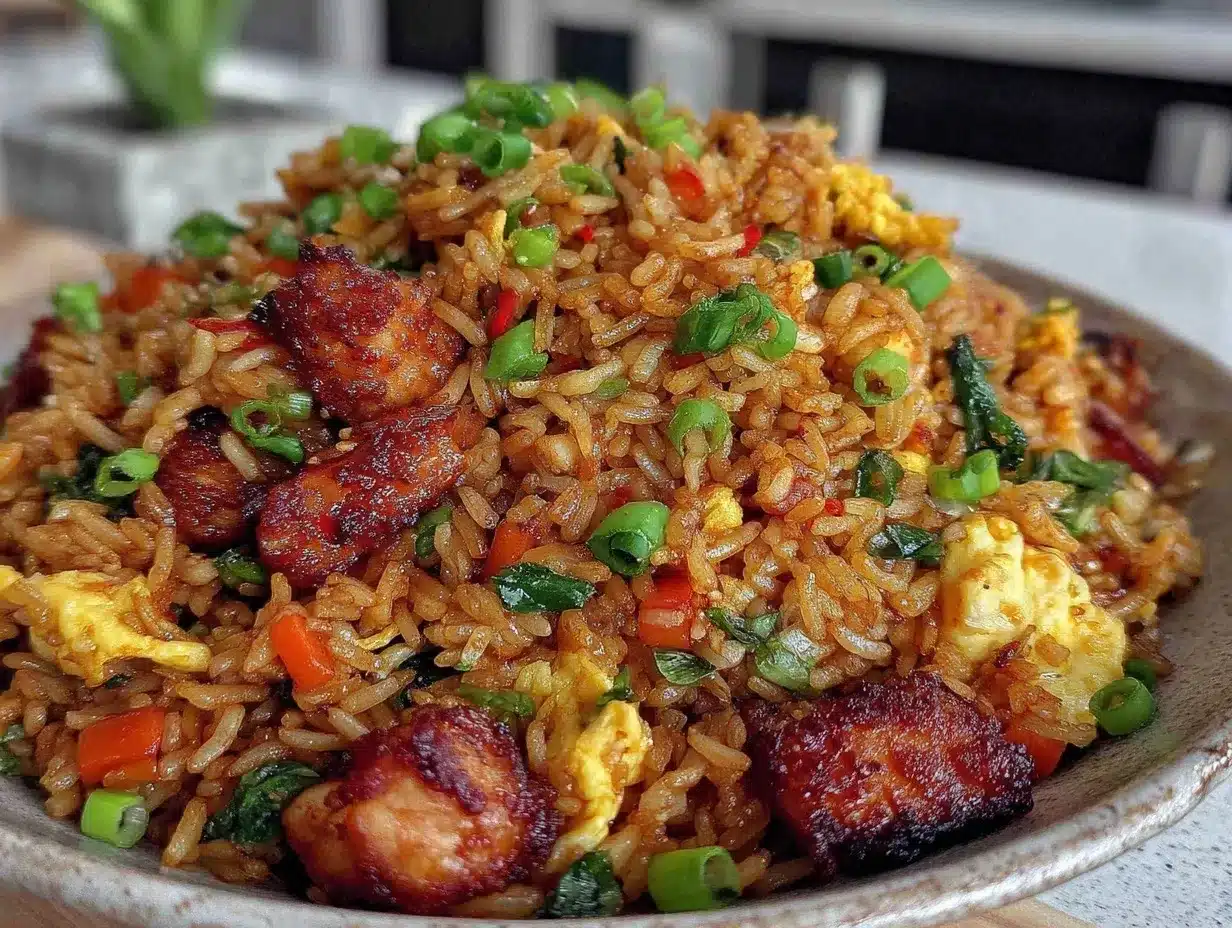
Let’s break down the steps to make sure you get that perfect crunch. Pay attention to the details, especially regarding the rice.
- Prep the Rice (10 minutes prep time): Take your cold, cooked rice out of the fridge. If it’s clumped together, use your fingers or a fork to break it apart gently. You want individual grains. If the rice is too wet, spread it on a baking sheet and let it air dry for 15 minutes. This step is critical for crispiness. Warning: Do not use warm rice. It will turn to mush.
- Scramble the Eggs (2 minutes): Heat your wok or skillet over medium-high heat. Add 1 tablespoon of oil. Crack the eggs into the pan and scramble them quickly. Cook until they are just set but still slightly runny. Remove them from the pan and set aside on a plate. Do not overcook them now, or they will get tough later. Sensory cue: The eggs should be fluffy and yellow.
- Fry the Aromatics (1 minute): Wipe out the pan if needed and add another tablespoon of oil. Turn the heat to high. Add the minced garlic and white pepper. Stir constantly for about 30 seconds until fragrant. Be careful not to burn the garlic, or it will taste bitter. Sensory cue: You should smell a rich, nutty aroma.
- Cook the Vegetables (2 minutes): Add your frozen or fresh vegetables to the pan. Stir-fry for about 1-2 minutes until they are heated through and slightly tender. If using frozen peas and carrots, they cook very quickly. Tip: Keep the vegetables moving to ensure even cooking.
- Add the Rice (3 minutes): Add the cold rice to the pan. Press it down flat with your spatula. Let it sit for 1 minute without moving it. This allows the bottom layer to get crispy. Then, toss and stir vigorously to break up any remaining clumps. Continue to toss for 2 more minutes. Sensory cue: You should hear a sizzling sound and see golden bits forming.
- Combine and Season (2 minutes): Return the scrambled eggs to the pan. Break them into smaller pieces with your spatula. Drizzle the soy sauce and sesame oil around the edges of the pan, not directly on the rice. This helps the sauce caramelize slightly. Toss everything together until well combined. Taste and adjust seasoning if needed. Tip: Add more soy sauce if it tastes bland, but go slow.
- Final Crisp (1 minute): Turn the heat to high again. Let the rice sit for another minute to get extra crispy. Toss one last time. Remove from heat immediately. Sensory cue: The rice should look glossy and have distinct golden-brown spots.
Transfer to a serving bowl immediately. The residual heat will continue to cook it slightly, so don’t leave it in the hot pan too long.
Cooking Tips & Techniques
Getting the crispiness right is all about heat and moisture control. Here are some professional techniques that I’ve learned through trial and error.
High Heat is Key: Your pan needs to be smoking hot before you add the rice. If the pan isn’t hot enough, the rice will steam instead of fry. This is the most common mistake home cooks make. Wait until you see slight wisps of smoke before adding ingredients.
Don’t Overcrowd the Pan: If you are making a large batch, cook in two batches. Overcrowding lowers the pan temperature and creates steam. Steam is the enemy of crispiness. You want dry heat to caramelize the rice grains.
Use Day-Old Rice: Freshly cooked rice has too much moisture. It sticks together and becomes gummy. Cold rice has lost some of that moisture, making it firmer and easier to separate. If you’re in a rush, spread fresh rice on a tray and freeze it for 20 minutes.
The “Rice Skin” is Gold: Sometimes, a layer of crispy rice sticks to the bottom of the wok. Don’t scrape it off too early. Let it turn dark golden brown. This is the most flavorful part of the dish. Scrape it up at the very end and mix it in.
Multitasking Strategy: Have all your ingredients measured and ready in small bowls. This is called *mise en place*. Fried rice moves fast. If you are chopping garlic while the pan is hot, you will burn it. Prep everything before you start cooking.
Variations & Adaptations
One of the best things about fried rice is its versatility. You can customize it to fit your dietary needs or whatever is in your fridge.
- Protein Power: Add diced chicken, shrimp, or pork. Cook the protein first, remove it, and add it back at the end. For a vegetarian option, use firm tofu cubes. Press the tofu first to remove moisture.
- Spicy Kick: Add a teaspoon of chili crisp or sriracha to the oil before frying the garlic. This adds a smoky heat that pairs beautifully with the rice. You can also add sliced fresh chilies.
- Green Goddess: Add a handful of chopped spinach or kale at the very end. It wilts quickly and adds a fresh, nutritious element. I love adding chopped cilantro at the end for brightness.
- Gluten-Free Option: Use tamari instead of soy sauce. Make sure your other ingredients, like oyster sauce (if used), are also gluten-free. Coconut aminos are a good alternative for a sweeter, lower-sodium option.
I once made this with leftover roast beef and it was incredible. The beef added a rich, savory depth that complemented the eggs perfectly. Don’t be afraid to experiment with what you have.
Serving & Storage Suggestions
Serve this fried rice hot, straight from the pan. It tastes best immediately when the crunch is at its peak. Garnish with extra sliced scallions or a drizzle of chili oil for visual appeal.
Storage: Store leftovers in an airtight container in the refrigerator for up to 3 days. The rice will firm up as it cools, which is normal.
Reheating: To reheat, add a splash of water to the rice in a pan over medium heat. Cover and steam for 2 minutes, then uncover and crisp it up again. You can also microwave it, but it won’t be as crispy. For the best results, use a skillet.
Freezing: Fried rice freezes well. Portion it into freezer-safe bags. It will last for up to 3 months. Thaw in the fridge overnight before reheating. The texture may change slightly, but it will still be delicious.
Nutritional Information & Benefits
This Best Crispy Fried Rice is a balanced meal. Rice provides carbohydrates for energy, while eggs offer high-quality protein. The vegetables add fiber and vitamins.
- Calories: Approximately 350-400 calories per serving, depending on oil and protein additions.
- Protein: ~10g per serving from eggs and any added protein.
- Fat: ~15g, primarily from the cooking oil and eggs.
- Carbohydrates: ~45g from the rice.
It’s not a diet food, but it’s not junk food either. It’s a hearty, satisfying meal. You can lighten it up by using less oil and more vegetables. It’s a great way to get your veggies in if you’re picky about them.
Conclusion
Making the Best Crispy Fried Rice at home is easier than you think. It just requires a few key techniques: cold rice, high heat, and patience. Once you master this, you’ll never buy takeout again. It’s cheaper, healthier, and infinitely more delicious.
I encourage you to try this recipe and make it your own. Add your favorite veggies, experiment with sauces, and find your perfect crunch. I’d love to hear how it turns out for you. Leave a comment below with your variations or tips. Share your photos on social media and tag me. Let’s inspire each other to cook better, simpler meals. Happy cooking!
Frequently Asked Questions
Can I use fresh rice for fried rice?
It’s not recommended. Fresh rice has too much moisture and will turn mushy. If you must use fresh rice, spread it on a baking sheet and let it cool in the fridge for at least an hour to dry out.
What is the best type of rice to use?
Jasmine rice is the best choice because it’s fragrant and has the right texture. Long-grain rice also works well. Avoid short-grain or sticky rice unless you prefer a softer texture.
How do I get the rice crispy?
The secret is to let the rice sit in the hot pan without moving it for a minute. This allows the bottom layer to caramelize and crisp up. Also, ensure your pan is very hot before adding the rice.
Can I add meat to this recipe?
Absolutely. Cook your protein (chicken, shrimp, pork) first, remove it, and add it back at the end. This ensures the meat is cooked properly and doesn’t overcook in the rice.
Why is my fried rice soggy?
Sogginess usually comes from using warm rice or overcrowding the pan. Make sure your rice is cold and dry, and cook in smaller batches if necessary to maintain high heat.
Pin This Recipe!

Best Crispy Fried Rice: 5 Easy Homemade Tips
- Total Time: 20 minutes
- Yield: 4 servings 1x
Description
A simple, quick, and incredibly crispy fried rice recipe that uses day-old rice and high heat to achieve a perfect crunch without soggy textures.
Ingredients
- 3 cups cooked and cooled jasmine rice
- 2 large eggs
- 1 cup mixed vegetables (frozen peas and carrots, fresh corn, or diced bell peppers)
- 3 tablespoons soy sauce
- 1 tablespoon toasted sesame oil
- 2–3 tablespoons vegetable oil (or canola/peanut oil)
- 2 cloves garlic, minced
- 1/2 teaspoon white pepper
- Optional: Oyster sauce for umami, chili crisp for heat, or diced protein (chicken, shrimp, tofu)
Instructions
- Prep the rice: Break up clumps in the cold, cooked rice to ensure individual grains. If too wet, air dry for 15 minutes.
- Scramble the eggs: Heat 1 tablespoon oil in a wok or skillet over medium-high heat. Scramble eggs until just set but still slightly runny. Remove and set aside.
- Fry the aromatics: Add another tablespoon of oil and turn heat to high. Add minced garlic and white pepper, stirring constantly for 30 seconds until fragrant.
- Cook the vegetables: Add vegetables to the pan and stir-fry for 1-2 minutes until heated through and slightly tender.
- Add the rice: Add cold rice to the pan and press it down flat. Let sit for 1 minute to crisp the bottom, then toss vigorously for 2 minutes to break up clumps.
- Combine and season: Return scrambled eggs to the pan. Drizzle soy sauce and sesame oil around the edges of the pan. Toss everything together until well combined.
- Final crisp: Turn heat to high and let rice sit for another minute to get extra crispy. Toss one last time and remove from heat immediately.
Notes
Use day-old, cold rice for best results. Fresh rice is too moist and will become mushy. Ensure the pan is smoking hot before adding ingredients to prevent steaming. Do not overcrowd the pan; cook in batches if necessary. Add sesame oil at the end to preserve its flavor.
- Prep Time: 10 minutes
- Cook Time: 10 minutes
- Category: Main Course
- Cuisine: Chinese
Nutrition
- Serving Size: 1 bowl
- Calories: 375
- Sugar: 2
- Sodium: 600
- Fat: 15
- Saturated Fat: 3
- Carbohydrates: 45
- Fiber: 2
- Protein: 10
Keywords: crispy fried rice, homemade fried rice, quick dinner, leftover rice recipe, wok fried rice, easy weeknight meals


