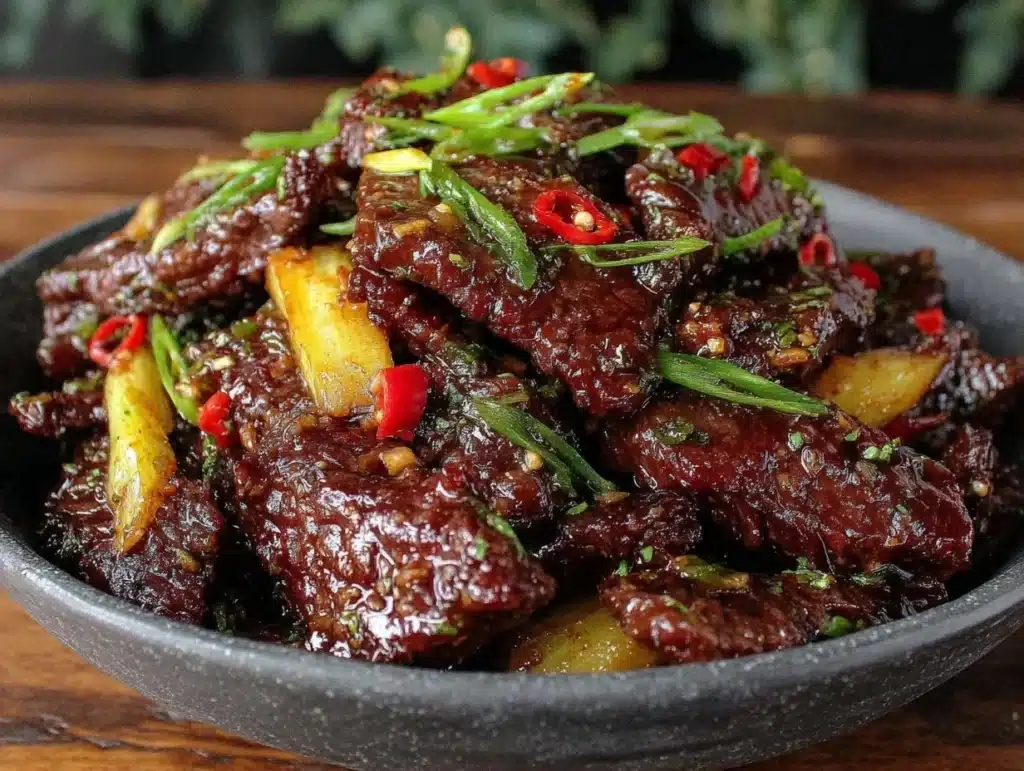
The smell of caramelized soy and charred beef hits you before you even open the door. I still remember the first time I tried to recreate this dish at home. It was a rainy Tuesday, and my stomach was growling louder than the thunder outside. I ordered from that famous spot downtown, the one with the blue and white checkered box. The beef was tender, but the sauce was just… there. It lacked punch. It lacked soul.
That night, I decided enough was enough. I wanted the crunch. I wanted the glossy, sticky glaze that clings to every strip. I wanted the ginger and garlic to hit my sinuses in the best way possible. So, I grabbed my wok. I started experimenting. After three failed batches and one very charred kitchen, I nailed it.
This is the Crispy Mongolian Beef that finally stopped me from ordering delivery. It is better than takeout, honestly. It is faster too. You get to control the spice level. You get to use better cuts of meat. And you get that satisfying crunch that most takeout places skip entirely. Let’s face it, nobody wants soggy beef. Not when you can have this.
I have tested this recipe over a dozen times. I’ve tweaked the cornstarch ratio. I’ve adjusted the sugar-to-soy balance. This version is the winner. It brings the restaurant quality to your home kitchen without the grease overload. It’s perfect for busy weeknights when you want something fancy but easy. Plus, it freezes well for those nights you really just want to order Netflix and chill.
Why You’ll Love This Recipe
There is a specific magic to this dish that keeps me coming back. It isn’t just about the flavor, though that is huge. It is about the texture contrast. You get that initial crisp from the beef, followed by the soft, chewy interior. Then, the sauce ties it all together with a savory-sweet balance that is impossible to resist. I’ve shared this with friends, and they always ask for the secret. The secret is patience and the right cut of meat.
- Quick & Easy: This comes together in under 30 minutes. It is perfect for busy weeknights or last-minute cravings when you don’t feel like cooking for an hour.
- Simple Ingredients: No fancy grocery trips needed. You likely already have soy sauce, ginger, and garlic in your pantry. It uses staples you probably have right now.
- Perfect for Meal Prep: This reheats beautifully. It is great for lunchboxes or quick dinners throughout the week. The flavors actually get better after sitting in the fridge overnight.
- Crowd-Pleaser: Always gets rave reviews from kids and adults alike. Even my picky eater brother asks for seconds, which is a miracle in itself.
- Unbelievably Delicious: The texture and flavor combo is next-level comfort food. It feels indulgent but is actually quite straightforward to make.
What makes this different from the rest? It is the double-fry technique. Most recipes skip this step. They just toss the beef in sauce. But by frying it twice, you get that shatteringly crisp exterior that stays crunchy even after hitting the sauce. It is a game-changer. I learned this trick from a chef friend years ago, and I’ve never gone back to single-frying beef again.
It connects emotionally because it reminds me of those cozy nights in. It’s comfort food reimagined—healthier, faster, but with the same soul-soothing satisfaction. Perfect for impressing guests without stress, or turning a simple meal into something memorable. You will feel like a culinary genius after making this.
What Ingredients You Will Need
This recipe uses simple, wholesome ingredients to deliver bold flavor and satisfying texture without the fuss. The magic lies in the balance of salty, sweet, and spicy. You don’t need exotic spices. You just need good quality basics and a few key items to get that restaurant-style finish.
For the Beef:
- Flank Steak: 1.5 lbs (680g). This is the best cut. It is lean but flavorful. Look for fresh, red meat. Avoid anything that looks pale or dry. I prefer buying from a local butcher if possible, but the grocery store works fine.
- Cornstarch: ½ cup. This is crucial for the crunch. It coats the beef and creates that crispy shell. Don’t skip this or use flour. It won’t be the same.
- Vegetable Oil: For frying. You need enough to shallow fry the beef. Canola oil works too, but vegetable oil has a higher smoke point.
For the Sauce:
- Soy Sauce: ½ cup. Use low-sodium if you can. It lets you control the saltiness. Kikkoman is a trusted brand I always use.
- Dark Soy Sauce: 1 tablespoon. This adds color and a deeper molasses-like flavor. It is optional but highly recommended for that authentic look.
- Brown Sugar: ¼ cup. Packed. This gives the sticky sweetness. White sugar works, but brown is better for depth.
- Rice Vinegar: 1 tablespoon. Adds a little tang to cut through the richness. Unseasoned rice vinegar is best.
- Sesame Oil: 1 tablespoon. Toasted sesame oil. This provides the nutty aroma. Make sure it is the dark, toasted kind.
- Chicken Broth: ½ cup. Low sodium. This balances the salt and adds body to the sauce.
For the Aromatics:
- Fresh Ginger: 1 tablespoon, minced. Do not use powdered ginger. Fresh is non-negotiable for this dish.
- Garlic: 4 cloves, minced. Lots of garlic. It is the backbone of the flavor profile.
- Green Onions: 4 stalks, sliced. Both white and green parts. The whites go in early, greens at the end.
- Dried Red Chili Flakes: 1 teaspoon. Adjust to heat preference. For mild, use half. For spicy, add more.
If you don’t have dark soy sauce, you can skip it, but the color will be lighter. For the beef, sirloin can work if flank is unavailable, but flank stays more tender if sliced correctly. Always slice against the grain. It makes the difference between chewy and tender.
Equipment Needed
You don’t need a lot of fancy gear for this. A good wok is ideal because of its shape. It helps toss the beef evenly. But a large skillet or Dutch oven works too. Just make sure it is wide enough so the beef isn’t crowded. Crowding leads to steaming, not frying.
You will also need a large baking sheet or plate for draining the beef. Paper towels are handy here. A whisk is essential for mixing the sauce smoothly. And don’t forget a sharp knife. Dull knives slip and hurt. A sharp knife makes slicing the beef against the grain much easier and safer.
If you don’t have a wok, a non-stick pan is fine for the sauce part. But for frying, a stainless steel or cast iron pan holds heat better. Just be careful not to scratch non-stick coatings with metal tongs. I use bamboo tongs for tossing. They are gentle on pans and great for handling hot oil.
Maintain your wok by washing it with hot water and drying it thoroughly. Never let it sit wet. A little oil rubbed inside after drying keeps it seasoned. It’s a simple habit that makes cooking easier in the long run.
Preparation Method
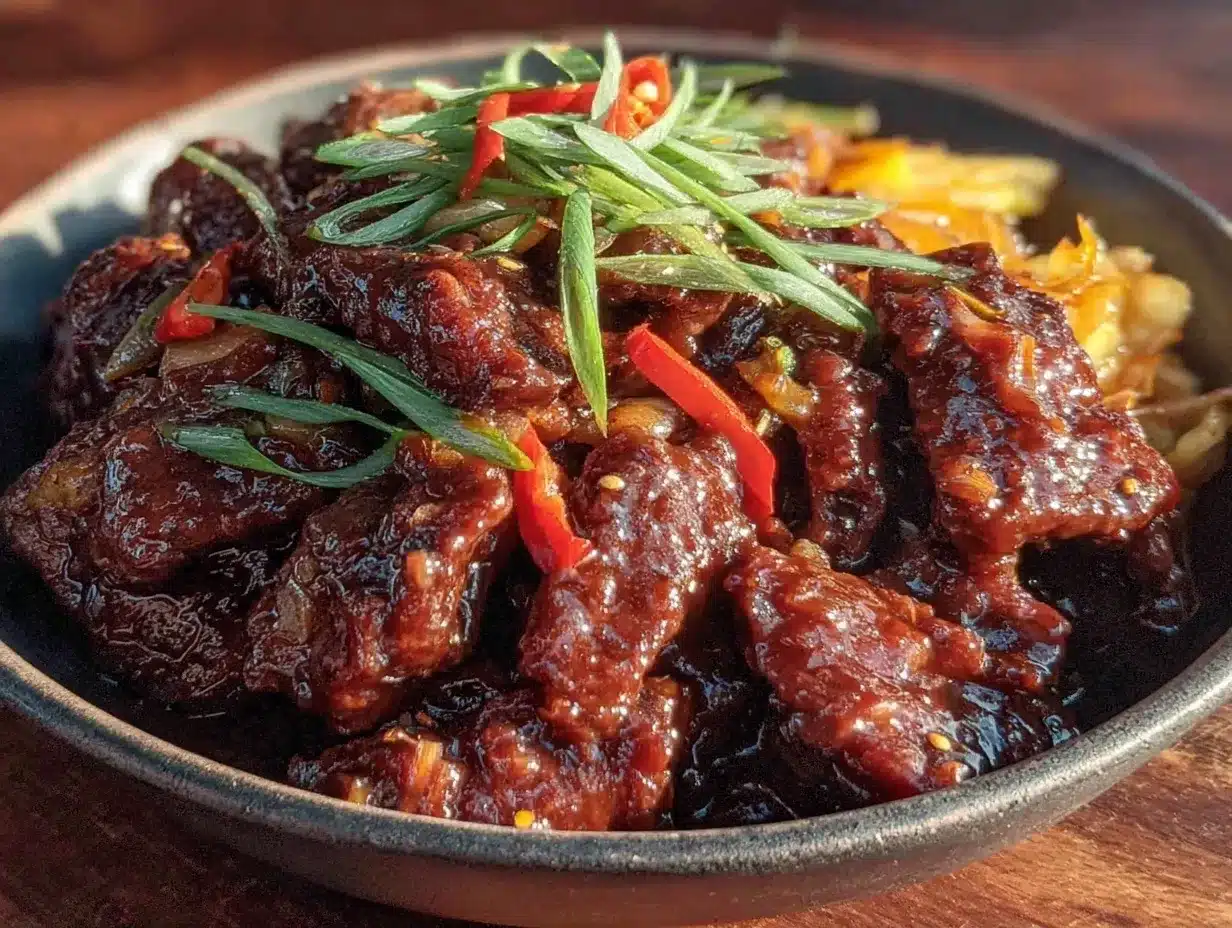
Let’s get cooking. This part is where the magic happens. Follow these steps closely for the best results.
Step 1: Prep the Beef (10 minutes)
Take your flank steak and pat it dry with paper towels. Moisture is the enemy of crispiness. Slice it against the grain into thin strips. Think about the direction of the muscle fibers. Cut perpendicular to them. This ensures tender bites. Place the strips in a bowl. Sprinkle the cornstarch over them. Toss until every piece is coated. Let it sit for 10 minutes. This helps the cornstarch adhere.
Step 2: Make the Sauce (5 minutes)
While the beef rests, mix the sauce. In a small bowl, whisk together the soy sauce, dark soy sauce, brown sugar, rice vinegar, sesame oil, and chicken broth. Stir until the sugar is dissolved. Add the minced ginger and garlic. Set aside. You want this ready to go because cooking moves fast.
Step 3: Fry the Beef (10 minutes)
Heat about 1 inch of vegetable oil in your wok or large pan over medium-high heat. Test the oil by dropping a piece of beef in. If it sizzles immediately, it’s ready. Carefully add the beef in a single layer. Do not overcrowd the pan. Fry for 2-3 minutes per side until golden brown and crispy. Remove with a slotted spoon. Drain on paper towels. Repeat with remaining beef. This step might take a few batches, but it is worth it.
Step 4: Combine and Glaze (5 minutes)
Pour out all but one tablespoon of oil from the pan. Add the white parts of the green onions and dried chili flakes. Sauté for 30 seconds until fragrant. Pour in the sauce mixture. Let it simmer for 1-2 minutes until it thickens slightly. Add the crispy beef back into the pan. Toss quickly to coat. The sauce should cling to the beef. Turn off the heat. Garnish with the green parts of the onions.
Step 5: Serve Immediately
Serve hot over steamed jasmine rice. The contrast of the hot, crispy beef and cool rice is perfect. Enjoy while it is still crunchy.
Cooking Tips & Techniques
Here are some pro tips to make your life easier and your beef better. First, slice the beef while it is slightly frozen. It makes cutting thin strips much easier. If your steak is too soft, put it in the freezer for 20 minutes before slicing.
Another common mistake is frying at too low a temperature. The oil needs to be hot enough to seal the crust quickly. If it is too cool, the beef absorbs oil and becomes greasy. Use a thermometer if you have one. Aim for 350°F (175°C). If you don’t have one, watch the bubbles. They should be active and vigorous.
Don’t skip the resting step for the cornstarch-coated beef. Letting it sit allows the starch to hydrate slightly. This creates a better crust when it hits the oil. It sounds minor, but it matters.
When combining the beef with the sauce, work fast. You want the beef to get coated but not sit in the liquid too long. You want it to stay crispy. Toss it once and serve. If you let it sit, it will soften. That is the trade-off for the crunch.
Also, taste your sauce before adding the beef. If it is too salty, add a splash more broth or vinegar. If it is too sweet, add a dash of soy sauce. Adjust to your preference. Cooking is about balance.
Variations & Adaptations
Love this recipe? Try these twists. For a spicy version, add fresh sliced jalapeños or a tablespoon of gochujang paste to the sauce. It adds a Korean flair that is delicious.
For a lighter option, you can air-fry the beef. Toss the cornstarch-coated beef with a teaspoon of oil. Air fry at 400°F (200°C) for 10 minutes, shaking halfway. It isn’t as crispy as deep frying, but it is healthier.
You can also swap the beef for chicken thighs. Boneless, skinless thighs work well. Slice them into bite-sized pieces. Cook them until browned, then add the sauce. It changes the texture but keeps the flavor profile intact.
For a vegetarian version, use firm tofu or seitan. Press the tofu well to remove water. Coat in cornstarch and fry until crispy. It absorbs the sauce beautifully. I tried this with extra-firm tofu last week, and it was surprisingly good.
If you want to add veggies, throw in broccoli florets or bell peppers. Sauté them in the pan before adding the sauce. They add color and nutrition. Just make sure not to overcrowd the pan.
Serving & Storage Suggestions
Serve this dish immediately for the best texture. It pairs perfectly with steamed jasmine rice or fried rice. A side of stir-fried bok choy or broccoli adds a nice green element. A cup of hot green tea cuts through the richness nicely.
Leftovers can be stored in an airtight container in the refrigerator for up to 3 days. The beef will soften in the fridge, which is normal. To reheat, use a skillet over medium heat. Add a splash of water to loosen the sauce. Reheat until hot. Avoid the microwave if you can. It makes the beef rubbery.
You can also freeze the beef separately from the sauce. Freeze the cooked, crispy beef in a bag. Reheat and toss with fresh sauce later. This helps maintain texture. The sauce freezes well too. Just thaw and simmer before using.
Flavors develop over time. The第二天 day, the beef absorbs more sauce. It becomes softer but more flavorful. Some people prefer it this way. It is a matter of personal taste.
Nutritional Information & Benefits
This dish is protein-packed thanks to the lean flank steak. A typical serving has about 40g of protein. It is also relatively low in carbs if you skip the rice or use cauliflower rice. The soy sauce provides sodium, so go easy if you are watching salt intake.
Ginger is great for digestion. Garlic has immune-boosting properties. Sesame oil contains healthy fats. While this is an indulgent dish, it has some nutritional value. It is a balanced meal when paired with vegetables.
For those with gluten intolerance, use tamari instead of soy sauce. It is a direct substitute. The recipe is naturally dairy-free. It is safe for most diets with minor tweaks. I enjoy this as a high-protein dinner after workouts. It refuels my muscles nicely.
Conclusion
Making Crispy Mongolian Beef at home is easier than you think. It beats takeout every time. You get the crunch, the flavor, and the satisfaction of cooking something amazing. It is a dish that brings people together. Gather your family or friends and share a plate.
Don’t be afraid to experiment. Add more chili. Less sugar. More garlic. Make it your own. I love this recipe because it is reliable. It never fails to impress. Try it this week. You won’t regret it.
Let me know how it turns out! Leave a comment below with your tips or variations. Share your photos on social media. Tag me so I can see your creations. Happy cooking!
Frequently Asked Questions
Can I use flank steak instead of sirloin?
Yes, flank steak is actually the preferred cut. It is leaner and has more beefy flavor. Just make sure to slice it thinly against the grain for tenderness.
Why is my beef not crispy?
It might be because the oil was not hot enough or the pan was overcrowded. Fry in batches and ensure the oil is at 350°F. Also, pat the beef dry before coating.
Can I make this ahead of time?
You can prep the beef and sauce ahead, but fry the beef just before serving. The beef loses its crunch if it sits in the sauce too long.
Is this dish spicy?
It is mildly spicy from the chili flakes. You can adjust the amount to your preference. For mild, use half a teaspoon. For hot, add more.
What can I serve with this?
Steamed jasmine rice is the classic choice. Stir-fried vegetables or a simple cucumber salad also pair well. It is a complete meal.
Pin This Recipe!
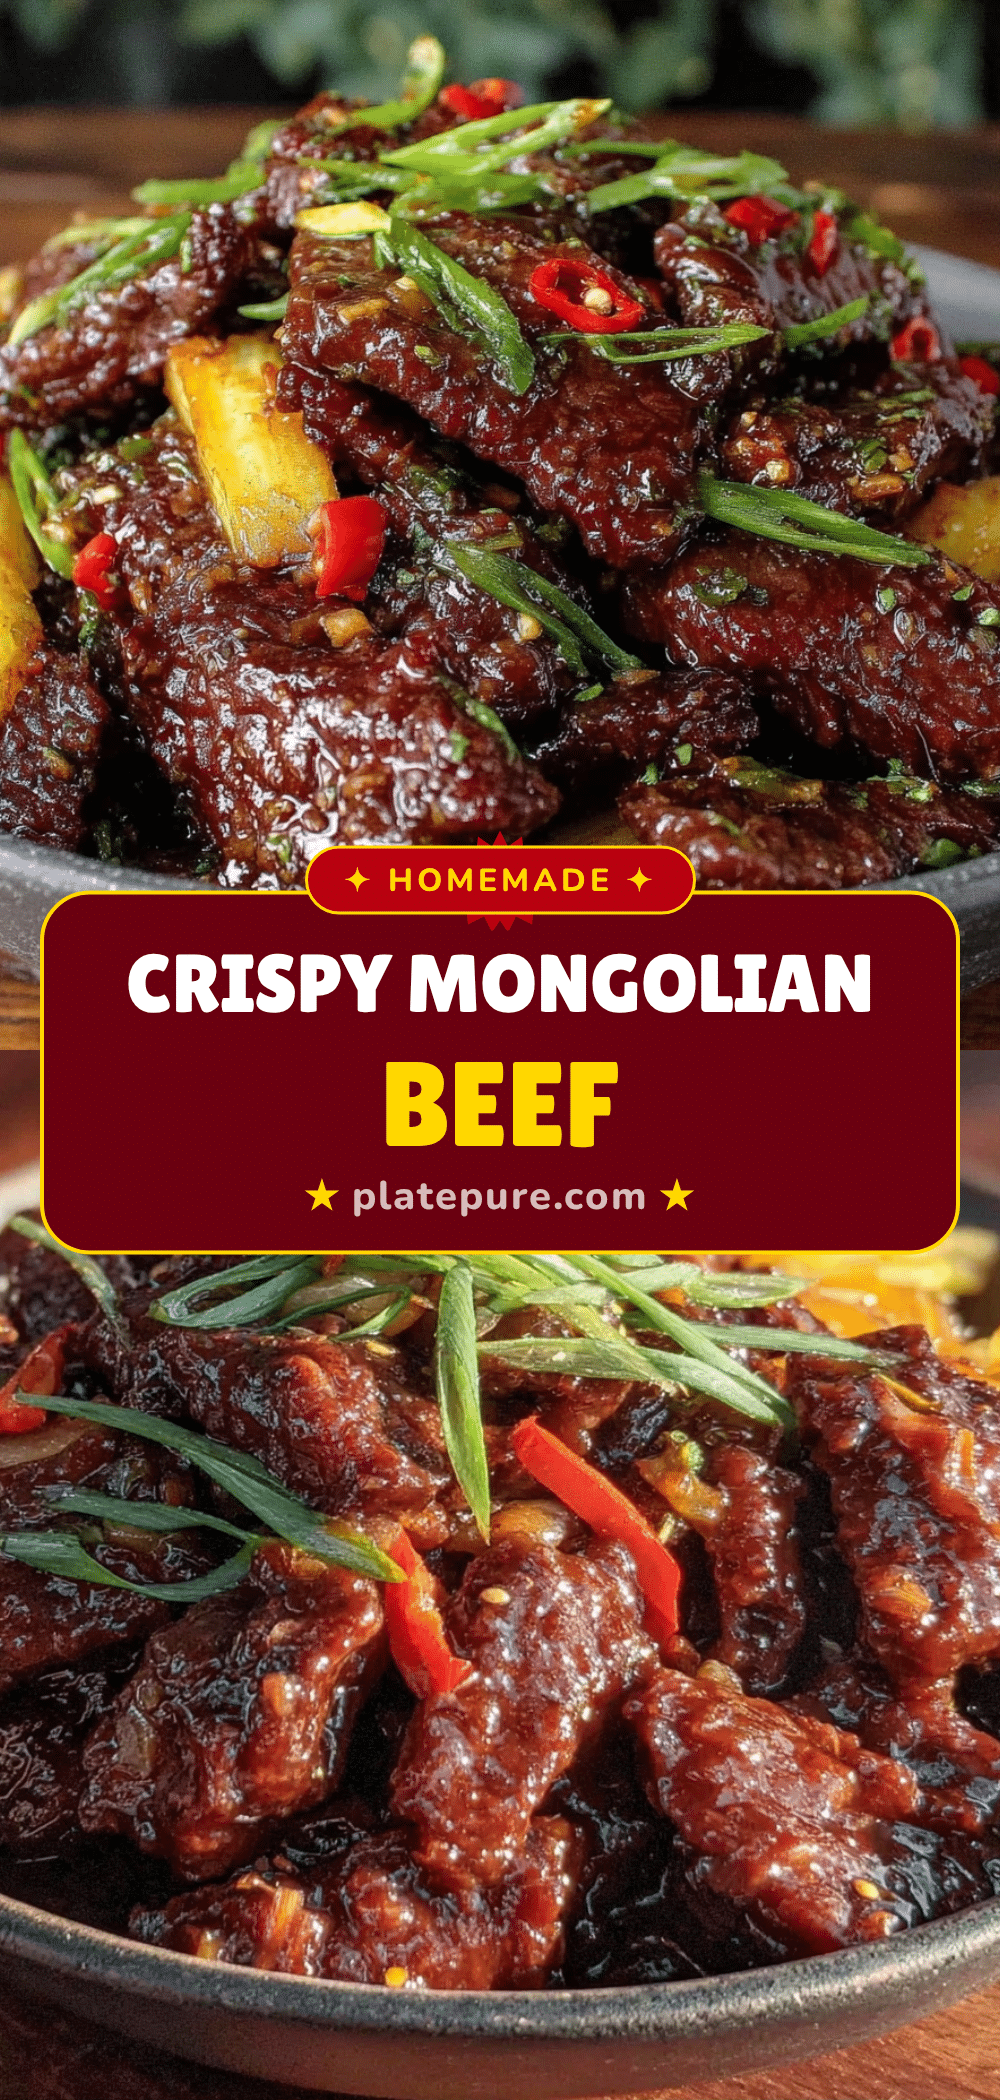
Crispy Mongolian Beef: Best Homemade Takeout Recipe
- Total Time: 35 minutes
- Yield: 4 servings 1x
Description
A homemade version of crispy Mongolian beef that beats takeout. This recipe uses a double-fry technique with flank steak and cornstarch to achieve a shatteringly crisp exterior and a savory-sweet, glossy glaze.
Ingredients
- 1.5 lbs flank steak, sliced against the grain into thin strips
- ½ cup cornstarch
- Vegetable oil, for frying
- ½ cup soy sauce (low-sodium recommended)
- 1 tablespoon dark soy sauce
- ¼ cup packed brown sugar
- 1 tablespoon rice vinegar
- 1 tablespoon toasted sesame oil
- ½ cup low-sodium chicken broth
- 1 tablespoon fresh ginger, minced
- 4 cloves garlic, minced
- 4 stalks green onions, sliced (whites and greens separated)
- 1 teaspoon dried red chili flakes
Instructions
- Pat the flank steak dry with paper towels and slice it against the grain into thin strips.
- Place the beef strips in a bowl, sprinkle with cornstarch, and toss until evenly coated. Let sit for 10 minutes.
- In a small bowl, whisk together soy sauce, dark soy sauce, brown sugar, rice vinegar, sesame oil, and chicken broth until sugar is dissolved. Stir in minced ginger and garlic.
- Heat about 1 inch of vegetable oil in a wok or large pan over medium-high heat (aim for 350°F).
- Fry the beef in batches in a single layer for 2-3 minutes per side until golden brown and crispy. Do not overcrowd the pan.
- Remove beef with a slotted spoon and drain on paper towels.
- Pour out all but one tablespoon of oil from the pan. Sauté the white parts of the green onions and chili flakes for 30 seconds.
- Pour in the sauce mixture and simmer for 1-2 minutes until slightly thickened.
- Add the crispy beef back into the pan and toss quickly to coat. Turn off heat.
- Garnish with green onion tops and serve immediately over steamed jasmine rice.
Notes
Slice beef while slightly frozen for easier cutting. Ensure oil is hot (350°F) to prevent greasy beef. Do not let beef sit in sauce too long to maintain crispiness. For gluten-free, substitute soy sauce with tamari. Can be air-fried at 400°F for 10 minutes for a lighter option.
- Prep Time: 15 minutes
- Cook Time: 20 minutes
- Category: Main Course
- Cuisine: Chinese
Nutrition
- Serving Size: 1 serving (approx. 1
- Calories: 450
- Sugar: 18
- Sodium: 1200
- Fat: 22
- Saturated Fat: 6
- Carbohydrates: 28
- Fiber: 1
- Protein: 40
Keywords: Mongolian Beef, Crispy Beef, Homemade Takeout, Wok Cooking, Beef Recipe, Asian Dinner, Quick Meals


