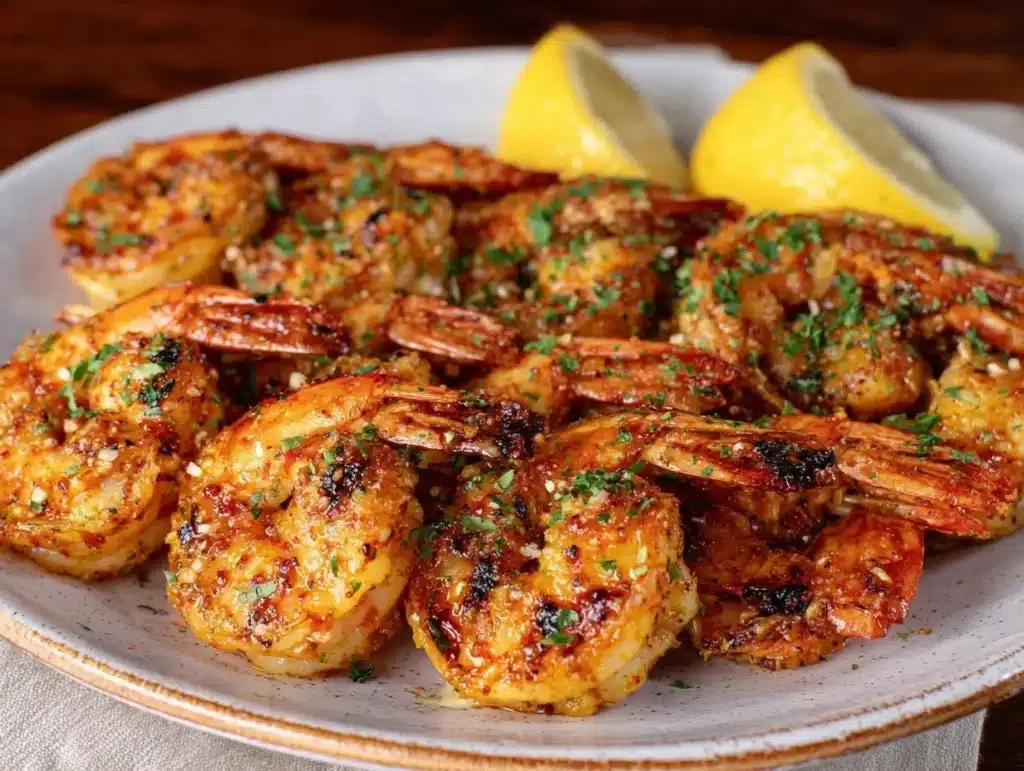
Let’s be honest, if you’ve ever sat in a Texas Roadhouse, you know the magic isn’t just in the steak. It’s in those little moments of indulgence, like the warm rolls with cinnamon butter or, my personal favorite, the grilled shrimp. I remember the first time I ordered the Copycat Texas Roadhouse Grilled Shrimp. I was with my in-laws, trying to impress them with my dining etiquette, which, let’s face it, is not exactly my strong suit. I wanted to order the ribeye, but I was feeling a bit light and wanted something that wouldn’t leave me feeling like a human sloth for the rest of the evening. So, I went for the shrimp. One bite in, and I was hooked. The garlic, the butter, that slight char from the grill—it was restaurant-quality perfection.
For years, I’ve tried to recreate that specific flavor profile at home. You know how it is. You order it again, and again, and you wonder if you can just make it yourself without the hefty price tag or the wait. After testing this Copycat Texas Roadhouse Grilled Shrimp recipe over a dozen times, I finally cracked the code. It’s not about fancy techniques or hard-to-find ingredients. It’s about balance. It’s about getting that rich, garlicky butter sauce just right without overwhelming the delicate sweetness of the shrimp.
This recipe is perfect for busy weeknights when you want something that feels fancy but comes together in under 20 minutes. It’s also a great option for meal prep, as the flavors actually get better after sitting in the fridge for a day. Whether you’re feeding a picky family or trying to impress a date, this dish delivers on all fronts. It’s healthy enough for a weeknight but indulgent enough for a Friday night celebration. Let’s get cooking.
Why You’ll Love This Recipe
There are a thousand shrimp recipes out there, so why this one? Well, honestly, it’s because this Copycat Texas Roadhouse Grilled Shrimp captures that specific restaurant experience without the hassle. I’ve been a home cook for over fifteen years, and I’ve learned that the secret to great seafood is simplicity. You don’t need twenty ingredients. You need good shrimp, good butter, and good garlic. This recipe respects the ingredient, letting the natural sweetness of the shrimp shine through while adding that signature savory kick.
- Quick & Easy: From thawing to plating, this dish comes together in under 15 minutes. It’s perfect for those nights when you’re hungry and have no patience for a long cooking process.
- Simple Ingredients: You likely have everything you need in your kitchen right now. Butter, garlic, lemon, and shrimp are pantry staples for most households.
- Perfect for Date Night: It feels fancy and restaurant-quality, but you can make it in your pajamas. No reservation needed.
- Crowd-Pleaser: Kids who usually shy away from seafood will eat this up because of the rich butter sauce. Adults will love the authentic flavor profile.
- Unbelievably Delicious: The texture is tender and juicy, not rubbery, and the flavor is bold but balanced.
What makes this recipe different from the rest is the technique. Many people boil their shrimp or overcook them in a pan, resulting in a tough, chewy mess. Here, we use a quick sear method that mimics the grill marks and char from the restaurant. It’s a small detail, but it makes a huge difference in the final taste. Plus, the sauce is emulsified perfectly, so it clings to every piece of shrimp instead of pooling at the bottom of the plate.
It’s also incredibly versatile. You can serve it over pasta, with rice, or even on its own with a side salad. It’s comfort food reimagined—lighter than a heavy cream sauce but just as satisfying. I’ve made this for potlucks, family dinners, and quiet nights at home, and it never fails to get compliments. It’s the kind of recipe that makes you feel like a culinary pro, even if you’re just heating up some butter.
What Ingredients You Will Need
This recipe relies on the quality of its core components. Since there are so few ingredients, each one plays a critical role in the final flavor profile. You want fresh, high-quality shrimp to ensure the best texture and taste. Avoid pre-peeled shrimp that have been treated with sodium tripolyphosphate, as they can release too much water and become mushy. Look for shrimp that are labeled “wild-caught” if possible, as they tend to have a firmer texture and more robust flavor than farm-raised varieties.
- Large Shrimp (21-25 count per pound): Use 1.5 to 2 pounds. Peel and devein them. Leaving the tails on is optional, but I recommend it for easier handling and presentation. If you can find fresh, local shrimp, use them. If not, frozen shrimp work perfectly fine as long as you thaw them properly.
- Unsalted Butter: Use 4 to 6 tablespoons. I prefer high-quality European-style butter because it has a higher fat content and a richer flavor. If you’re watching your saturated fat intake, you can substitute half of the butter with olive oil, but the authentic taste comes from the butter.
- Garlic: You will need 4 to 5 cloves, minced. Do not use jarred minced garlic if you can avoid it. Fresh garlic has a brighter, sharper flavor that stands up better to the heat. Jarred garlic can sometimes taste metallic or bitter when cooked at high temperatures.
- Extra Virgin Olive Oil: Use 1 tablespoon. This helps prevent the butter from burning at high temperatures. It also adds a subtle fruity note that complements the garlic.
- White Wine: Use 2 tablespoons of dry white wine, such as Sauvignon Blanc or Pinot Grigio. This adds acidity and depth to the sauce. If you don’t drink alcohol, you can substitute with chicken broth or extra lemon juice.
- Fresh Lemon Juice: Use the juice of one large lemon. Fresh lemon is non-negotiable here. Bottled lemon juice lacks the brightness and complexity needed to cut through the richness of the butter.
- Dried Parsley: Use 1 teaspoon. Fresh parsley is nice, but dried parsley holds up better to the heat and provides a nice earthy contrast. If you only have fresh, chop it finely and add it at the very end.
- Salt and Black Pepper: Use kosher salt and freshly cracked black pepper to taste. Avoid iodized table salt, as it can have a harsh, chemical taste.
- Cayenne Pepper: Use a pinch (optional). If you like a little heat, add a pinch of cayenne. It adds a subtle warmth that enhances the garlic flavor without making the dish spicy.
I recommend using a brand like Kerrygold or Plugra for your butter if you can find it. The quality really shines through in simple recipes like this. Also, make sure your shrimp are patted dry before cooking. Moisture is the enemy of a good sear, and you want that nice golden-brown crust on the shrimp.
Equipment Needed
You don’t need a lot of fancy gadgets for this recipe, but having the right tools makes a big difference. A large skillet, preferably cast iron or stainless steel, is essential. Cast iron retains heat well, which helps in getting a good sear on the shrimp. Stainless steel is also great because it doesn’t react with the acidic lemon juice.
A pair of tongs is helpful for turning the shrimp quickly and evenly. You don’t want to overcrowd the pan, so if you’re cooking for more than two people, you might need to cook in batches. Having a second pan ready can help with this process. Also, a microplane or fine grater is useful if you want to zest the lemon into the sauce for extra aroma.
I also recommend having a wooden spoon or silicone spatula on hand for stirring the sauce. Avoid using metal utensils if you’re using a non-stick pan, as they can scratch the surface. For maintenance, make sure to clean your skillet immediately after use to prevent any burnt-on bits from hardening. A little bit of elbow grease goes a long way in keeping your cookware in top shape.
Preparation Method
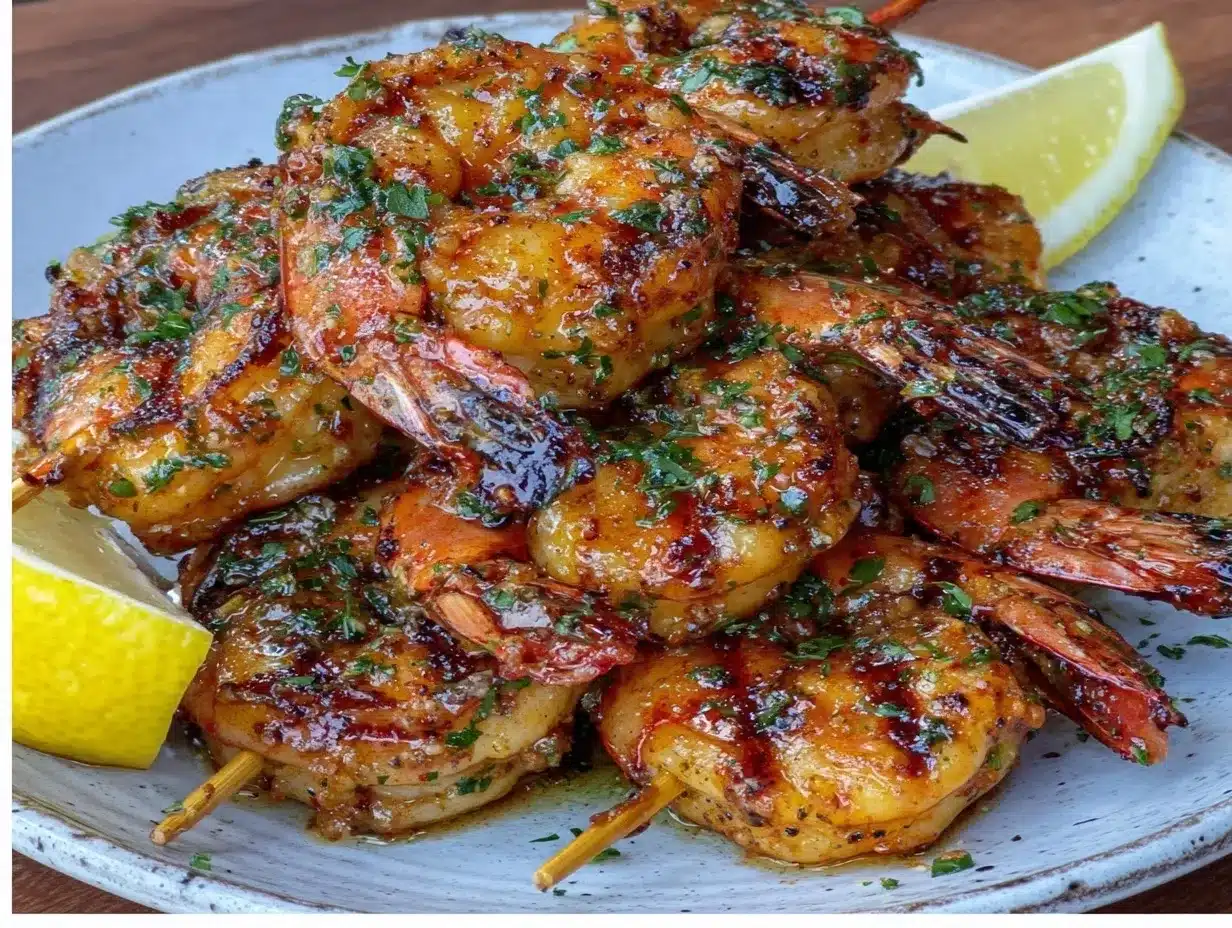
Getting this Copycat Texas Roadhouse Grilled Shrimp right starts with proper preparation. The key is to have everything ready before you turn on the stove. This is a fast-cooking recipe, so if you’re chopping garlic while the butter is melting, you might burn it. Mise en place is your best friend here.
- Thaw and Prep the Shrimp: If you’re using frozen shrimp, place them in a bowl of cold water for about 15-20 minutes to thaw. Once thawed, peel and devein them. Pat them thoroughly dry with paper towels. This step is crucial because wet shrimp will steam instead of sear. Season them lightly with salt and pepper. (Time: 10 minutes)
- Melt the Butter and Oil: Heat a large skillet over medium-high heat. Add the olive oil and butter. Swirl the pan to combine them. Wait until the butter foams and then starts to subside slightly. This indicates that the milk solids have separated and the butter is hot but not burning. (Time: 2 minutes)
- Sear the Shrimp: Add the shrimp to the pan in a single layer. Do not overcrowd the pan. If you’re cooking for more than two people, cook in batches. Sear for about 1-2 minutes on the first side until they turn pink and opaque. Flip them over and cook for another 1-2 minutes. Remove the shrimp from the pan and set them aside on a plate. (Time: 4-6 minutes)
- Make the Sauce: In the same pan, reduce the heat to medium. Add the minced garlic and cook for about 30 seconds, stirring constantly. Be careful not to burn the garlic, as it will turn bitter. Deglaze the pan with the white wine, scraping up any browned bits from the bottom of the pan. These bits are full of flavor. (Time: 2 minutes)
- Finish the Sauce: Stir in the lemon juice and dried parsley. Let the sauce simmer for another minute to reduce slightly. Taste the sauce and adjust the seasoning with more salt and pepper if needed. If you want a little heat, add the cayenne pepper now. (Time: 2 minutes)
- Combine and Serve: Return the shrimp to the pan. Toss them in the sauce to coat them evenly. Heat them through for about 30 seconds to a minute. Remove from heat immediately. The residual heat will finish cooking the shrimp. Serve immediately with extra lemon wedges on the side. (Time: 1 minute)
Keep an eye on the shrimp closely. They cook very quickly, and it’s easy to overcook them. If they turn rubbery, they’ve been in the pan too long. You want them to be tender and juicy. The sauce should be glossy and coat the back of a spoon. If it looks too thin, you can let it simmer for another minute to reduce.
Cooking Tips & Techniques
I’ve made plenty of mistakes in the kitchen, and one of the biggest ones was overcooking the shrimp. I thought I was being thorough by cooking them longer, but it just made them tough and chewy. The lesson learned? Shrimp are done as soon as they turn pink and opaque. They continue to cook slightly after you remove them from the heat, so take them off the stove a little early.
Another common mistake is adding the garlic too early. Garlic burns quickly, especially in butter. If you add it to hot oil, it can go from golden to black in seconds. That’s why I recommend adding it after the shrimp are seared and removed from the pan. This way, you can control the heat and prevent burning.
Timing is everything here. If you’re cooking for a crowd, have your plates ready and warm. Shrimp are best served hot, and they don’t hold up well to sitting out for long periods. Multitasking is key. While the shrimp are searing in batches, you can be preparing the sauce base or setting the table. This ensures everything comes together at the same time.
For consistency, use a timer. It sounds silly, but having a visual cue helps you stay on track. Also, taste the sauce as you go. Every lemon is different, so you might need more or less juice depending on the acidity. Trust your palate. And finally, don’t skimp on the butter. It’s the main flavor carrier in this dish. If you use too little, the shrimp will taste dry and bland.
Variations & Adaptations
While the classic Copycat Texas Roadhouse Grilled Shrimp is delicious on its own, there are plenty of ways to customize it to suit your taste. One variation I love is adding a splash of heavy cream to the sauce at the end. This creates a creamy garlic shrimp dish that’s rich and decadent. It’s a nice change from the lighter, lemony version.
For a spicy kick, you can add red pepper flakes or a dash of hot sauce to the sauce. If you’re a fan of Cajun flavors, try adding a teaspoon of Cajun seasoning to the shrimp before searing. This adds a smoky, spicy crust that pairs well with the butter sauce.
If you’re looking for a healthier option, you can swap the butter for avocado oil or ghee. You can also serve the shrimp over zucchini noodles or cauliflower rice instead of pasta or rice. This reduces the carbohydrate content while still providing a satisfying meal.
Another fun variation is to add some fresh herbs like cilantro or basil at the end. This adds a burst of freshness that complements the lemon. I’ve also tried adding a tablespoon of capers to the sauce for a briny, salty contrast. It’s an unexpected twist that works surprisingly well. Experiment with these variations to find your favorite combination.
Serving & Storage Suggestions
When it comes to serving, presentation matters. I like to serve the shrimp in a shallow bowl or on a large platter. Garnish with fresh parsley and lemon wedges. This adds a pop of color and makes the dish look more appealing. It’s also a nice touch to serve it with a crusty baguette to soak up the extra sauce.
For beverages, a crisp white wine like a Sauvignon Blanc or a Pinot Grigio pairs perfectly with this dish. If you prefer non-alcoholic options, sparkling water with a splash of lemon juice is a great alternative. It’s refreshing and cleanses the palate.
Leftovers can be stored in an airtight container in the refrigerator for up to 2 days. Reheat them gently in a skillet over low heat. Avoid using the microwave, as it can make the shrimp rubbery. If the sauce has thickened too much, you can add a splash of water or broth to loosen it up.
The flavors of the garlic and lemon will continue to meld in the fridge, so the leftovers might actually taste even better the next day. However, the texture of the shrimp will soften slightly, so it’s best to enjoy them fresh. If you’re meal prepping, consider keeping the sauce separate from the shrimp until you’re ready to eat.
Nutritional Information & Benefits
Shrimp are a great source of lean protein, making this dish a healthy option for those watching their calorie intake. One serving of this Copycat Texas Roadhouse Grilled Shrimp contains approximately 250-300 calories, depending on the amount of butter used. It’s also rich in selenium, vitamin B12, and omega-3 fatty acids.
Garlic is known for its immune-boosting properties and anti-inflammatory effects. Lemon juice provides vitamin C, which supports skin health and immunity. While the butter adds saturated fat, using it in moderation as part of a balanced diet is fine for most people.
This recipe is naturally gluten-free, making it suitable for those with celiac disease or gluten sensitivity. If you’re dairy-free, you can substitute the butter with olive oil or a dairy-free butter alternative. Just keep in mind that the flavor will be slightly different.
From a wellness perspective, I love this recipe because it’s satisfying without being heavy. It’s a great way to get your seafood fix without feeling guilty. The combination of protein and healthy fats helps keep you full and energized. It’s a simple, nutritious meal that supports overall health.
Conclusion
Making Copycat Texas Roadhouse Grilled Shrimp at home is easier than you think. With just a few simple ingredients and some basic cooking skills, you can recreate that restaurant-quality flavor in your own kitchen. It’s a dish that’s perfect for any occasion, whether it’s a quick weeknight dinner or a special weekend treat. The rich garlic butter sauce and tender shrimp are sure to become a staple in your recipe rotation.
I encourage you to try this recipe and customize it to your liking. Add some spices, swap out the herbs, or serve it with your favorite sides. Cooking is all about experimentation and finding what works best for you. I’ve made this recipe countless times, and it never fails to bring joy to my table. It’s a testament to the power of simple, high-quality ingredients.
If you try this recipe, I’d love to hear how it turns out. Leave a comment below and let me know your thoughts. Did you add any special touches? How did your family enjoy it? Sharing your experiences helps build a community of food lovers who inspire each other. Don’t forget to share your creations on social media and tag me. I love seeing your kitchen adventures.
Thank you for joining me in the kitchen today. I hope this recipe brings you as much joy and satisfaction as it has me. Happy cooking, and enjoy every bite!
FAQs
Can I use frozen shrimp for this recipe?
Yes, you can absolutely use frozen shrimp. Just make sure to thaw them completely in cold water before peeling and cooking. Pat them dry thoroughly to ensure a good sear.
How do I prevent the shrimp from becoming rubbery?
Shrimp cook very quickly. Overcooking is the main cause of rubbery texture. Cook them just until they turn pink and opaque, which usually takes only 2-3 minutes total. Remove them from the heat immediately.
Can I make this recipe dairy-free?
Yes, you can substitute the butter with olive oil or a dairy-free butter alternative. The flavor will be slightly different, but it will still be delicious and creamy.
What side dishes go well with grilled shrimp?
This shrimp pairs well with a variety of sides. Try it with garlic mashed potatoes, roasted asparagus, a simple green salad, or over pasta. Crusty bread is also a great option for soaking up the sauce.
Can I grill the shrimp instead of pan-searing them?
Yes, you can grill the shrimp. Use skewers and marinate them in the butter and garlic mixture before grilling. Cook for 2-3 minutes per side over medium-high heat. This adds a nice smoky flavor.
Pin This Recipe!
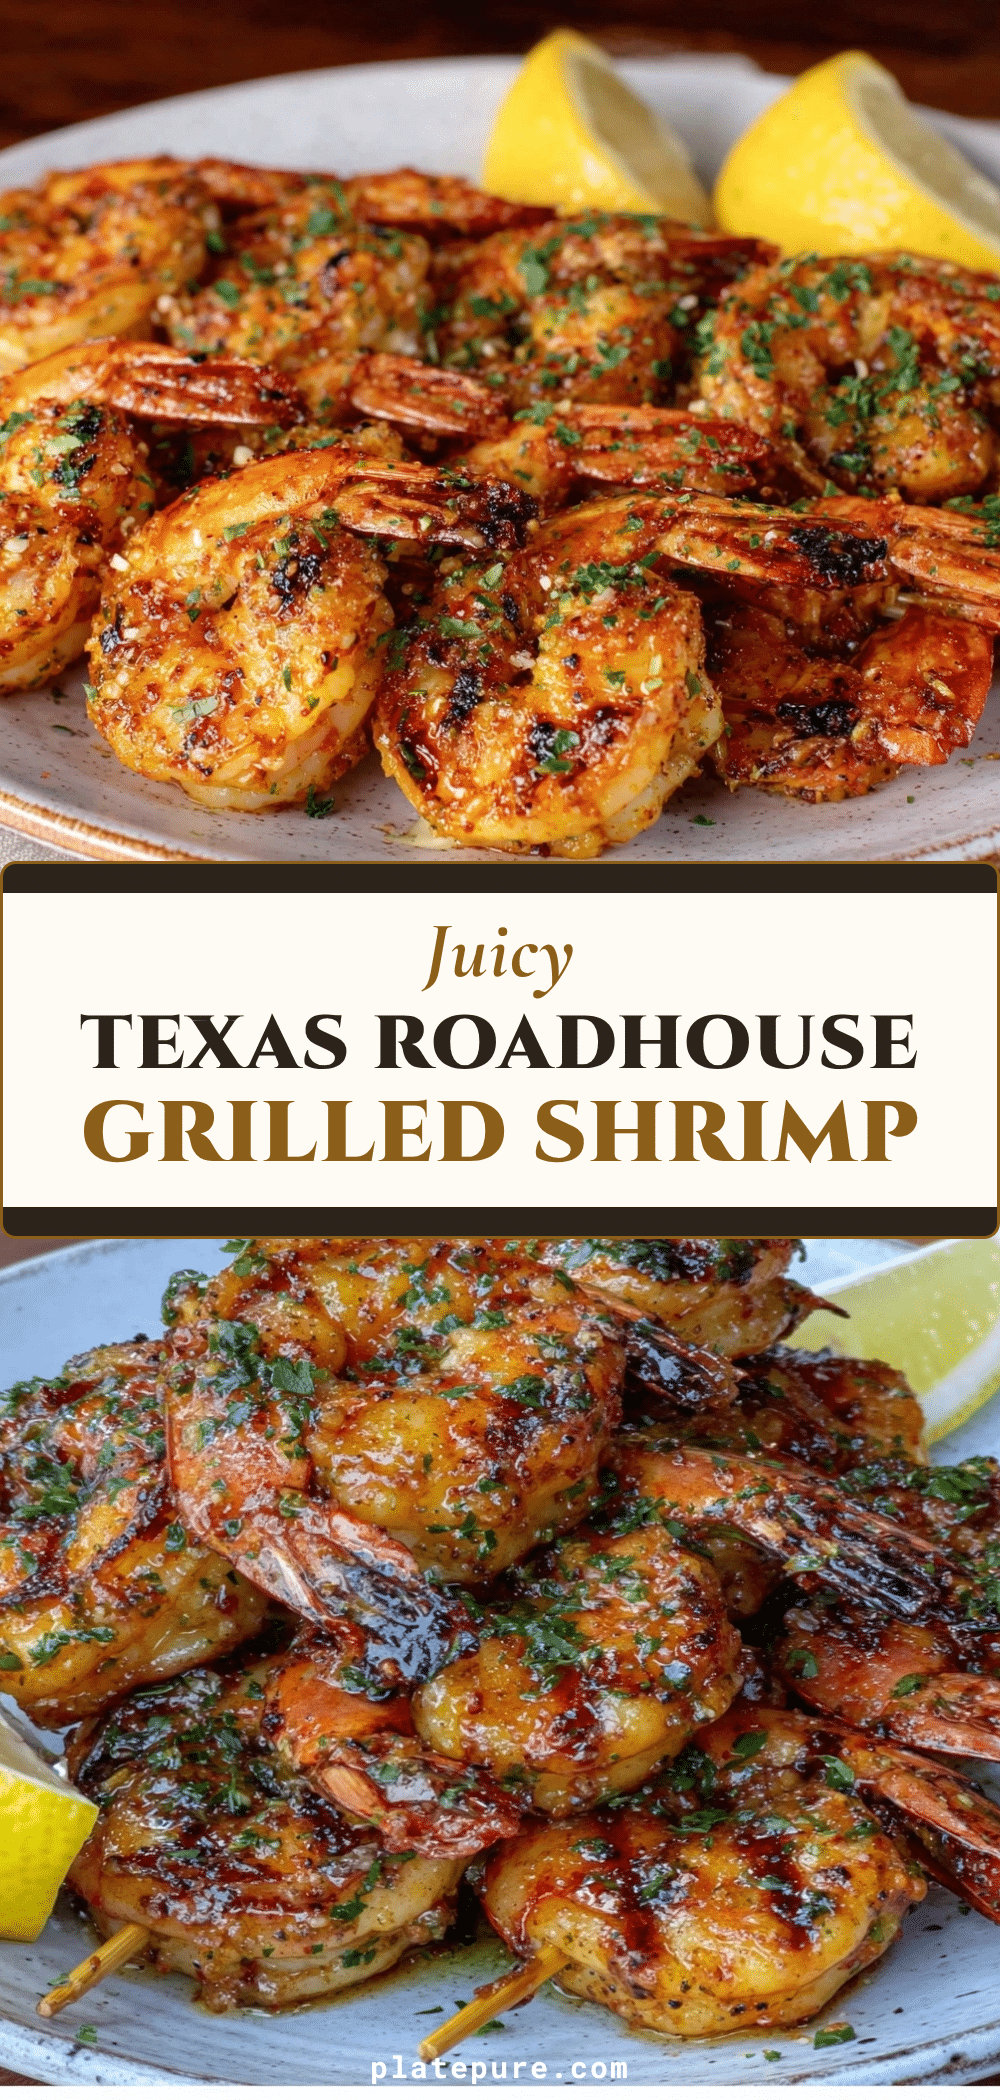
Copycat Texas Roadhouse Grilled Shrimp
- Total Time: 20 minutes
- Yield: 4 servings 1x
Description
Recreate the restaurant-quality flavor of Texas Roadhouse grilled shrimp at home with this quick, easy, and garlicky butter sauce recipe. Perfect for weeknights or date night.
Ingredients
- 1.5 to 2 pounds large shrimp (21–25 count per pound), peeled and deveined
- 4 to 6 tablespoons unsalted butter
- 1 tablespoon extra virgin olive oil
- 4 to 5 cloves garlic, minced
- 2 tablespoons dry white wine (such as Sauvignon Blanc or Pinot Grigio)
- Juice of 1 large lemon
- 1 teaspoon dried parsley
- Kosher salt and freshly cracked black pepper, to taste
- Pinch of cayenne pepper (optional)
Instructions
- Thaw frozen shrimp in cold water for 15-20 minutes if necessary. Peel and devein, then pat thoroughly dry with paper towels. Season lightly with salt and pepper.
- Heat a large skillet (cast iron or stainless steel) over medium-high heat. Add olive oil and butter, swirling to combine. Wait until the butter foams and subsides slightly.
- Add shrimp to the pan in a single layer, ensuring not to overcrowd. Sear for 1-2 minutes on the first side until pink and opaque. Flip and cook for another 1-2 minutes. Remove shrimp from the pan and set aside.
- Reduce heat to medium. Add minced garlic to the pan and cook for 30 seconds, stirring constantly to avoid burning.
- Deglaze the pan with white wine, scraping up any browned bits from the bottom.
- Stir in lemon juice and dried parsley. Simmer for 1 minute to reduce slightly. Adjust seasoning with salt, pepper, and cayenne if desired.
- Return shrimp to the pan and toss to coat evenly in the sauce. Heat through for 30 seconds to 1 minute. Remove from heat immediately and serve.
Notes
Do not overcrowd the pan; cook in batches if necessary. Ensure shrimp are patted dry before cooking to achieve a good sear. Garlic burns quickly, so add it after removing the shrimp. Shrimp continue to cook after being removed from heat, so take them off the stove when they are just pink and opaque. Leftovers can be stored in the refrigerator for up to 2 days and reheated gently in a skillet.
- Prep Time: 10 minutes
- Cook Time: 10 minutes
- Category: Main Course
- Cuisine: American
Nutrition
- Serving Size: Approximately 1/4 of
- Calories: 275
- Sodium: 350
- Fat: 18
- Saturated Fat: 9
- Carbohydrates: 2
- Protein: 22
Keywords: Texas Roadhouse, grilled shrimp, copycat recipe, garlic butter shrimp, seafood, quick dinner, date night, gluten-free


