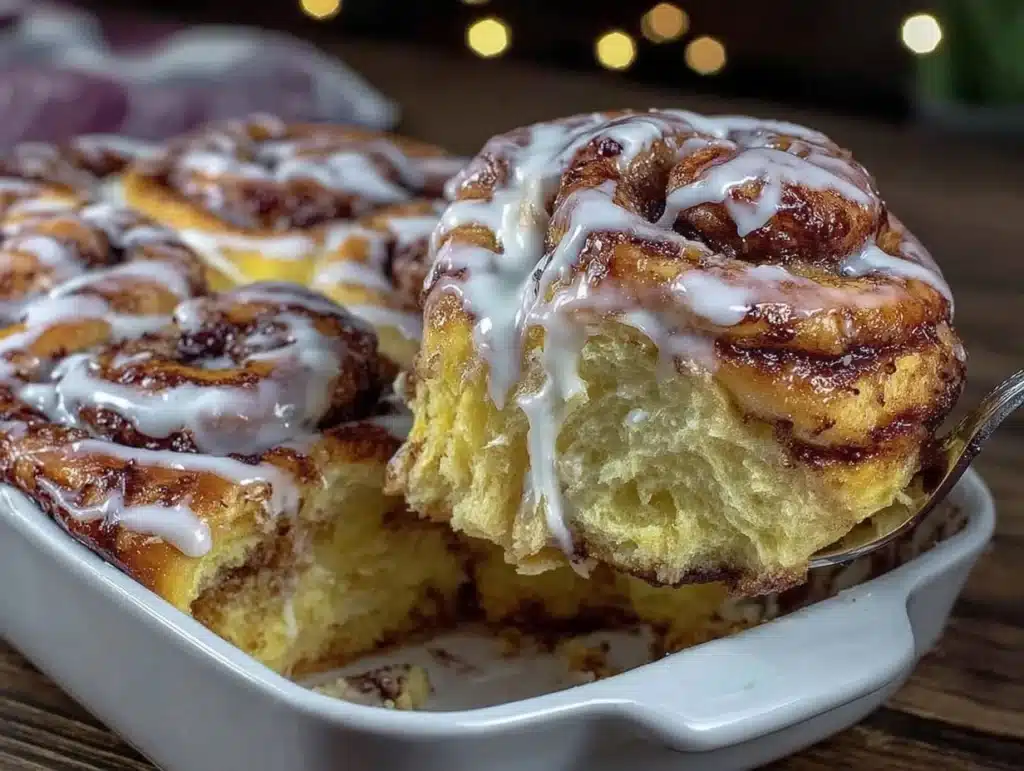
The smell of warm cinnamon rolls with a hint of vanilla and butter takes me straight back to my grandmother’s kitchen on Sunday mornings. I remember standing on a step stool, watching the dough rise under a damp towel while the whole house smelled like heaven. That scent is pure nostalgia, and honestly, it’s the main reason I started baking these rolls myself. After years of buying frozen versions that tasted like cardboard, I decided to crack the code on the perfect homemade version.
You know that feeling when you pull a tray of fresh pastries out of the oven and your stomach growls before you even plate one? That’s exactly what happens with this recipe. I’ve tested this homemade cinnamon rolls recipe over a dozen times, tweaking the yeast amounts and proofing times until it was just right. It’s not just about the sugar; it’s about that pillowy, cloud-like texture that melts in your mouth.
This recipe is worth making because it balances ease with incredible flavor. You don’t need to be a professional baker to get this right, but the result will impress anyone who takes a bite. Whether you’re feeding a crowd at brunch or treating yourself to a lazy weekend breakfast, these rolls deliver comfort in every single bite. I’ve shared this with picky eaters and gourmet foodies alike, and they all ask for the secret. Spoiler alert: there isn’t one, just good technique and high-quality ingredients.
Why You’ll Love This Recipe
Let’s be real, baking bread at home can feel intimidating. But this homemade cinnamon rolls recipe changes the game by removing the guesswork. I developed this method after realizing that most home bakers struggle with dense, dry rolls. By adjusting the hydration and using a specific rolling technique, I created a dough that stays soft for days. It’s the kind of recipe that proves you don’t need fancy equipment to make restaurant-quality food.
Here is why this specific batch of cinnamon rolls stands out from the rest:
- Quick & Easy Prep: While the dough needs time to rise, the active prep time is under 30 minutes. This makes it perfect for busy weeknights or a relaxed Saturday morning when you want to feel accomplished without spending hours in the kitchen.
- Simple Ingredients: You likely already have everything you need in your pantry. Flour, sugar, yeast, butter, and cinnamon are staples. No obscure ingredients or expensive specialty items are required, which keeps the cost low and the accessibility high.
- Perfect for Brunch: These rolls are the star of any morning gathering. They look elegant on a platter but are humble enough for everyday eating. They pair beautifully with coffee or orange juice, making them a versatile choice for holidays or casual get-togethers.
- Crowd-Pleaser: I’ve served these at potlucks and family dinners, and they disappear fast. Kids love the sweet icing, and adults appreciate the not-too-sweet dough. It’s a universal favorite that brings people together around the table.
- Unbelievably Delicious: The texture is next-level. The inside is soft and chewy, while the edges get just a tiny bit crisp from the butter. The flavor combo of warm cinnamon, brown sugar, and creamy cream cheese icing is pure comfort food reimagined.
What makes this recipe different is the attention to the dough’s texture. Many recipes skip the step of letting the dough rest after rolling, which leads to tight, tough rolls. I always let mine rest for 10 minutes before slicing. It’s a small step that makes a huge difference in the final fluffiness. This isn’t just another version; it’s the version that made me fall in love with baking again. It’s the kind of recipe that makes you close your eyes after the first bite and sigh with satisfaction.
What Ingredients You Will Need
This recipe uses simple, wholesome ingredients to deliver bold flavor and satisfying texture without the fuss. The magic lies in the balance between the soft dough and the rich filling. I’ve found that using high-quality butter and fresh cinnamon makes a noticeable difference in the final taste. Here is what you’ll need to gather before you start mixing.
For the Dough
- Warm Milk: 1 cup (240 ml), heated to about 110°F (43°C). It needs to be warm enough to activate the yeast but not hot enough to kill it. Whole milk gives the best richness, but 2% works fine too.
- Granulated Sugar: ¼ cup (50 g). This feeds the yeast and adds a touch of sweetness to the dough itself. You can substitute with honey if you prefer, but granulated sugar helps with browning.
- Active Dry Yeast: 2 ¼ teaspoons (1 packet). Make sure your yeast is fresh. If it’s old, it won’t rise properly. I always keep a fresh packet in my fridge just in case.
- Unsalted Butter: ¼ cup (57 g), melted. This adds flavor and tenderness to the crumb. Use good quality butter here; it really shines through.
- Large Eggs: 2 large eggs, room temperature. Room temperature eggs incorporate into the dough more easily, creating a smoother texture. Cold eggs can shock the mixture.
- All-Purpose Flour: 4 to 4 ½ cups (500-570 g). Start with 4 cups and add more as needed. The dough should be soft and slightly sticky, not stiff like bread dough. King Arthur Flour is my go-to for consistent results.
- Salt: 1 teaspoon. Salt enhances the flavor and balances the sweetness. Don’t skip it, even if you like sweet rolls.
For the Filling
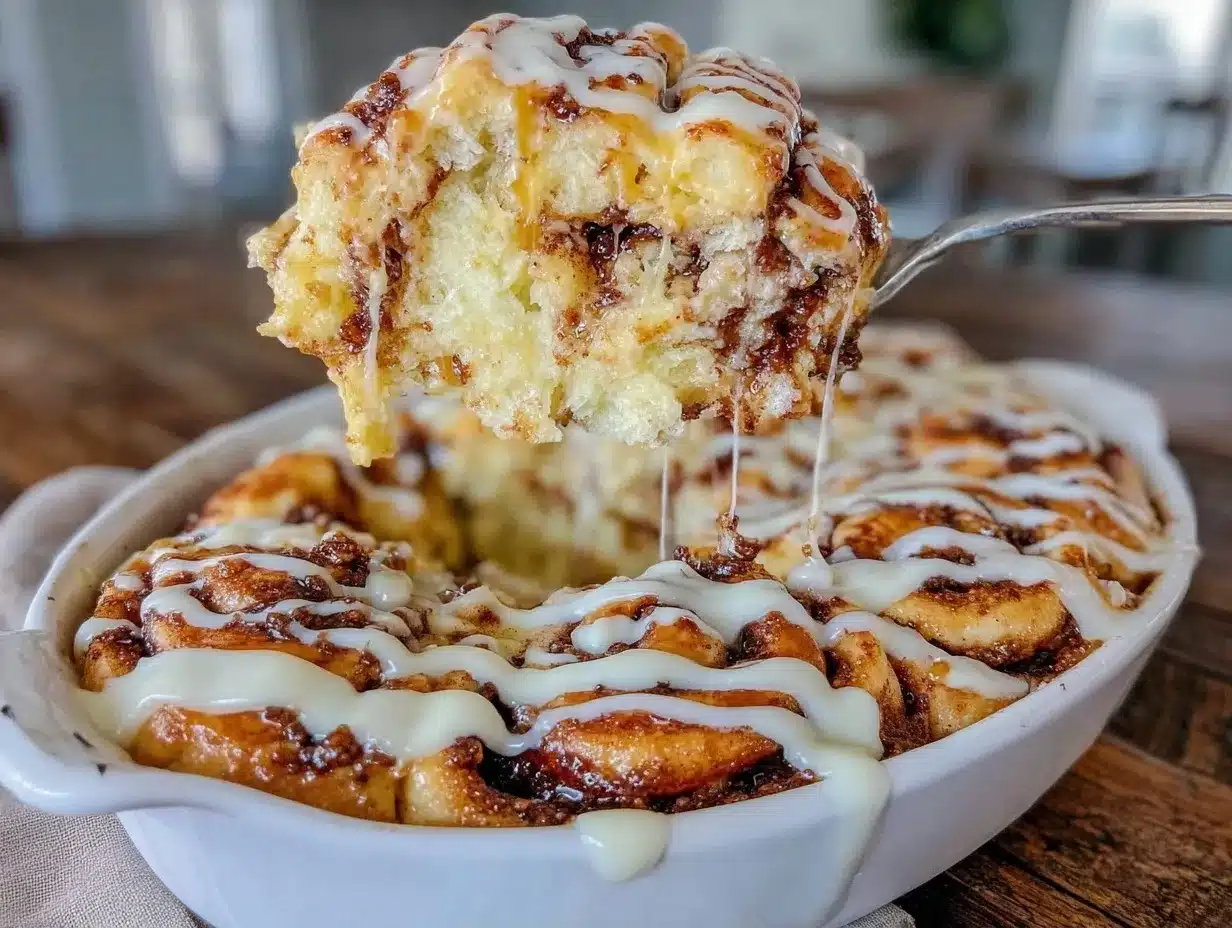
- Unsalted Butter: ½ cup (113 g), softened. This needs to be soft enough to spread easily but not melted. Melted butter will soak into the dough instead of creating layers.
- Brown Sugar: 1 cup (200 g). Packed firmly. Brown sugar adds moisture and a caramel-like depth that white sugar can’t match.
- Ground Cinnamon: 2 tablespoons. Use a high-quality brand like McCormick or Nielsen-Massey. Stale cinnamon will make the rolls taste flat.
- Optional: ½ teaspoon of nutmeg or cardamom if you want a spicier kick. I sometimes add a pinch of nutmeg for extra warmth.
For the Cream Cheese Icing
- Cream Cheese: 4 ounces (113 g), softened. Full-fat cream cheese is essential for a thick, creamy icing. Light versions will be too runny.
- Powdered Sugar: 1 ½ cups (180 g). Sifted to remove lumps. You want a smooth, drizzle-able consistency.
- Vanilla Extract: 1 teaspoon. Pure vanilla extract makes a world of difference compared to imitation.
- Milk or Cream: 1-2 tablespoons, as needed. Add this gradually to reach your preferred drizzling consistency.
One tip I’ve learned is to measure your flour correctly. Spoon it into the measuring cup and level it off. Scooping directly from the bag packs the flour down, leading to dry, dense rolls. If you’re looking for a gluten-free option, you can use a 1-to-1 gluten-free flour blend, though the texture will be slightly different. For dairy-free needs, swap the butter and milk for plant-based alternatives, but note that the rise might be slightly less pronounced.
Equipment Needed
You don’t need a fancy kitchen to make these homemade cinnamon rolls, but having the right tools helps. A large mixing bowl is essential for combining the dough. I use a glass bowl because I can see the dough rising clearly against the side. A stand mixer with a dough hook is helpful for kneading, but you can absolutely do this by hand. If you knead by hand, expect to spend about 10 minutes of elbow grease.
A 9×13 inch baking dish is standard for this recipe. If you don’t have one, two 9-inch round pans work too, but you’ll need to adjust the baking time slightly. A pastry brush is useful for brushing melted butter on the rolls before baking, giving them a nice golden sheen. A sharp chef’s knife or dental floss works for slicing. I prefer dental floss because it cuts through the soft dough cleanly without squishing the rolls. Just slide the floss under the roll, cross it over the top, and pull. It’s a game-changer for perfect shapes.
If you’re on a budget, you don’t need to buy expensive gadgets. A simple wooden spoon or spatula works for mixing. For baking, a heavy-duty baking sheet works in a pinch if your dish is too small, but the rolls will be closer together. Keep your equipment clean and organized. Washing your mixing bowl while the dough rises saves time later. Also, ensure your thermometer is accurate. An instant-read thermometer helps you get the milk temperature spot on, preventing wasted yeast.
How to Make Homemade Cinnamon Rolls
Let’s get into the nitty-gritty of making these rolls. The process is straightforward, but timing is key. Here is how to execute each step perfectly.
- Activate the Yeast: In the bowl of your stand mixer, combine the warm milk, sugar, and yeast. Stir gently and let it sit for 5-10 minutes. You should see a foamy layer form on top. If it doesn’t foam, your yeast might be dead, and you should start over. This step ensures your rolls will rise properly. (Time: 10 minutes)
- Mix the Dough: Add the melted butter, eggs, salt, and 3 cups of flour to the yeast mixture. Mix on low speed with the dough hook until combined. Gradually add the remaining flour, ½ cup at a time. Stop adding flour when the dough pulls away from the sides of the bowl but is still slightly sticky to the touch. Over-flouring is the most common mistake. (Time: 5 minutes)
- Knead the Dough: Knead on medium-low speed for 5-7 minutes. The dough should become smooth and elastic. If kneading by hand, turn the dough onto a floured surface and push it away with the heel of your hand, folding it back over itself. Repeat until smooth. (Time: 7 minutes)
- First Rise: Place the dough in a lightly greased bowl, turning once to coat. Cover with plastic wrap or a damp towel. Let it rise in a warm spot for 1-1.5 hours, or until doubled in size. A warm oven (turned off) with a bowl of hot water inside works great. (Time: 60-90 minutes)
- Prepare the Filling: Once the dough has risen, punch it down gently to release air. Roll it out onto a lightly floured surface into a large rectangle, about 12×18 inches. Spread the softened butter evenly over the surface, leaving a small border at the far edge. Mix the brown sugar and cinnamon in a small bowl, then sprinkle it evenly over the butter. (Time: 10 minutes)
- Roll and Slice: Starting from the long edge, roll the dough tightly into a log. Pinch the seam to seal. Use dental floss or a sharp knife to cut the roll into 12 equal pieces. Place them cut-side up in your greased 9×13 baking dish. Leave a little space between them for expansion. (Time: 10 minutes)
- Second Rise: Cover the dish loosely and let the rolls rise again for 30-45 minutes. They should look puffy and jiggly. Preheat your oven to 350°F (175°C) during the last 15 minutes of this rise. (Time: 30-45 minutes)
- Bake: Bake for 25-30 minutes, or until the tops are golden brown. If they brown too quickly, tent them with foil. Insert a toothpick into the center of a roll; it should come out clean. (Time: 30 minutes)
- Make the Icing: While the rolls bake, beat the softened cream cheese until smooth. Add powdered sugar, vanilla, and milk. Beat until creamy and drizzle-able. (Time: 5 minutes)
- Finish: Let the rolls cool in the pan for 5-10 minutes. Drizzle the icing over the warm rolls. Serve immediately for the best texture. (Time: 10 minutes)
Cooking Tips & Techniques
I’ve made a few mistakes along the way, and I want to help you avoid them. The biggest issue with homemade cinnamon rolls is dryness. This usually happens if you overbake them or use too much flour. Trust your eyes more than the timer. The rolls are done when they are golden, not dark brown.
Another tip is to ensure your kitchen is draft-free during the rising stages. Drafts can slow down the yeast activity. If you live in a cold climate, place your dough near a radiator or in a slightly warm oven. Also, don’t rush the rolling process. If your butter is too hard, it will tear the dough. If it’s too soft, it will mix into the flour. Aim for a cool, pliable texture.
Multitasking is your friend here. While the dough is rising, you can prep your filling and clean your counters. This makes the assembly phase much smoother. When slicing, be decisive. Sawing back and forth with a knife can compress the layers. Use a sawing motion if using a knife, or the floss method for perfect circles.
For consistency, weigh your ingredients if you have a kitchen scale. Volume measurements can vary wildly depending on how you pack the flour. Precision leads to predictable results. Finally, don’t skip the second rise. It’s crucial for achieving that light, airy texture. Skipping it results in dense, bread-like rolls.
Variations & Adaptations
While the classic version is my favorite, there are many ways to twist this recipe. For a nutty variation, add ½ cup of chopped pecans or walnuts to the filling before rolling. The crunch pairs beautifully with the soft dough. For a maple twist, swap half the brown sugar for maple syrup in the filling and add a splash of maple syrup to the icing.
If you want a healthier option, you can substitute half the all-purpose flour with whole wheat flour. This adds a nuttier flavor and more fiber, though the texture will be slightly denser. For a vegan version, use plant-based butter and milk, and skip the eggs by using a flax egg (1 tablespoon ground flaxseed mixed with 3 tablespoons water per egg). The rise might be slightly less, but the taste remains delicious.
I once tried adding cream cheese to the filling itself, swirling it in before rolling. It was rich and tangy, a great change from the standard sugar filling. For a seasonal touch, add pumpkin spice to the cinnamon-sugar mix in the fall. In the spring, try adding lemon zest to the icing for a bright, fresh flavor. These adaptations keep the recipe fresh and exciting for repeat bakers.
Serving & Storage Suggestions
These homemade cinnamon rolls are best served warm, right out of the oven. The icing should be slightly melted into the crevices. Pair them with a hot cup of coffee or a glass of cold milk. For a brunch spread, add fresh berries or bacon to balance the sweetness.
Leftovers can be stored in an airtight container at room temperature for up to 2 days. For longer storage, freeze the baked (but un-iced) rolls. Wrap them tightly in plastic wrap and then aluminum foil. They will keep for up to 3 months. To reheat, thaw overnight in the fridge and warm in the microwave for 30 seconds or in the oven at 300°F for 10 minutes. Add fresh icing after reheating.
Flavors develop over time, and some people actually prefer the rolls the next day as the icing sets. However, the texture is best on day one. Avoid refrigerating them unless necessary, as the cold air dries out baked goods quickly. If you must refrigerate, bring them to room temperature before serving to restore softness.
Nutritional Information & Benefits
While these are a treat, they can fit into a balanced diet. Each roll contains approximately 350-400 calories, depending on the size and icing amount. The dough provides carbohydrates for energy, while the butter and cream cheese offer fats for satiety. Using whole milk and real butter adds calcium and vitamin A.
For those watching sugar intake, you can reduce the sugar in the dough by 25% without affecting the rise significantly. You can also make the icing with less powdered sugar or use a sugar-free alternative. These rolls are not gluten-free unless you use a specific flour blend, so be mindful of allergens. I enjoy these as a special weekend treat rather than a daily breakfast, which helps keep portions in check. Moderation is key to enjoying rich foods without guilt.
Conclusion
Making homemade cinnamon rolls is a rewarding experience that pays off in every bite. This recipe has been tested and refined to ensure success, even for novice bakers. The soft, fluffy texture and rich, sweet filling are worth the effort. I encourage you to try this recipe and make it your own. Add your favorite mix-ins or tweak the icing to suit your taste.
I love these rolls because they bring people together. There’s something special about breaking bread—or in this case, breaking a cinnamon roll—with loved ones. I hope this recipe becomes a staple in your kitchen. Please share your results in the comments below, and don’t forget to tag me if you post on social media. Happy baking!
Frequently Asked Questions
Can I make the dough ahead of time?
Yes, you can let the dough rise in the fridge overnight. After mixing, cover the bowl tightly and refrigerate. Let it come to room temperature and finish rising the next morning before shaping and baking. This is great for morning schedules.
Why are my cinnamon rolls dense?
Dense rolls usually result from over-flouring the dough or not letting them rise long enough. Ensure your dough is soft and slightly sticky, and give it ample time to double in size. Also, check that your yeast is fresh and active.
Can I use instant yeast instead of active dry yeast?
Yes, you can use instant yeast. You can mix it directly with the flour instead of activating it in milk first. The rise time might be slightly faster, so keep an eye on the dough volume.
How do I store leftover icing?
Store leftover icing in an airtight container in the fridge for up to a week. Let it come to room temperature and whisk it before using, as it may separate slightly. You can also freeze it for longer storage.
Can I freeze the uncooked rolls?
Yes, after slicing, place the rolls in the pan and freeze them uncovered until solid. Then cover tightly. When ready to bake, let them thaw and rise at room temperature before baking. This is convenient for meal prepping.
Pin This Recipe!
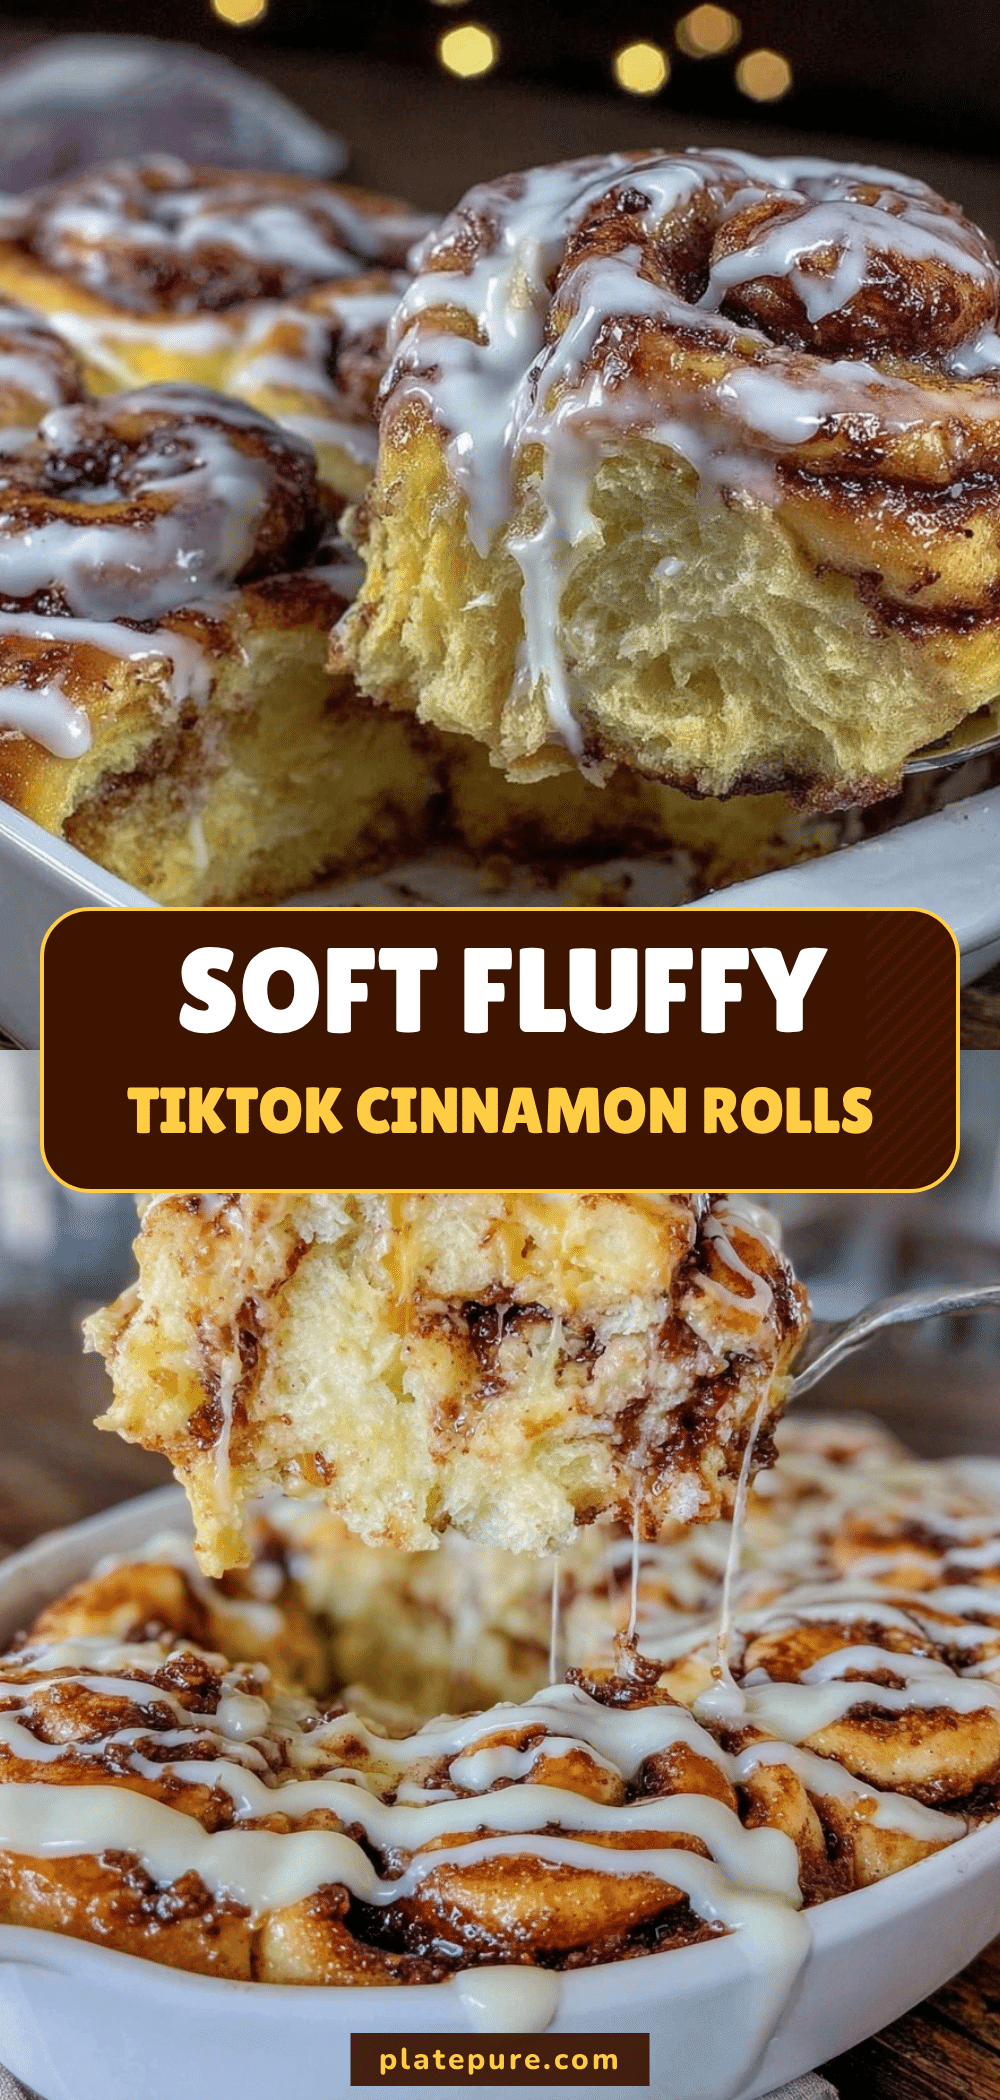

Homemade Cinnamon Rolls: Best Easy Recipe
- Total Time: 2 hours 15 minutes
- Yield: 12 servings 1x
Description
Soft, pillowy homemade cinnamon rolls with a rich cream cheese icing. This tested recipe ensures restaurant-quality texture and flavor with simple ingredients and easy techniques.
Ingredients
- 1 cup (240 ml) warm milk (110°F/43°C)
- ¼ cup (50 g) granulated sugar
- 2 ¼ teaspoons (1 packet) active dry yeast
- ¼ cup (57 g) unsalted butter, melted
- 2 large eggs, room temperature
- 4 to 4 ½ cups (500–570 g) all-purpose flour
- 1 teaspoon salt
- ½ cup (113 g) unsalted butter, softened (for filling)
- 1 cup (200 g) packed brown sugar
- 2 tablespoons ground cinnamon
- 4 ounces (113 g) cream cheese, softened (for icing)
- 1 ½ cups (180 g) powdered sugar, sifted
- 1 teaspoon vanilla extract
- 1–2 tablespoons milk or cream (for icing)
Instructions
- Activate the yeast: In a stand mixer bowl, combine warm milk, sugar, and yeast. Let sit for 5-10 minutes until foamy.
- Mix the dough: Add melted butter, eggs, salt, and 3 cups of flour. Mix on low. Gradually add remaining flour until dough pulls away from sides but is slightly sticky.
- Knead the dough: Knead on medium-low speed for 5-7 minutes until smooth and elastic.
- First rise: Place dough in a greased bowl, cover, and let rise in a warm spot for 1-1.5 hours until doubled in size.
- Prepare filling: Punch down dough and roll into a 12×18 inch rectangle. Spread softened butter over surface, leaving a border. Sprinkle with brown sugar and cinnamon.
- Roll and slice: Roll dough tightly into a log, pinch seam to seal. Cut into 12 equal pieces using dental floss or a sharp knife. Place cut-side up in a greased 9×13 baking dish.
- Second rise: Cover rolls loosely and let rise for 30-45 minutes until puffy. Preheat oven to 350°F (175°C) during the last 15 minutes.
- Bake: Bake for 25-30 minutes until golden brown. Tent with foil if browning too quickly.
- Make icing: While rolls bake, beat cream cheese until smooth. Add powdered sugar, vanilla, and milk. Beat until creamy.
- Finish: Let rolls cool in pan for 5-10 minutes. Drizzle with icing and serve warm.
Notes
Measure flour by spooning it into the cup and leveling off to avoid dense rolls. Ensure yeast is fresh and milk is warm but not hot. Let dough rest for 10 minutes after rolling if needed for easier slicing. Rolls are best served warm but can be stored at room temperature for 2 days or frozen for up to 3 months.
- Prep Time: 30 minutes
- Cook Time: 30 minutes
- Category: Breakfast
- Cuisine: American
Nutrition
- Serving Size: 1 large cinnamon rol
- Calories: 375
- Sugar: 32
- Sodium: 250
- Fat: 18
- Saturated Fat: 11
- Carbohydrates: 48
- Fiber: 1
- Protein: 6
Keywords: cinnamon rolls, homemade cinnamon rolls, cream cheese icing, breakfast recipe, brunch ideas, yeast dough, easy baking


